Creating a delicious gluten-free challah recipe might seem challenging, but with the right techniques and ingredients, you can achieve that perfectly braided, golden-brown loaf you’ve been dreaming of. As someone who’s spent years perfecting this recipe, I’m excited to share how you can make a gluten-free challah that’s so good, even traditional challah enthusiasts won’t believe it’s gluten-free.
For many people following a gluten-free diet, finding alternatives to beloved traditional breads can be disheartening. However, this gluten-free challah recipe brings back the joy of breaking bread during Shabbat or special occasions. The best part? It’s dairy-free and maintains its shape beautifully when braided, creating that distinctive look that makes challah so special.
In this comprehensive guide, you’ll learn the secrets to achieving the perfect texture and flavor that rivals traditional wheat-based challah. We’ll explore the crucial roles of each ingredient, master the art of gluten-free baking, and discover professional braiding techniques that work specifically with gluten-free dough. Additionally, you’ll find detailed tips for success, storage recommendations, and serving suggestions that will help you create this traditional Jewish bread without gluten.
Let’s begin by gathering our ingredients and understanding the essential components that make this recipe work. With patience and attention to detail, you’ll soon be crafting beautiful, braided loaves that everyone can enjoy.
Understanding Gluten-Free Challah Basics
What Makes Challah Special
Traditional challah holds a sacred place in Jewish cuisine, serving as more than just bread – it’s a symbol of spiritual nourishment and community. Creating a gluten-free challah recipe that honors this tradition while meeting dietary restrictions requires understanding what makes challah unique. First and foremost, authentic challah features a distinctive braided appearance, rich egg-based flavor, and a tender yet slightly chewy texture that sets it apart from other breads.
However, converting traditional challah to gluten-free presents several challenges. Without gluten’s natural binding properties, achieving that characteristic texture and ensuring the dough can be braided effectively requires careful consideration of alternative ingredients. Nevertheless, with modern baking techniques and the right ingredients, it’s possible to create a gluten-free version that maintains the essence of this beloved bread.
Essential Ingredients
The foundation of any successful gluten-free challah recipe starts with the right flour blend. Unlike conventional challah, which relies on high-protein wheat flour, our version requires a carefully balanced mixture of gluten-free flours. The ideal blend typically includes:
- Rice flour for structure
- Tapioca starch for flexibility
- Potato starch for moisture retention
- Sorghum flour for protein content
Additionally, enrichments play a crucial role in developing the bread’s characteristic flavor and texture. Fresh eggs provide structure and richness, while honey adds sweetness and helps retain moisture. Quality olive oil or vegetable oil contributes to the bread’s tenderness and extends its shelf life.
Most importantly, xanthan gum and psyllium husk work together as gluten replacers, providing the necessary structure for successful braiding. These ingredients are essential for creating a workable dough that can hold its shape during rising and baking.

Equipment Needed
Creating the perfect gluten-free challah recipe requires specific equipment to ensure success. First and foremost, a stand mixer with both paddle and dough hook attachments is essential for proper mixing and development of the dough structure. Unlike traditional challah, gluten-free versions need extra mixing time to develop the proper texture.
You’ll also need:
- Heavy-duty baking sheets
- Parchment paper or silicone mats
- Digital kitchen scale for precise measurements
- Instant-read thermometer
- Dough scraper for shaping
- Pastry brush for egg wash
Temperature control is particularly crucial when working with gluten-free bread dough. Therefore, an accurate oven thermometer helps ensure proper baking conditions. Furthermore, maintaining proper room temperature (around 75°F/24°C) during rising is essential for optimal results.
With these fundamentals in place, you’re well-equipped to begin your gluten-free challah baking journey. Remember that patience and precision are key ingredients in achieving that perfect golden-brown, braided loaf that everyone can enjoy.
Making the Perfect GF Challah Dough
Creating a successful gluten-free challah recipe requires careful attention to technique and timing. Understanding these crucial elements will help you achieve that perfect texture and rise every time. Let’s explore the essential steps to mastering this special bread.
Mixing Technique
The key to a successful gluten-free challah recipe starts with proper mixing. First, ensure all ingredients are at room temperature (around 75°F/24°C) before beginning. Cold ingredients can significantly impact the dough’s development and final texture. Moreover, following the correct mixing order is crucial:
- Begin by combining dry ingredients thoroughly
- Whisk wet ingredients separately until well blended
- Add wet to dry gradually while mixing
- Mix on medium speed for 3-4 minutes
For optimal results, the final dough should be slightly sticky but manageable. According to gluten-free baking experts, the consistency should resemble thick cake batter rather than traditional bread dough.
Rising and Chilling
The rising process for gluten-free bread differs significantly from conventional challah. Initially, allow the dough to rise in a warm, draft-free location for about 60-90 minutes. Subsequently, the dough requires refrigeration for at least 2 hours, though overnight chilling often yields better results.
During the second rise, pay attention to these critical factors:
- Keep the shaped dough covered with lightly oiled plastic wrap
- Maintain consistent room temperature
- Allow 45-60 minutes for the final rise
- Look for visible swelling rather than doubling in size
This two-step rising process helps develop flavor while making the dough easier to handle during braiding.
Troubleshooting Common Issues
When making this traditional Jewish bread without gluten, several common challenges may arise. If your dough seems too wet, gradually add more flour blend, one tablespoon at a time, until reaching the desired consistency. Conversely, if the dough appears too dry, incorporate water slowly while mixing.
For rise-related problems, consider these solutions:
- Check yeast freshness with a proofing test
- Ensure proper liquid temperature (110-115°F)
- Create a warm environment using a proofing box or turned-off oven
- Adjust moisture levels based on humidity
Temperature plays a vital role in successful gluten-free baking. Therefore, if your bread isn’t rising properly, verify that your kitchen isn’t too cold or too hot. Additionally, using an instant-read thermometer to check the internal temperature (target: 205-210°F) ensures proper doneness.
By following these detailed guidelines and troubleshooting tips, you’ll be well on your way to creating beautiful, delicious gluten-free challah that everyone can enjoy. Remember that practice and patience are essential as you perfect your technique with this special bread.
Braiding and Baking Success
Creating a beautiful gluten-free challah recipe requires mastering the art of braiding and baking. While working with gluten-free dough presents unique challenges, following these specific techniques will help you achieve that traditional look and texture you desire.
Braiding Techniques
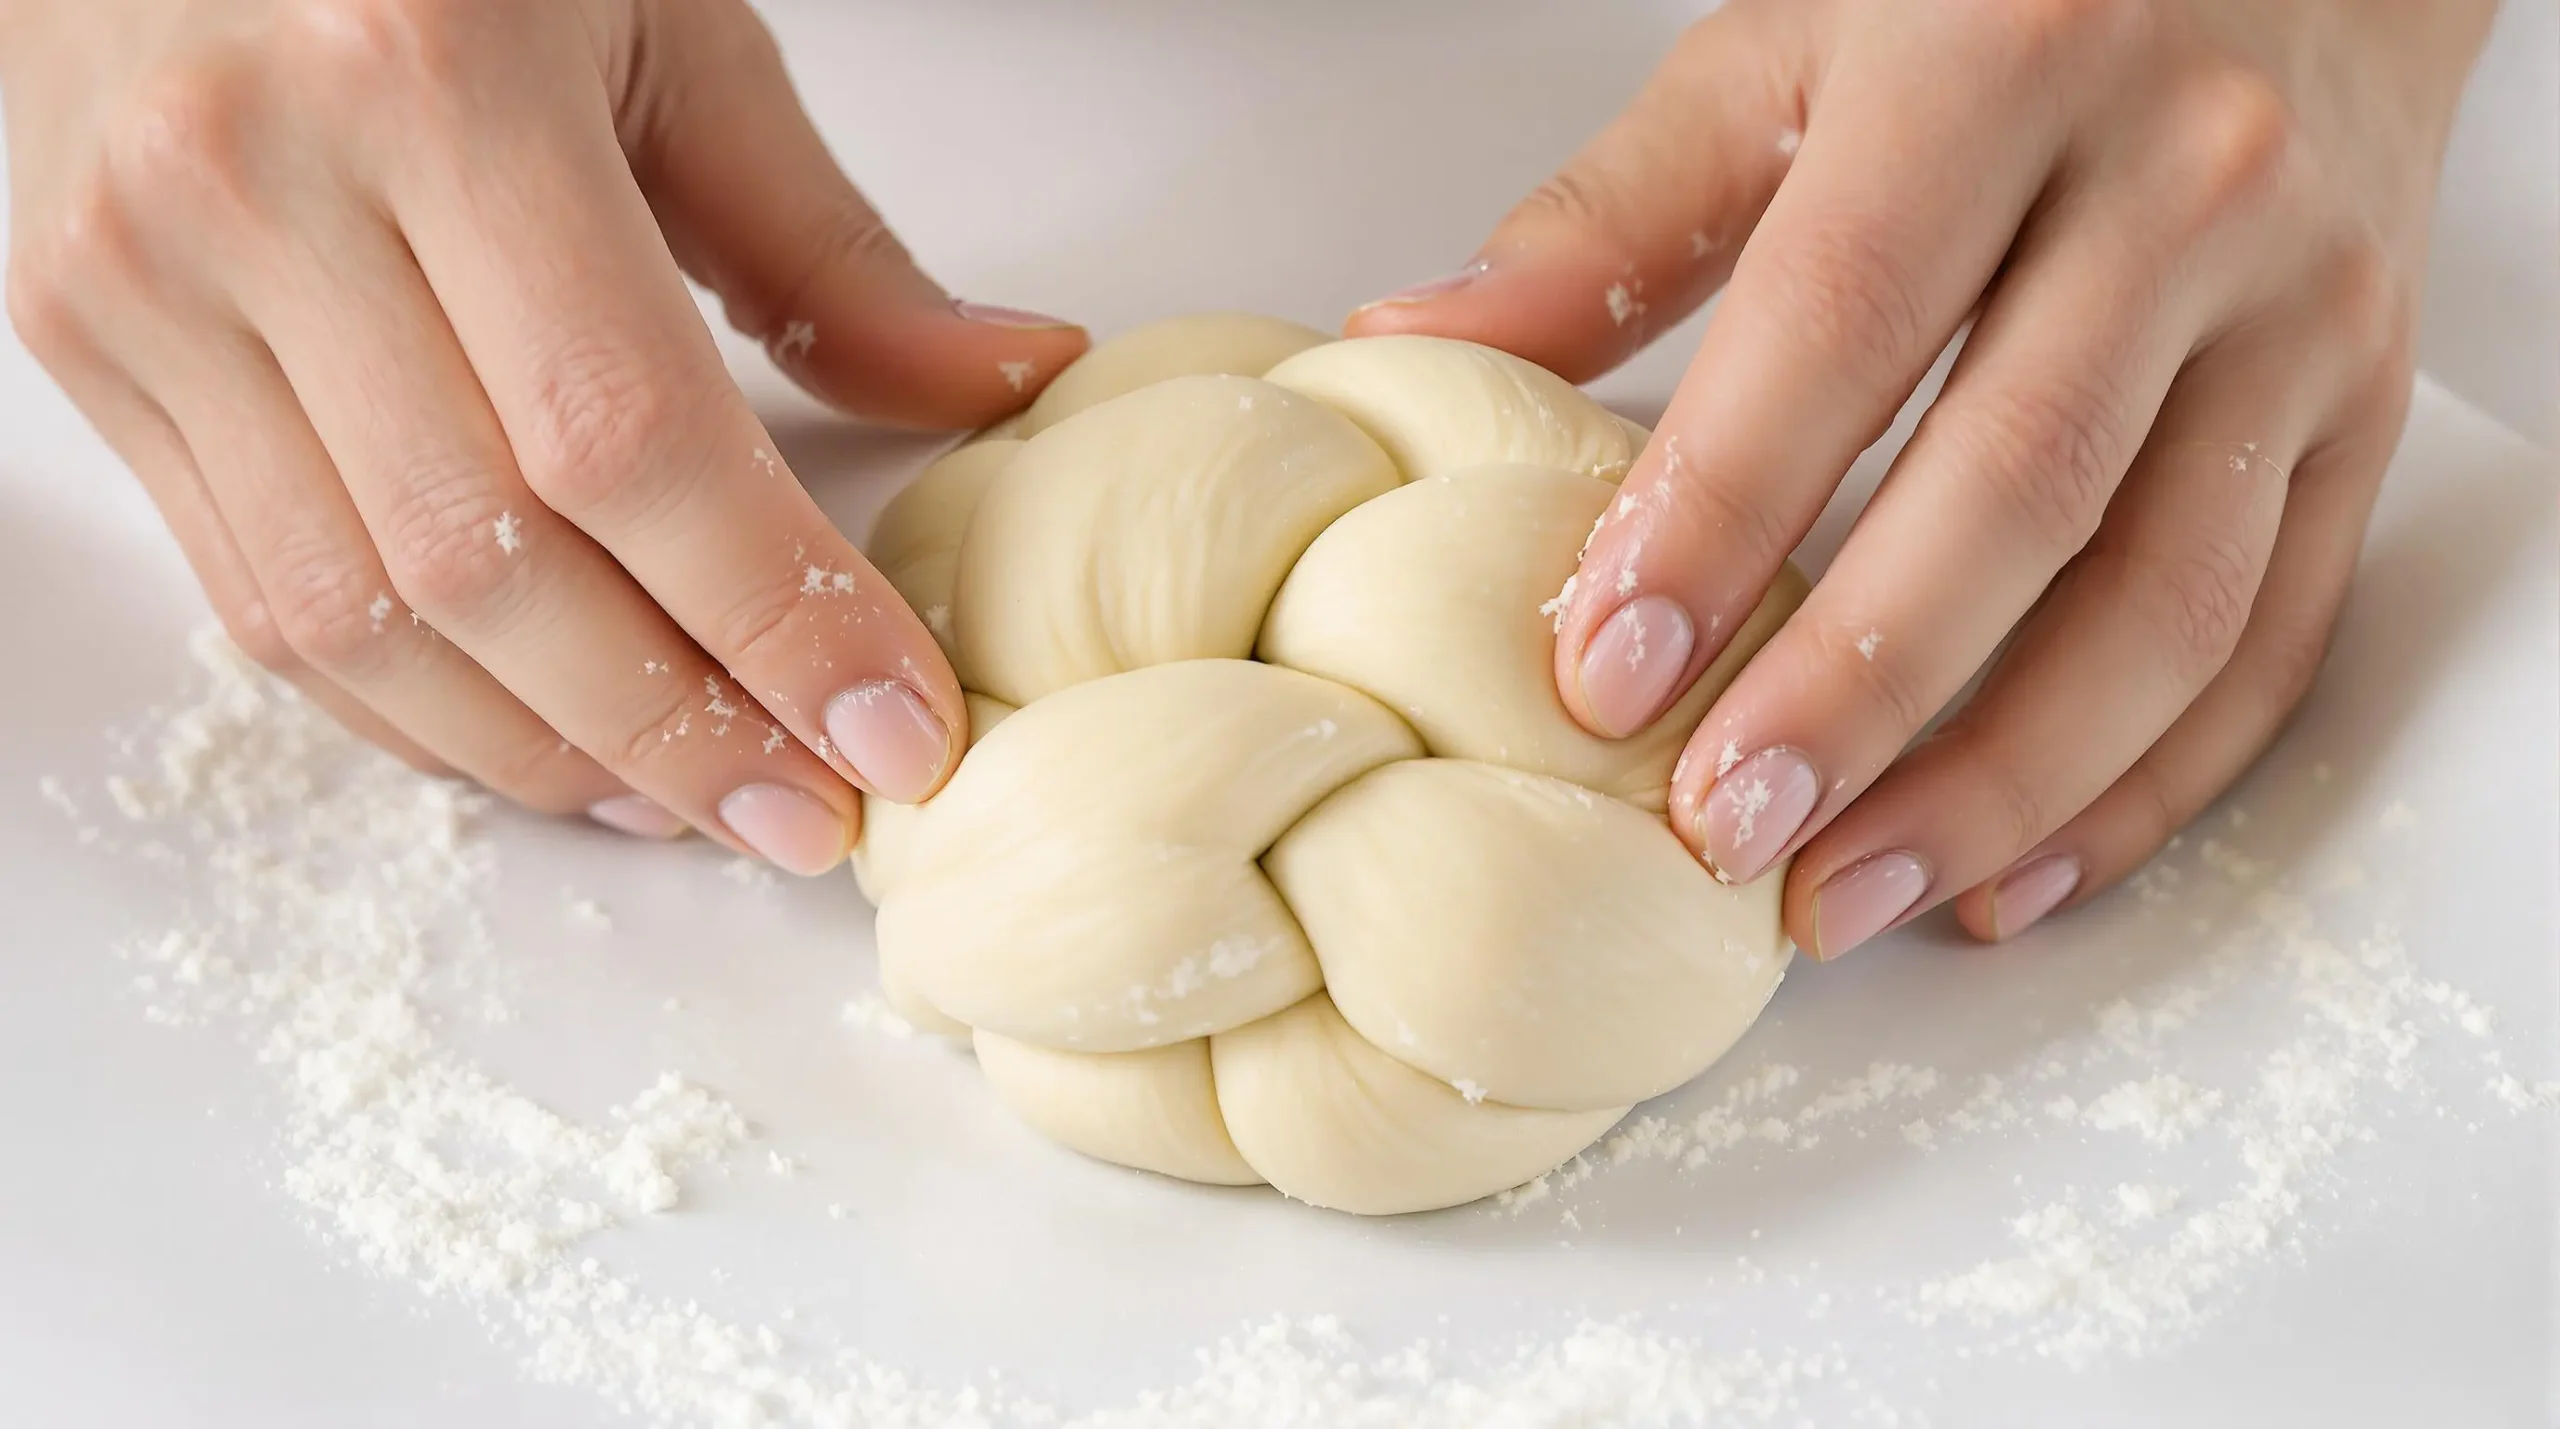
When braiding your gluten-free challah recipe, start with dividing the chilled dough into equal portions using a scale for accuracy. Unlike traditional wheat-based challah, gluten-free dough requires gentle handling and extra support during shaping.
For the classic three-strand braid:
- Roll each portion into uniform logs on parchment paper
- Keep strands slightly shorter and thicker than traditional challah
- Pinch ends together firmly before braiding
- Work quickly while dough remains cool
- Support the braid with additional parchment as needed
More experienced bakers can experiment with four or six-strand variations, though mastering the basic three-strand braid first is recommended for those new to gluten-free baking.
Egg Wash Application
The secret to achieving that signature golden crust on your gluten-free challah recipe lies in proper egg wash application. This three-stage process ensures optimal results:
First Stage:
- Brush immediately after braiding
- Use gentle strokes to avoid disturbing the shape
- Allow to dry for 10 minutes
Second Stage:
- Apply another layer before final rise
- Focus on covering any missed spots
- Let rise according to recipe instructions
Final Stage:
- Brush one last time just before baking
- Consider adding traditional toppings like sesame or poppy seeds
- Ensure even coverage for consistent browning
Baking Guidelines
Successful gluten-free bread baking requires precise temperature control and timing. Preheat your oven thoroughly to 350°F (175°C) and position the rack in the center. Subsequently, follow these essential steps:
Baking Timeline:
- Initial baking with foil cover: 20-25 minutes
- Remove foil and continue: 15-20 minutes
- Monitor internal temperature (target: 205°F)
Look for these visual cues to determine doneness:
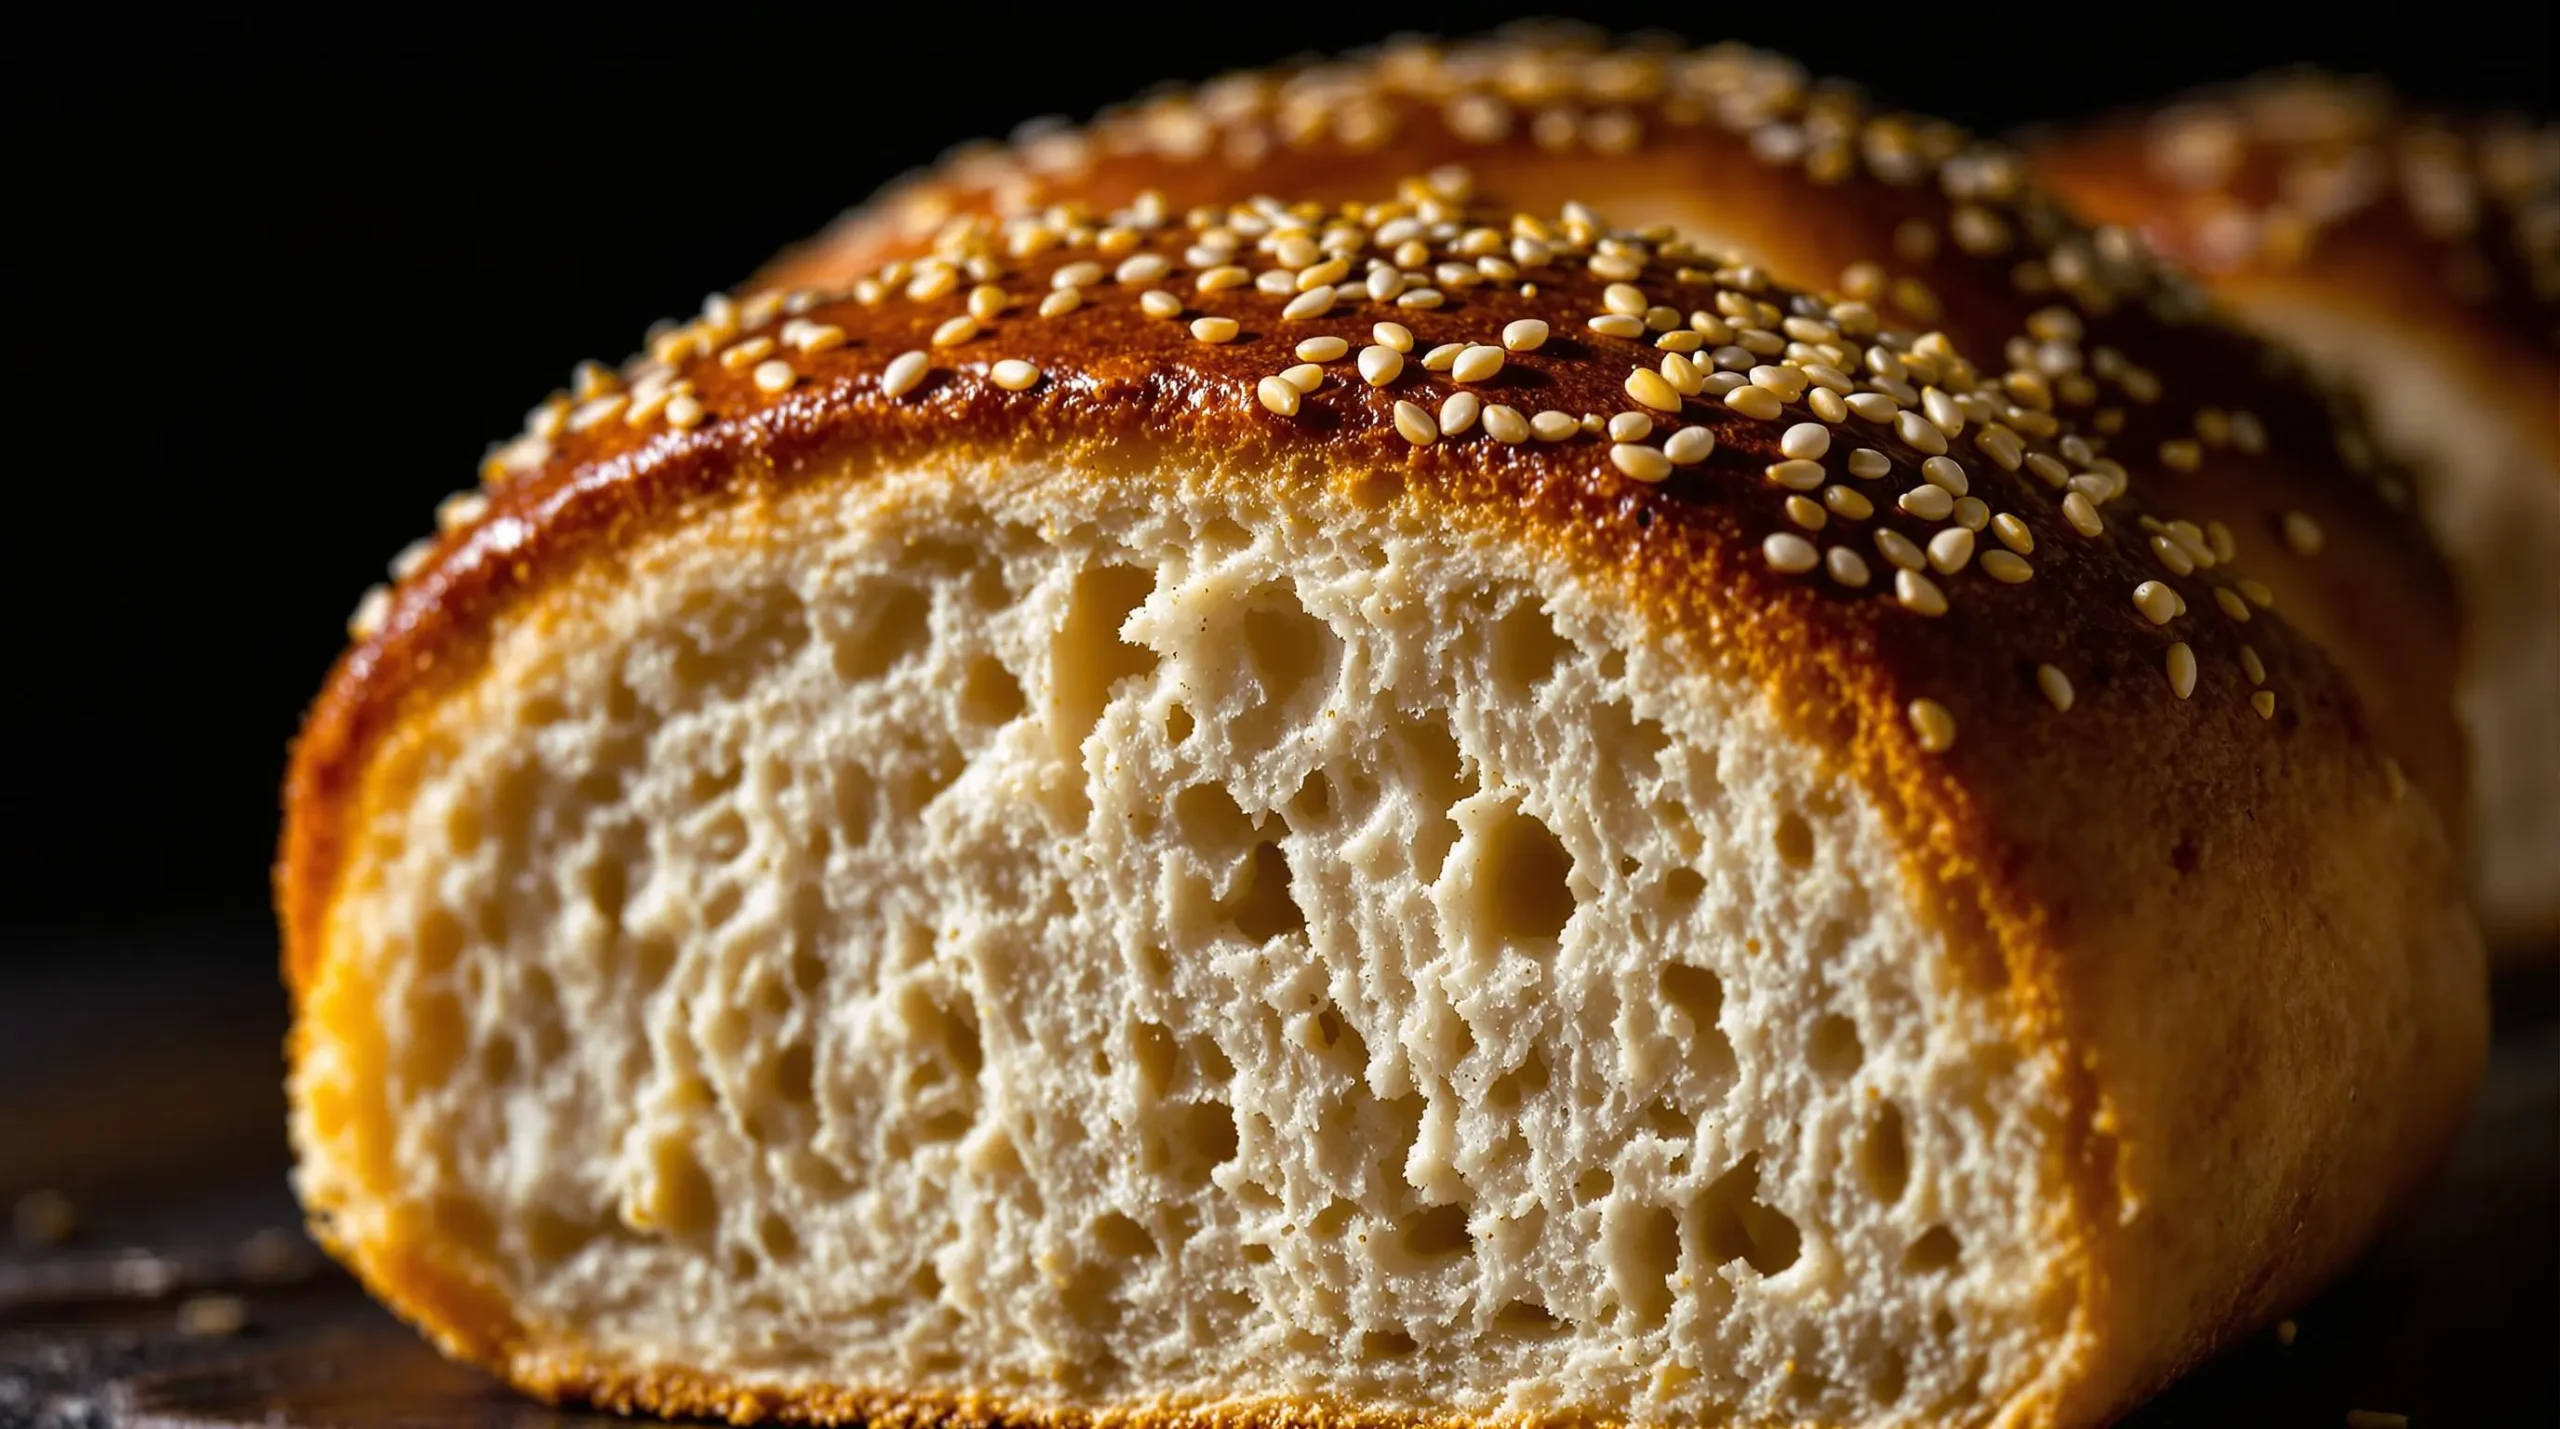
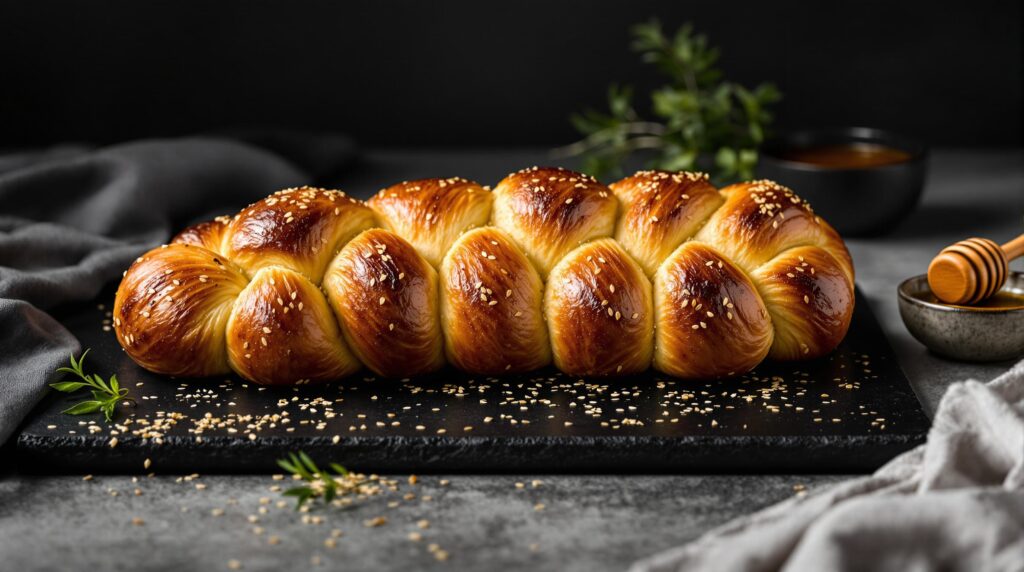
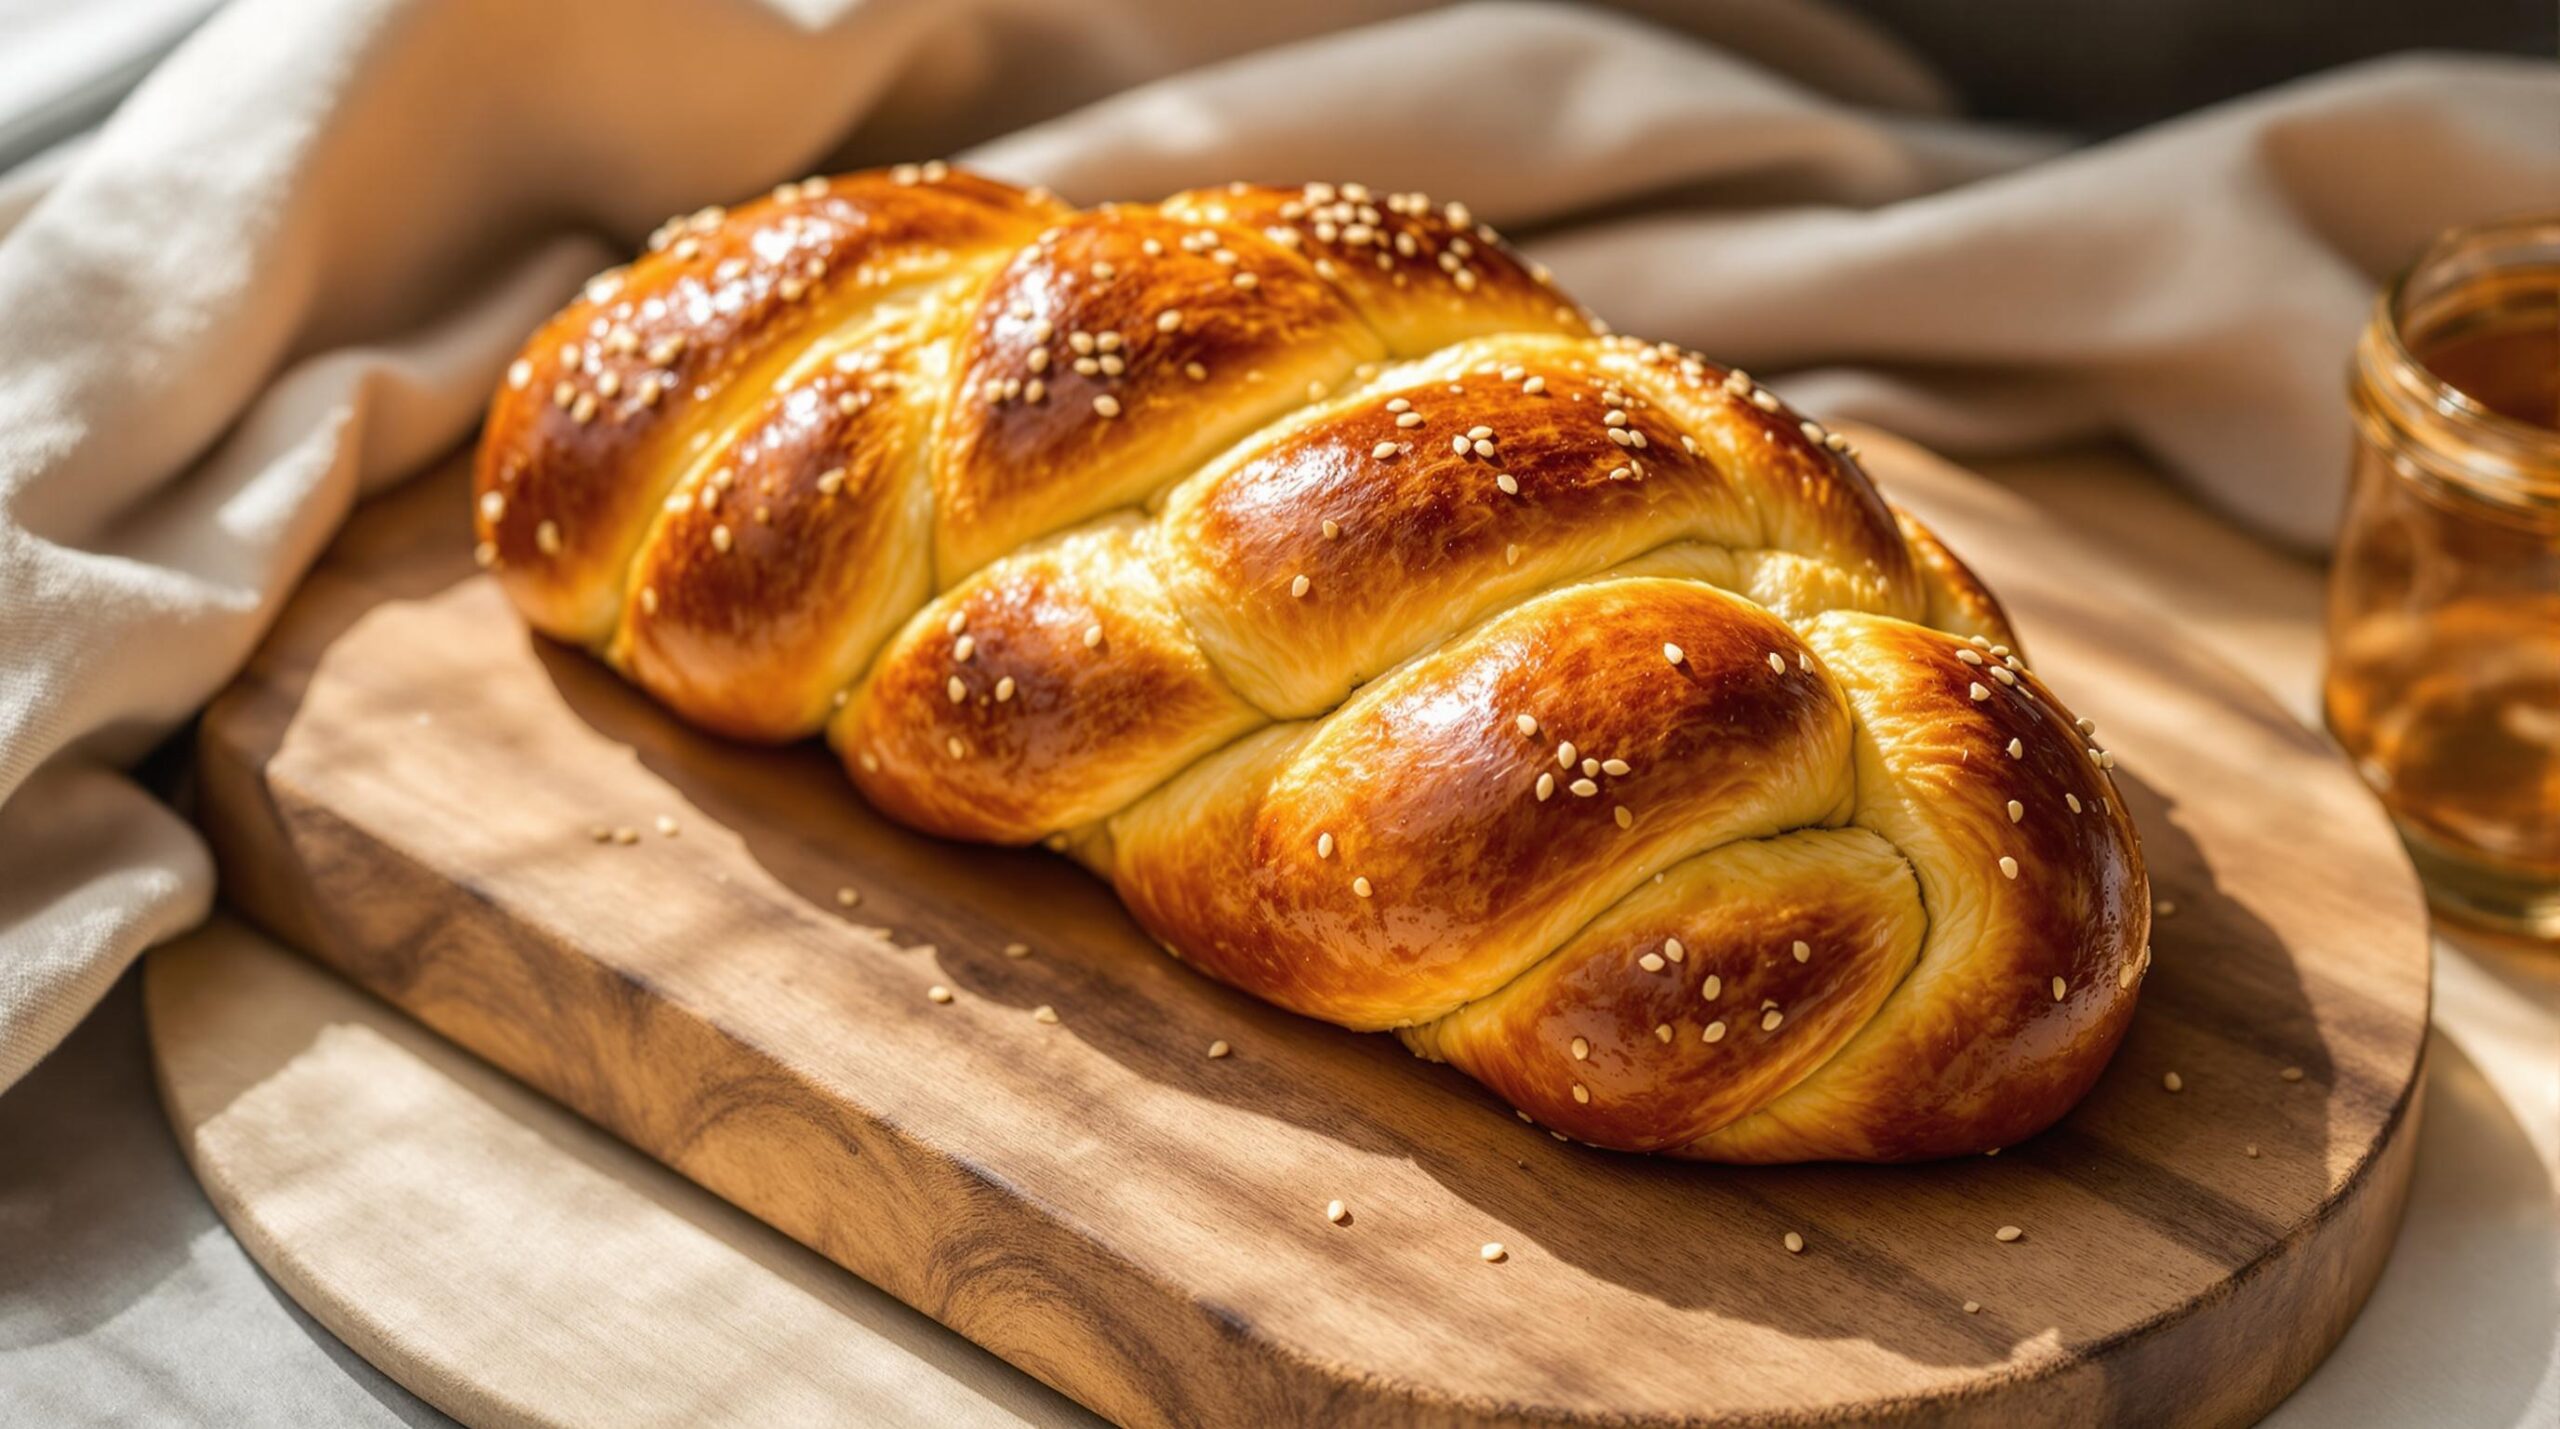
- Deep golden-brown color
- Hollow sound when tapped
- Slight resistance when pressed
- No doughy areas visible
Finally, cooling properly is crucial for texture development. Therefore, allow the bread to cool in the pan for 10 minutes before transferring to a wire rack. Moreover, resist the temptation to cut into the loaf for at least 2 hours to prevent gumminess.
By following these detailed braiding and baking guidelines, you’ll create a beautiful and delicious gluten-free challah that maintains its shape and delivers that traditional flavor everyone loves. Remember that practice makes perfect, and each loaf will help you refine your technique.

Frequently Asked Questions
After mastering the basics of this gluten-free challah recipe, you may still have some questions. Here are the most common inquiries we receive about making this special bread:
Can I make this gluten-free challah recipe ahead of time?
Absolutely! The dough can be refrigerated for up to 3 days before baking. In fact, many bakers find that overnight refrigeration improves both flavor and texture. Just make sure to wrap the dough tightly in plastic wrap and let it come to room temperature before shaping.
Why isn’t my dough rising properly?
Several factors can affect dough rising. First, check if your yeast is fresh – expired yeast won’t activate properly. Additionally, ensure your liquid temperature is between 110-115°F, as temperatures too hot or cold can kill or deactivate the yeast. Furthermore, using the wrong flour blend or incorrect measurements can also impact rise. Finally, maintain a warm, draft-free environment during proofing.
What’s the best way to store and freeze challah?
For fresh storage, keep your challah in an airtight container at room temperature for up to 2 days. To freeze, first let the bread cool completely, then slice it. Next, wrap individual portions tightly in plastic wrap and place in a freezer bag. The bread will maintain its quality for up to 3 months when frozen. When ready to eat, thaw slices at room temperature or toast them directly from frozen.
Is this recipe kosher?
Yes, when made with certified kosher ingredients, this recipe is completely kosher. Moreover, it’s suitable for both dairy and meat meals since it contains no dairy ingredients. However, always check your specific ingredient brands for kosher certification if this is important to you.
Can I substitute different flours?
While it’s possible to modify the flour blend, we strongly recommend following the recipe exactly for your first few attempts. Subsequently, once you understand how the dough should look and feel, you can experiment with different flour combinations. Just remember to maintain similar ratios of whole grain to starch flours for the best results.
Remember that mastering gluten-free baking takes practice and patience. Don’t get discouraged if your first attempt isn’t perfect – each loaf will help you improve your technique and understanding of how the dough should look and feel at each stage.
Bringing It All Together
Creating the perfect gluten-free challah recipe is a journey that combines tradition, technique, and patience. As we’ve explored throughout this guide, achieving that ideal golden-brown, braided loaf requires attention to detail and understanding of how gluten-free ingredients work together. Moreover, with practice and persistence, you’ll develop an intuition for working with this special dough.
Remember that your first few attempts at this gluten-free challah recipe may not be perfect, and that’s completely normal. Each time you make it, you’ll better understand how the dough should feel, what the ideal consistency looks like, and how to achieve that perfect braid. Furthermore, don’t be afraid to experiment with different toppings or shapes once you’ve mastered the basics.
The key to success lies in following the gluten-free baking fundamentals we’ve discussed: precise measurements, proper temperature control, and careful attention to rising times. Additionally, maintaining the right balance of ingredients ensures your challah will have that distinctive texture and flavor that makes traditional Jewish bread so special.
For best results, start with the basic three-strand braid before attempting more complex patterns. Subsequently, as your confidence grows, you can explore different braiding techniques and variations. Most importantly, remember that this bread isn’t just about appearance – it’s about creating meaningful connections and maintaining traditions while accommodating dietary restrictions.

Whether you’re making this challah for Shabbat, special occasions, or simply to enjoy with family and friends, take pride in knowing you’re creating something truly special. With each loaf, you’re not just baking bread; you’re preserving tradition and making it accessible to everyone, regardless of their dietary needs. Happy baking, and may your challah bring joy to all who share it!

