The Ultimate Crispix Mix Recipe
There’s something magical about the sound of reaching into a bowl of perfectly seasoned Crispix mix recipe – that satisfying crunch that keeps you coming back for more. This classic snack combines the perfect balance of salty, savory flavors with an irresistible crispy texture that makes it nearly impossible to stop munching.
What makes this Crispix mix recipe truly special is its incredible versatility and ease of preparation. In just about 15 minutes of hands-on time, you can whip up a big batch that’s perfect for everything from casual movie nights to holiday gatherings. Moreover, it’s one of those recipes that welcomes creativity – add your favorite nuts, switch up the seasonings, or include special treats to make it uniquely yours.
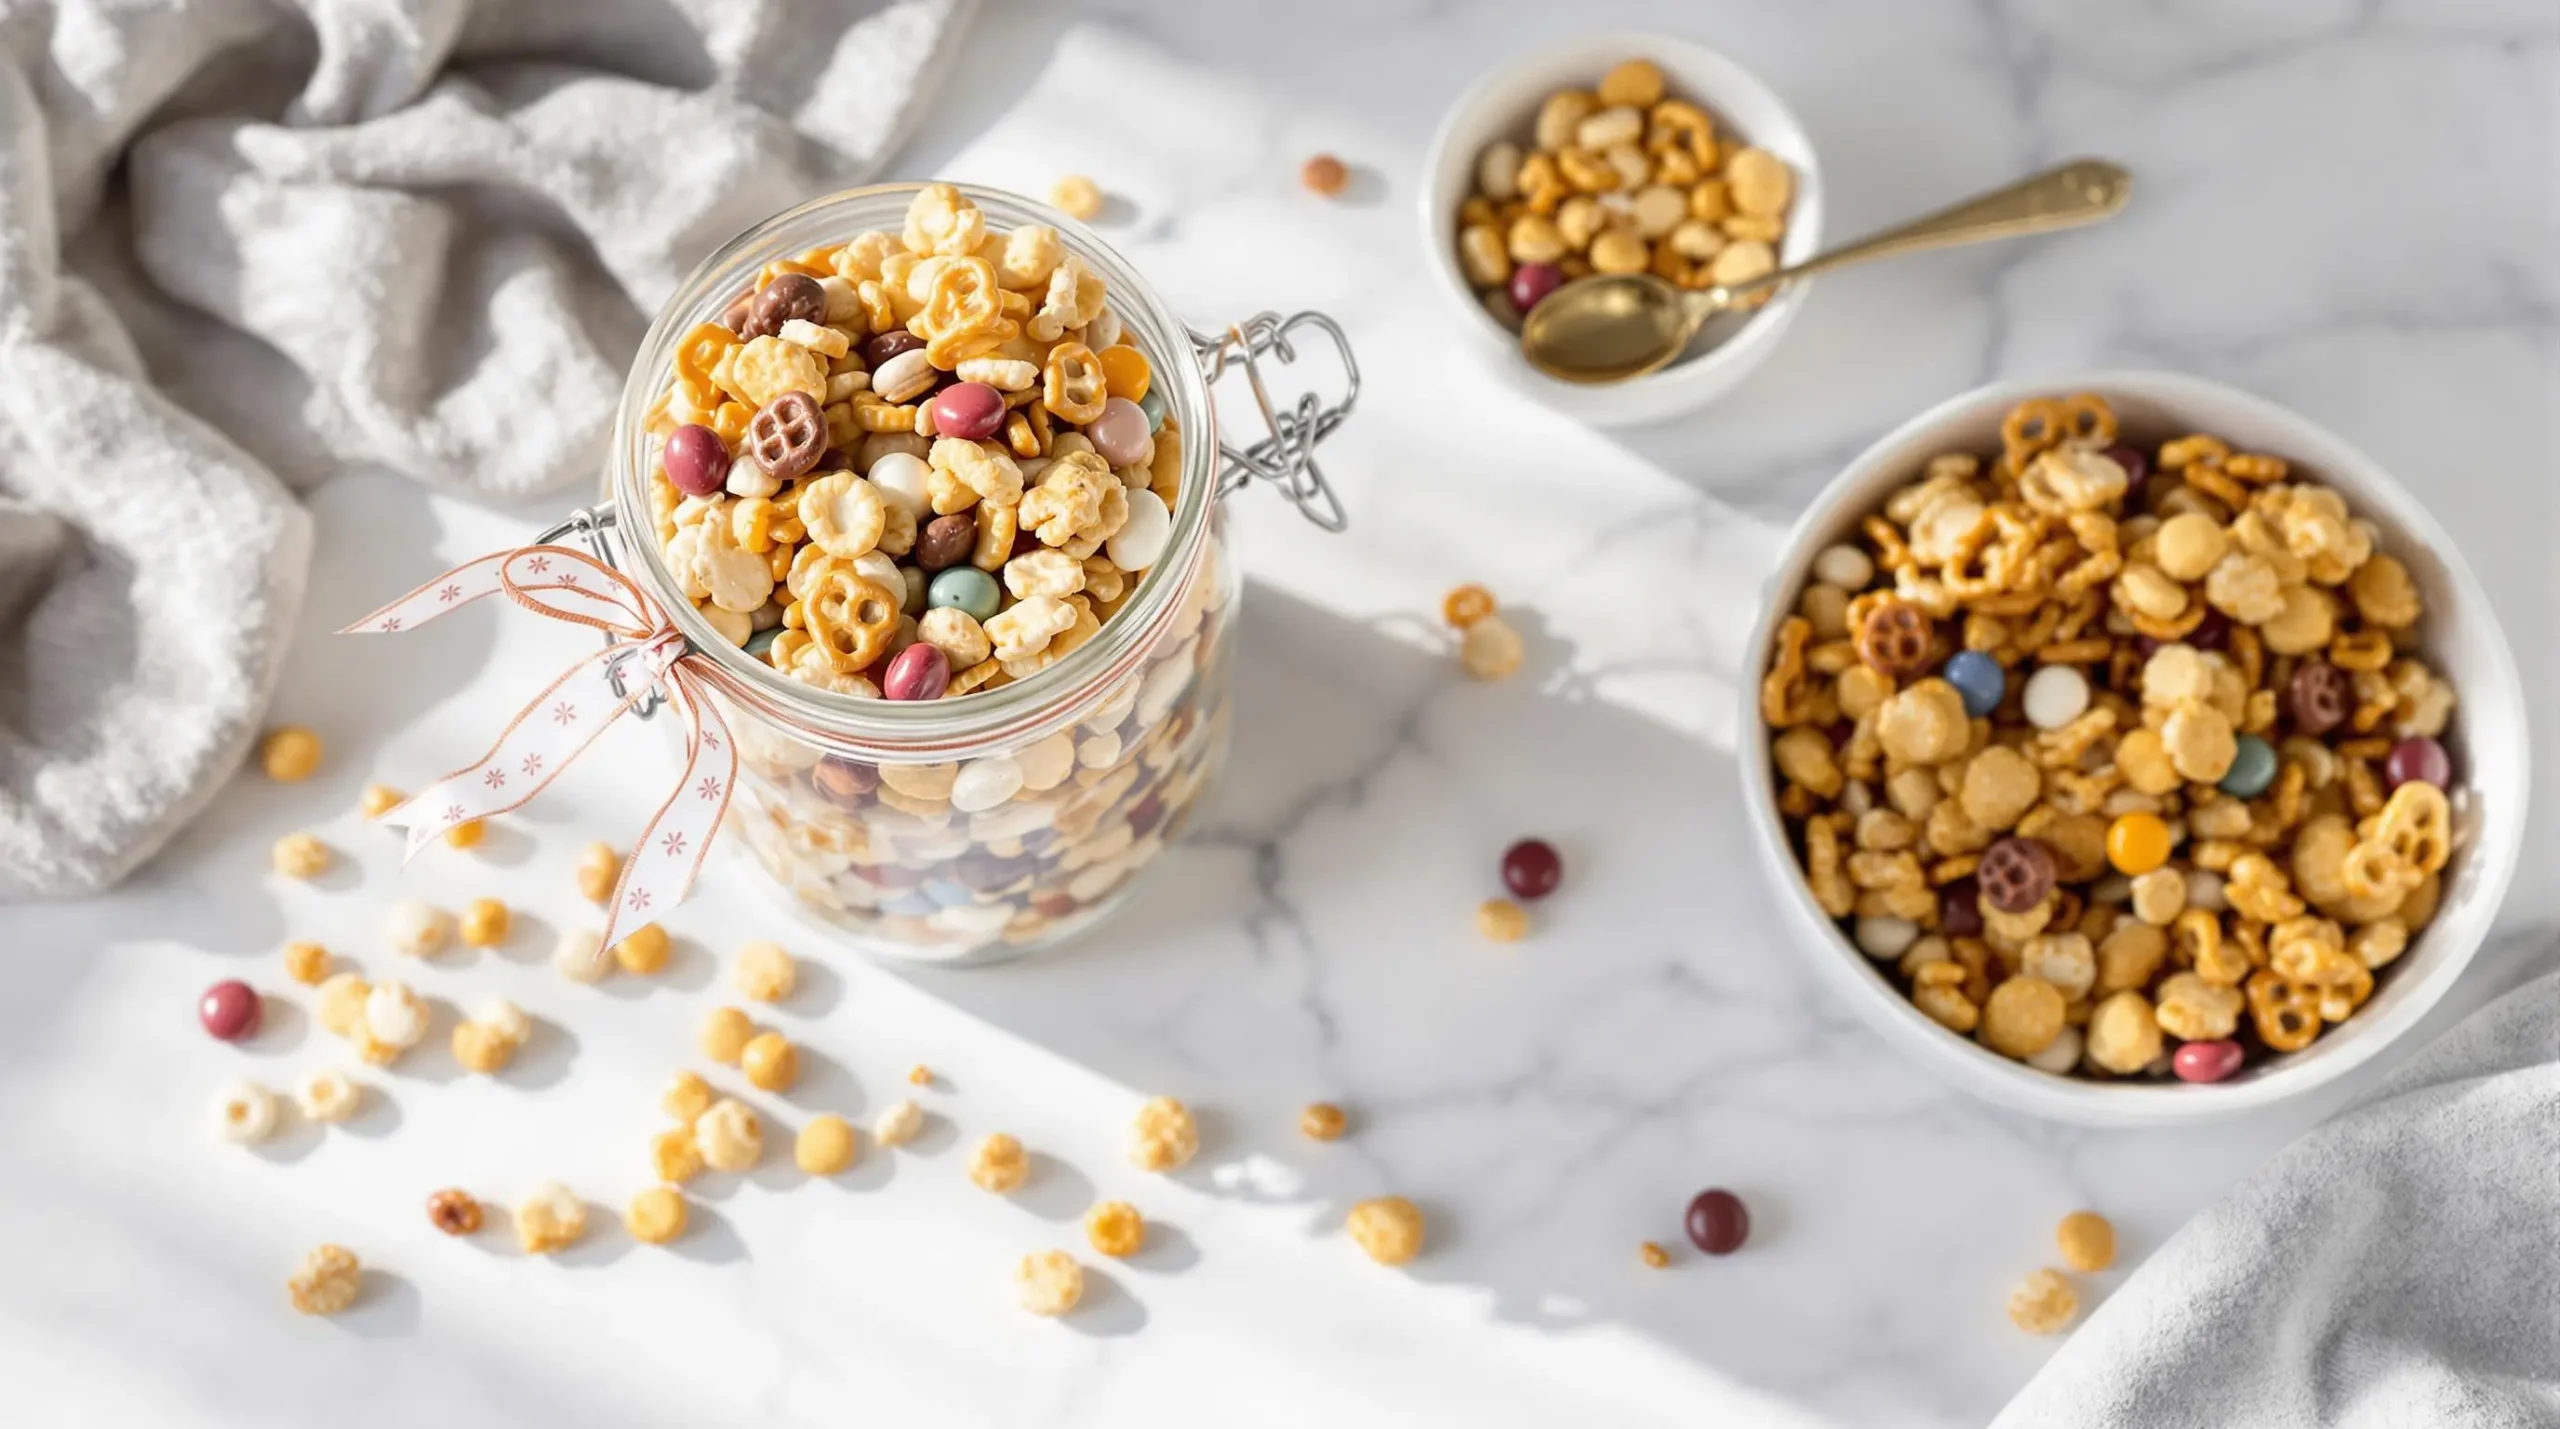
Whether you’re planning a party, looking for homemade gift ideas, or simply craving a delicious snack, this crowd-pleasing mix delivers every time. The best part? You can make it well in advance, as it stays fresh and crunchy for weeks when stored properly. Plus, packaging it in decorative containers or mason jars creates thoughtful, homemade gifts that friends and family will absolutely love.
Ready to discover how to make this addictively good snack? Let’s dive into the ingredients you’ll need and the simple steps to create your own batch of this beloved party mix. Once you see how easy it is, you’ll never want to buy pre-made snack mix again!
Essential Ingredients & Equipment for the Perfect Crispix Mix Recipe
Before diving into making this irresistible Crispix mix recipe, let’s gather everything you’ll need. Having all your ingredients and equipment ready makes the process smooth and enjoyable. Plus, proper preparation ensures your snack mix turns out perfectly crispy every time.
Base Ingredients for Your Crispix Mix Recipe
First, let’s talk about the foundation of this classic treat. The star of the show is, of course, Crispix cereal, which provides that signature light and airy crunch. You’ll need:
- 12 cups Crispix cereal (about 1½ boxes)
- 2 cups mixed nuts (pecans, almonds, or cashews work great)
- 2 cups pretzel sticks
- 1 cup M&Ms (optional, but adds wonderful color and sweetness)
Feel free to customize these quantities based on your preferences. Additionally, you can substitute Crispix with similar cereals like Chex or even mix different varieties for added texture.
Coating Ingredients That Make Magic Happen
The coating is what transforms simple cereal into an addictive snack. For the perfect Crispix mix recipe coating, gather:
- 1 cup unsalted butter
- 1 cup light brown sugar
- ¼ cup light corn syrup
- ½ teaspoon baking soda
- 1 teaspoon salt
Each ingredient plays a crucial role – the butter and brown sugar create that incredible caramel coating, while the corn syrup helps achieve the perfect texture. Meanwhile, baking soda and salt balance the sweetness and enhance the overall flavor profile.

Essential Tools for Success
Now, let’s look at the equipment you’ll need:
- 2 large rimmed baking sheets
- Parchment paper or silicone baking mats
- Large mixing bowl
- Medium saucepan
- Wooden spoon or heat-resistant spatula
- Candy thermometer (optional but helpful)
The right tools make a big difference in the final result. For instance, parchment paper prevents sticking and makes cleanup a breeze, while rimmed baking sheets keep everything contained during stirring.
Most importantly, using the proper size mixing bowl gives you enough space to coat all ingredients evenly without making a mess. A bowl that’s too small can lead to uneven coating and frustrating spillage.
Remember, temperature control is crucial when making the coating. While a candy thermometer isn’t absolutely necessary, it helps ensure you achieve the perfect consistency. If you’re not using one, watch for the mixture to bubble and turn a light caramel color – this usually takes about 5 minutes of steady cooking.
With these ingredients and tools ready to go, you’re all set to create a spectacular snack that’ll have everyone reaching for more. In the next section, we’ll walk through the step-by-step process of putting it all together.
Step-by-Step Recipe Instructions for the Perfect Crispix Mix Recipe
Now that we’ve gathered all our ingredients and tools, let’s dive into the exciting part – making this incredible Crispix mix recipe come to life! Following these detailed steps will ensure your snack turns out perfectly crispy and deliciously coated every time.
Preparation Steps for Your Crispix Mix Recipe
First things first, let’s get everything ready:
- Preheat your oven to 250°F (120°C). This low temperature helps achieve that perfect crispy texture without burning.
- Line your baking sheets with parchment paper or silicone mats.
- In your large mixing bowl, carefully combine:
- Crispix cereal
- Pretzels
- Nuts
- Hold off on adding M&Ms until after baking
Making the Caramel Coating
Now comes the magical part that transforms simple ingredients into an irresistible treat:
- In your medium saucepan over medium heat, combine:
- Butter
- Brown sugar
- Corn syrup
- Salt
- Stir constantly until the mixture starts bubbling (about 3-4 minutes)
- Once bubbling, cook for exactly 5 minutes while stirring occasionally
- Remove from heat and quickly stir in baking soda – watch it foam up!
Pro tip: The mixture should turn a beautiful golden caramel color. If using a candy thermometer, aim for 240°F (116°C) for the perfect consistency.
Baking & Setting Process
This final stage is crucial for achieving that signature crunch in your Crispix mix recipe:
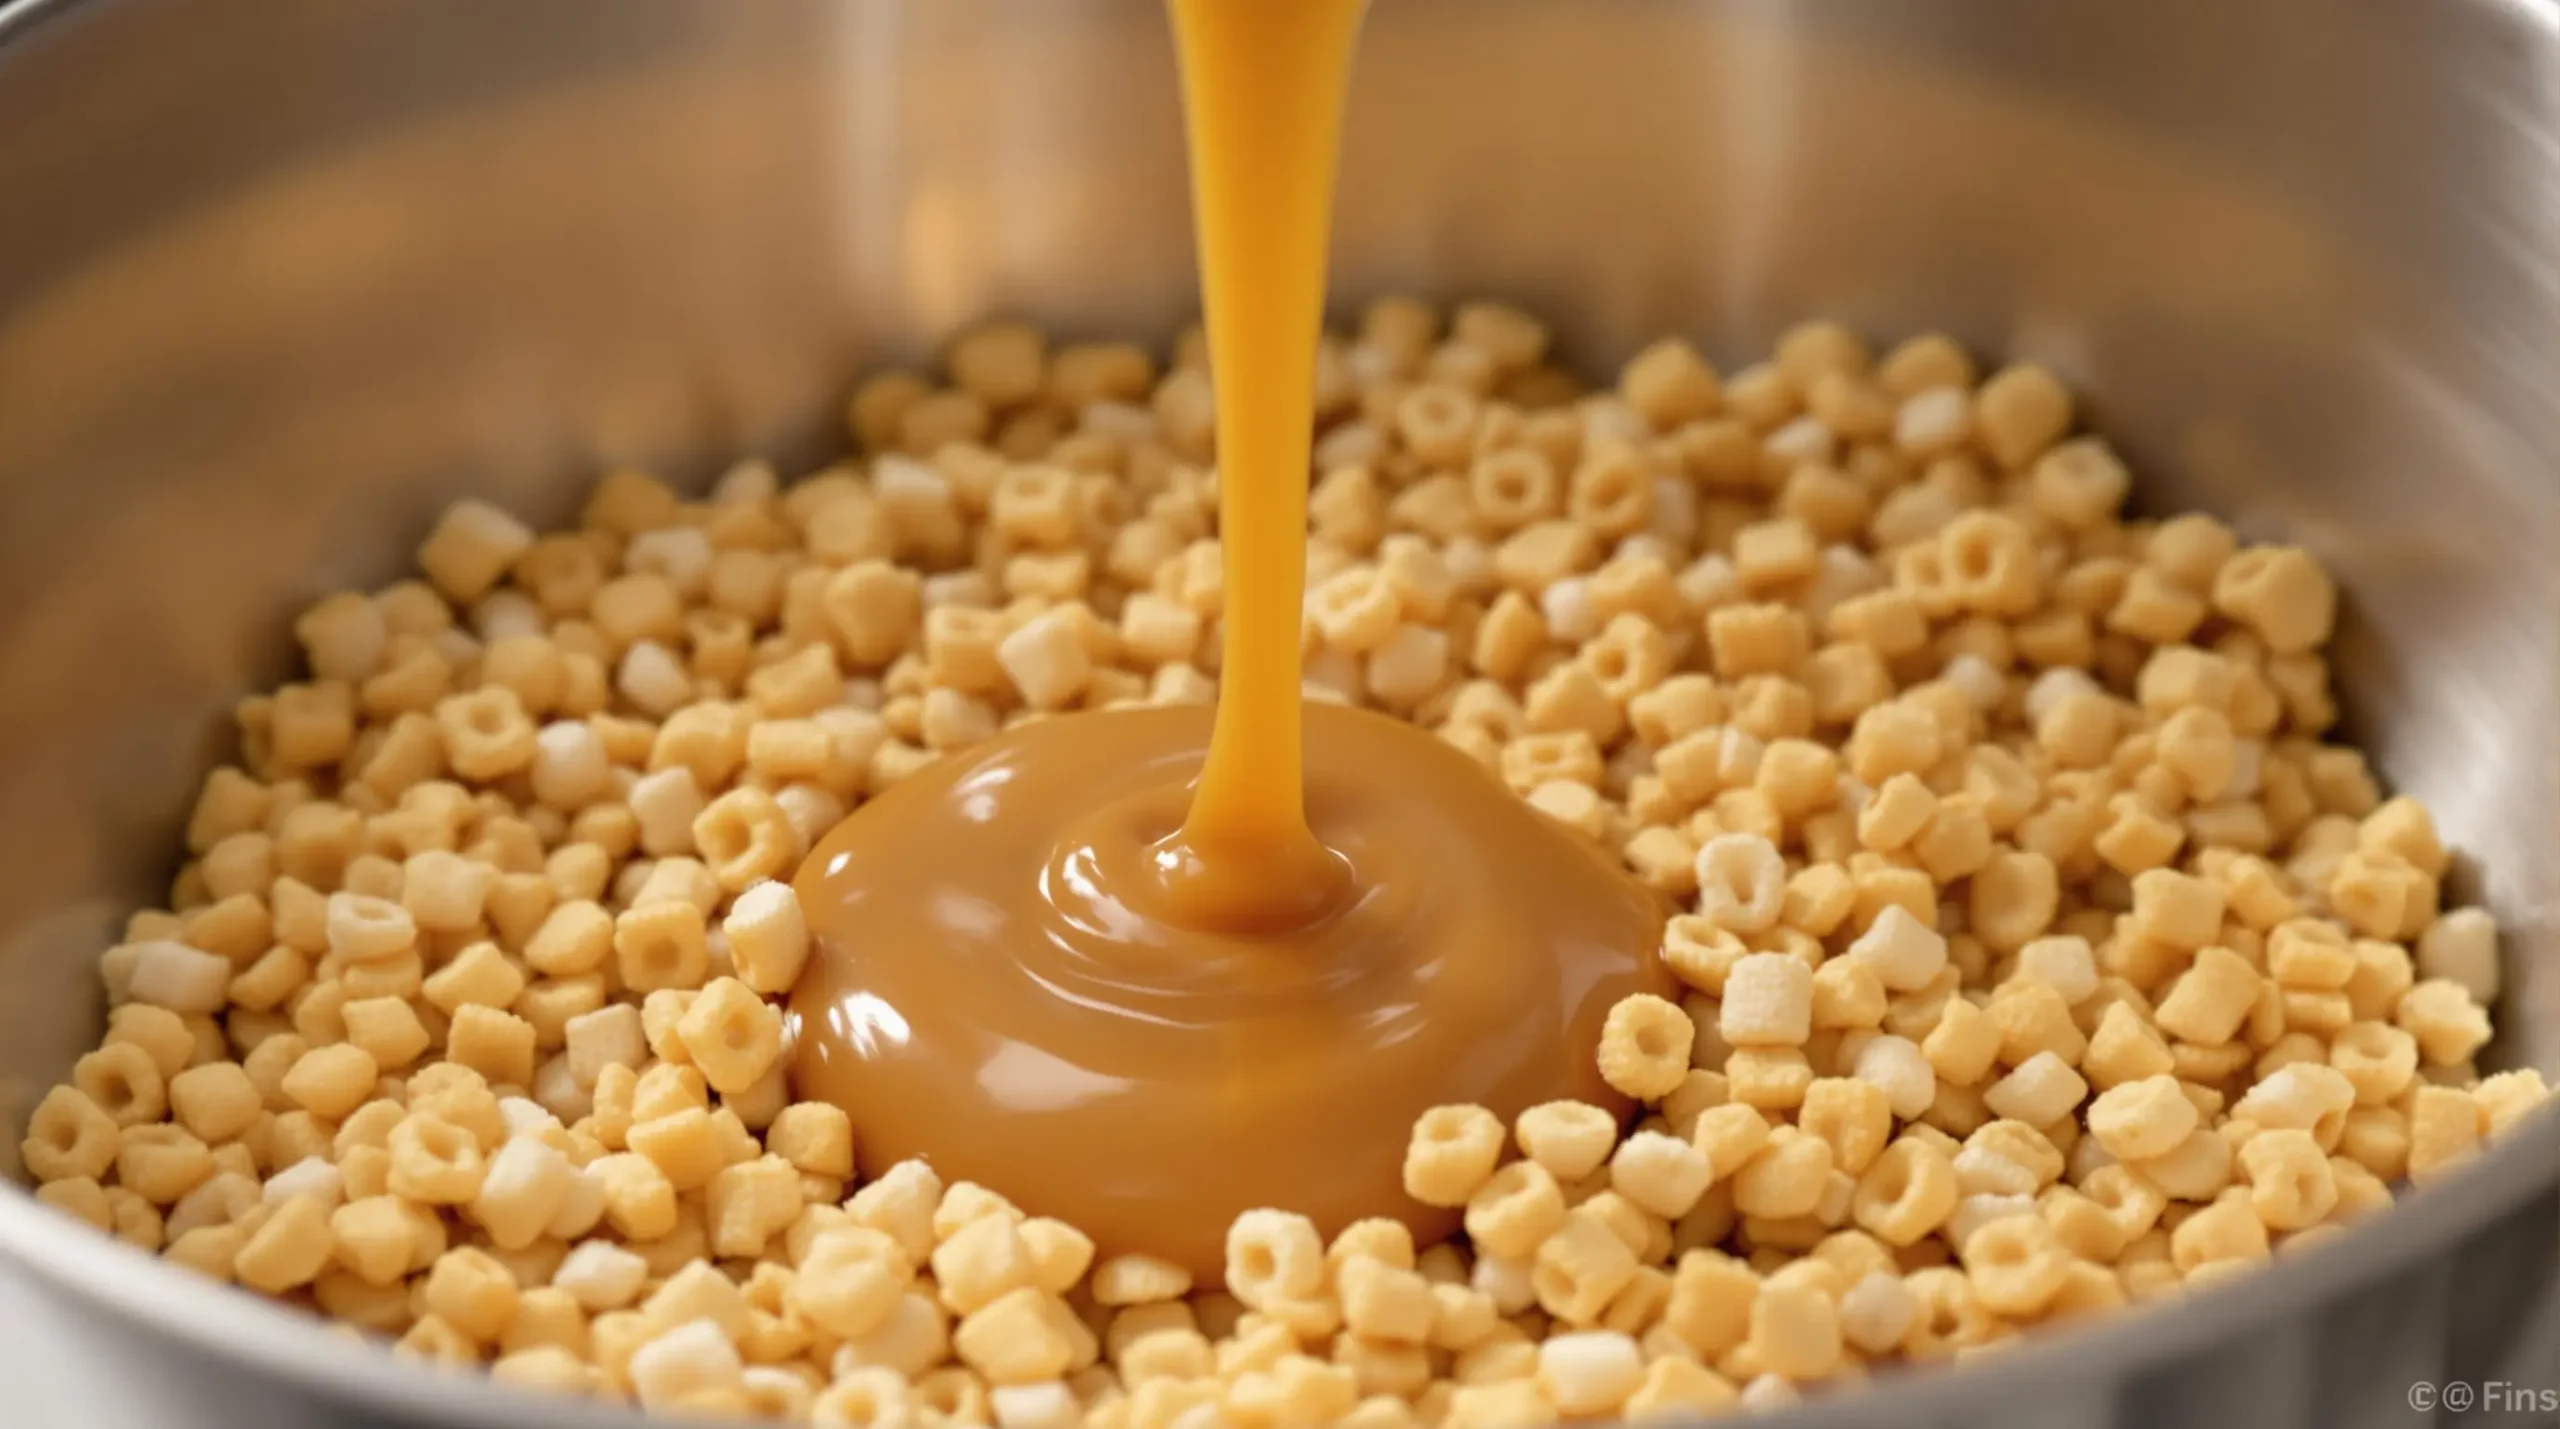
- Pour the hot caramel mixture over your cereal combination
- Gently but thoroughly fold everything together until evenly coated
- Spread mixture evenly across prepared baking sheets
- Bake for 1 hour total, but here’s the key:
- Stir every 15 minutes
- Rotate pans between racks for even cooking
- Watch for even coloring
During baking, the coating will transform from sticky to crispy. You’ll know it’s done when the pieces feel dry to the touch and move freely when stirred.
After baking, let the mixture cool completely on the baking sheets. This typically takes about 30-45 minutes. During this time, the coating will set and become perfectly crispy. Once cooled, break up any large clusters and stir in M&Ms if using.
Remember, patience is crucial during both the baking and cooling processes. Rushing either step could result in a sticky rather than crispy finish. Trust the process – your reward will be an absolutely irresistible snack that’s worth every minute of waiting!
Delicious Variations and Smart Storage for Your Crispix Mix Recipe
Once you’ve mastered the basic Crispix mix recipe, it’s time to explore exciting variations and learn how to keep your creation fresh and crispy. Whether you’re making it for yourself or planning to share, these tips will help you make the most of this versatile snack.
Creative Mix-In Ideas to Customize Your Crispix Mix Recipe
Let’s start by exploring some fantastic ways to make this snack uniquely yours:
Swap your cereals:
- Replace half the Crispix with Honey Nut Cheerios
- Mix in Wheat Chex for added texture
- Add Golden Grahams for extra sweetness
Fun candy additions:
- Peanut butter chips
- White chocolate chunks
- Toffee bits
- Seasonal candies (like candy corn for fall)
Nuts and more:
- Macadamia nuts for tropical flair
- Wasabi peas for spicy kick
- Coconut flakes
- Dried cranberries
Furthermore, you can create themed variations for different occasions. For instance, add red and green M&Ms for Christmas, or pastel-colored candies for Easter. The possibilities are truly endless!
Smart Storage Solutions for Long-Lasting Crunchiness
Proper storage is crucial to maintaining that perfect crunch in your Crispix mix recipe. Here’s what you need to know:
Container choices:
- Airtight glass containers
- Mason jars with tight-fitting lids
- Heavy-duty zip-top bags
- Food-grade storage containers
Keep these storage tips in mind:
- Cool completely before storing
- Remove as much air as possible from containers
- Store in a cool, dry place
- Avoid direct sunlight
- Keep away from heat sources
In optimal conditions, your mix can stay fresh for:
- 2-3 weeks at room temperature
- Up to 6 weeks in the refrigerator
- 3 months in the freezer

Gifting and Serving Your Homemade Snack Mix
Transform your snack mix into thoughtful gifts or party favorites with these creative ideas:
Packaging options:
- Clear cellophane bags tied with ribbon
- Decorative tin containers
- Mason jars with custom labels
- Holiday-themed boxes
For parties and gatherings:
- Use paper cones for individual portions
- Set up a mix-and-match bar
- Create themed serving bowls
- Provide small paper bags for take-home treats
Remember to include a note with storage instructions when gifting, ensuring your recipients can enjoy their treats for as long as possible. Additionally, consider adding a personalized touch by creating custom labels or tags with the recipe name and date made.
These variations and storage tips will help you make the most of this classic snack. Whether you’re experimenting with new flavors or preparing gifts for friends and family, your Crispix mix will always be a hit!
Frequently Asked Questions About Your Crispix Mix Recipe
After sharing this beloved Crispix mix recipe with countless snack enthusiasts, here are the most common questions that come up. Let’s address these to help you create the perfect batch every time!
How long does Crispix mix stay fresh?
When stored properly in an airtight container at room temperature, your mix will stay fresh and crunchy for 2-3 weeks. For longer storage, you can keep it in the refrigerator for up to 6 weeks. The key is ensuring your container is completely sealed and stored in a cool, dry place away from direct sunlight.
Can I make this ahead for gifts?
Absolutely! This Crispix mix recipe is perfect for make-ahead gifts. Plan to prepare it no more than 1-2 weeks before gifting for optimal freshness. Package it in airtight containers or decorative bags once completely cooled. For best results, add a note with storage instructions and the “best by” date.
What are the best substitutes for ingredients?
Here’s a quick guide to common substitutions:
- Crispix: Use Chex cereal (any variety) or Corn Squares
- Light corn syrup: Dark corn syrup or honey (though this may change the flavor slightly)
- Mixed nuts: Any combination of your favorite nuts or even seeds
- Brown sugar: White sugar with a tablespoon of molasses
Why is my mix sticky/not crunchy?
Several factors can affect the texture:
- Not baking long enough
- Skipping the stirring steps during baking
- Storing before completely cool
- Too much humidity in the storage area
To fix this, try baking for an additional 15 minutes at 250°F, stirring every 5 minutes. Remember to let it cool completely before storing. Also, on humid days, you might need to extend the baking time slightly.
These solutions should help you achieve that perfect crunch every time. Remember, practice makes perfect, and even if your first batch isn’t exactly right, it will still be delicious! Feel free to experiment with different variations until you find your favorite combination.
Final Tips for Mastering Your Crispix Mix Recipe Success
As we wrap up this ultimate guide to creating the perfect Crispix mix recipe, let’s recap what makes this snack so special and encourage you to start your own snack-making adventure!
First and foremost, remember that the beauty of this Crispix mix recipe lies in its flexibility. While our base recipe creates an incredibly delicious treat, don’t be afraid to experiment with different ingredients and flavors. Whether you’re craving something sweet, savory, or a bit of both, this versatile snack can adapt to your taste preferences.
Additionally, timing is everything when making this mix. Pay close attention to the baking process, stirring regularly, and allowing proper cooling time. These steps might seem simple, but they’re crucial for achieving that perfect crunch that keeps everyone coming back for more.
Moreover, proper storage is key to maintaining freshness. Using airtight containers and storing in a cool, dry place will ensure your mix stays crispy and delicious for weeks. This makes it perfect for preparing ahead for parties or creating thoughtful homemade gifts.
Most importantly, have fun with the process! Making snack mix is a wonderful activity to share with family and friends. Get creative with seasonal variations, try different coating flavors, or set up a mix-and-match bar at your next gathering. The possibilities are endless!
We’d love to see your creative takes on this classic recipe. Share your unique combinations and success stories – every batch tells its own delicious story! Remember, whether you stick to the classic recipe or venture into exciting variations, you’re just minutes away from creating a crowd-pleasing snack that’s sure to become a favorite in your recipe collection.

So grab your ingredients, preheat that oven, and get ready to create something truly special. Your perfect batch of homemade snack mix awaits!

