Imagine creating soft, pillowy flatbreads with just flour and yogurt. This yogurt flatbread recipe transforms two simple pantry staples into warm, fresh bread in under 30 minutes – no yeast or lengthy proving time needed. The magic lies in how the yogurt reacts with the flour to create a tender, flexible dough that cooks up beautifully on a hot griddle.
Whether you’re a novice baker or seasoned cook, this recipe opens up endless possibilities in your kitchen. The flatbreads come together quickly and prove more cost-effective than store-bought versions. Plus, you can customize the thickness and size to suit your needs – from thin wraps to thicker, more substantial breads.
As you work through this yogurt flatbread recipe, you’ll learn essential dough-handling techniques and discover how yogurt creates the perfect texture. We’ll explore the crucial steps for achieving that signature golden spotting and the ideal temperature for cooking. Additionally, you’ll master the art of rolling even circles and maintaining the right dough consistency.
In the following sections, we’ll walk through each step of the process, from mixing the dough to storing leftover flatbreads. You’ll find detailed tips for troubleshooting common issues and creative serving suggestions that make these versatile breads shine at any meal. Whether you’re wrapping up fresh ingredients or serving them alongside your favorite curry, these flatbreads are sure to become a staple in your cooking repertoire.
Let’s begin by gathering our ingredients and preparing our workspace for this simple yet rewarding baking adventure.
Essential Ingredients & Equipment for Yogurt Flatbread Recipe
Before diving into the mixing process, let’s explore everything you’ll need to create these tender flatbreads. Having the right ingredients and tools ready makes this yogurt flatbread recipe flow smoothly from start to finish.
Core Ingredients for Perfect Yogurt Flatbread
The beauty of this recipe lies in its simplicity. First and foremost, you’ll need all-purpose flour – about 2 cups for a basic batch. Look for unbleached flour with a protein content between 10-12% for the best results. While bread flour can work, it may create a chewier texture than desired.
Next, the star ingredient: yogurt. Plain, full-fat Greek yogurt delivers the best results, though regular plain yogurt works well too. The thickness of Greek yogurt helps create a more manageable dough. Additionally, you’ll need:
- 1 teaspoon of salt to enhance flavor
- 1 teaspoon of baking powder for subtle lift
- Optional: 1 tablespoon of olive oil for added softness
Optional Add-ins for Flavor Enhancement
One of the joys of this yogurt flatbread recipe is its versatility. Consider these flavor-boosting additions:
- Fresh herbs like minced garlic, chopped rosemary, or thyme
- Ground spices such as cumin, black pepper, or za’atar
- Finely chopped fresh herbs like cilantro or parsley
- Grated hard cheese for a savory twist
For cooking, keep butter or olive oil nearby. While not strictly necessary, a light brush of either helps achieve that appealing golden color and adds richness to the final product.

Essential Kitchen Tools
Successfully executing this recipe requires some basic equipment. Most importantly, you’ll need:
- A large mixing bowl for combining ingredients
- A clean, flat surface for kneading and rolling
- A rolling pin (though a wine bottle can work in a pinch)
- Measuring cups and spoons for accuracy
For cooking your flatbreads, choose between:
- A cast-iron skillet (preferred for even heating)
- A heavy-bottom non-stick pan
- A flat griddle or tawa if you have one
Additionally, keep these helpful tools nearby:
- A pastry brush for applying oil or butter
- A spatula for flipping
- A clean kitchen towel for keeping cooked flatbreads warm
Remember, while this list might seem extensive, most items are kitchen basics you likely already own. The key to success with any yogurt flatbread recipe lies not in having professional equipment but in understanding how to use what you have effectively. With these ingredients and tools ready, you’re well-prepared to begin the mixing and shaping process we’ll explore in the next section.
Step-by-Step Recipe Instructions for Yogurt Flatbread
Now that we’ve gathered our ingredients, let’s dive into the heart of this yogurt flatbread recipe. Following these precise steps will ensure your flatbreads turn out perfectly tender and flavorful every time.
Making the Dough
First, combine your measured flour, salt, and baking powder in a large bowl. Next, add your room-temperature yogurt gradually while mixing with your fingers or a wooden spoon. This gradual incorporation helps achieve the ideal consistency without overworking the dough.
For the best results:
- Mix until the dough just comes together – about 2-3 minutes
- Knead gently on a floured surface for 5-7 minutes until smooth
- The dough should feel soft but not sticky to the touch
- If too dry, add yogurt one teaspoon at a time
- If too wet, dust with small amounts of flour
Let the dough rest covered for 15-30 minutes. This crucial step allows the flour to fully hydrate and makes the dough more pliable and easier to shape.
Rolling and Shaping
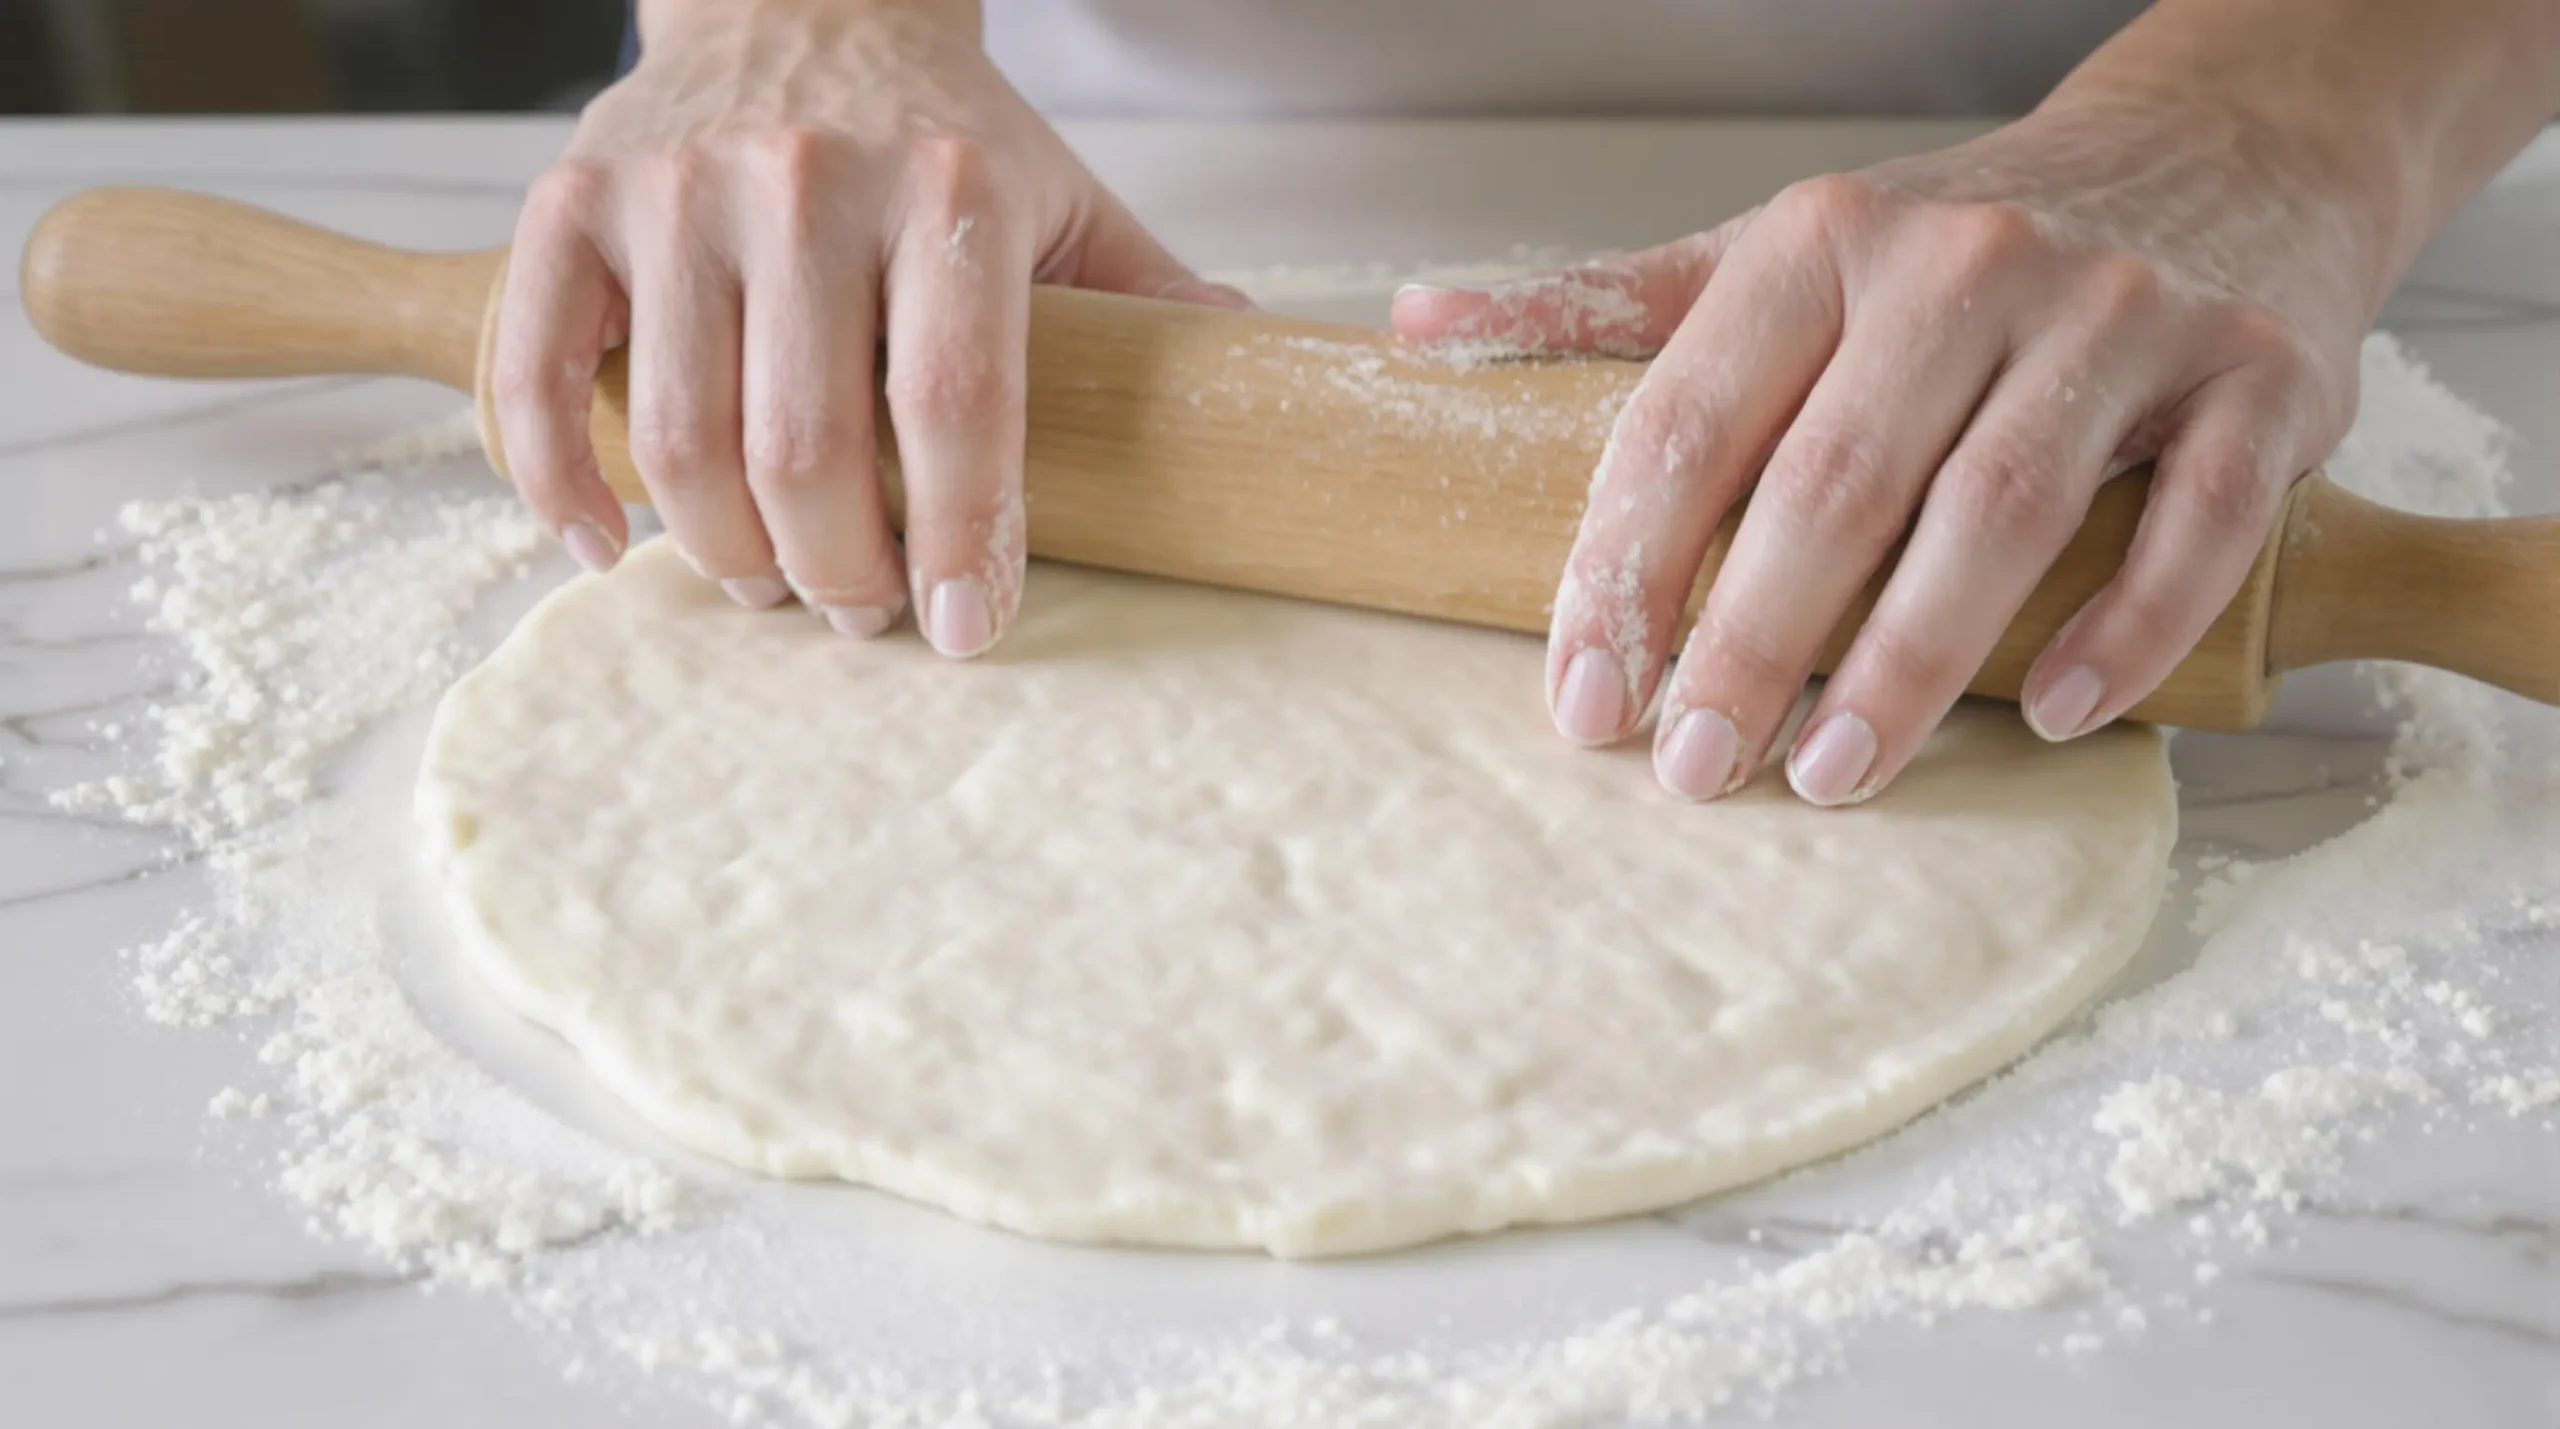
After resting, divide your yogurt flatbread recipe dough into 8-10 equal portions. Roll each portion into a smooth ball, then:
- Dust your work surface lightly with flour
- Press each ball into a disc with your palm
- Roll outward from the center, rotating frequently
- Aim for 1/8 inch thickness for traditional flatbreads
- Keep edges as even as possible for uniform cooking
Common mistakes to avoid:
- Rolling too thin in spots (leads to burning)
- Using excessive flour (makes bread tough)
- Uneven thickness (causes inconsistent cooking)
Cooking Process
Heat your pan or griddle over medium-high heat. To test the temperature, sprinkle water droplets – they should dance and evaporate within 2-3 seconds. Then:
- Place the rolled flatbread on the hot surface
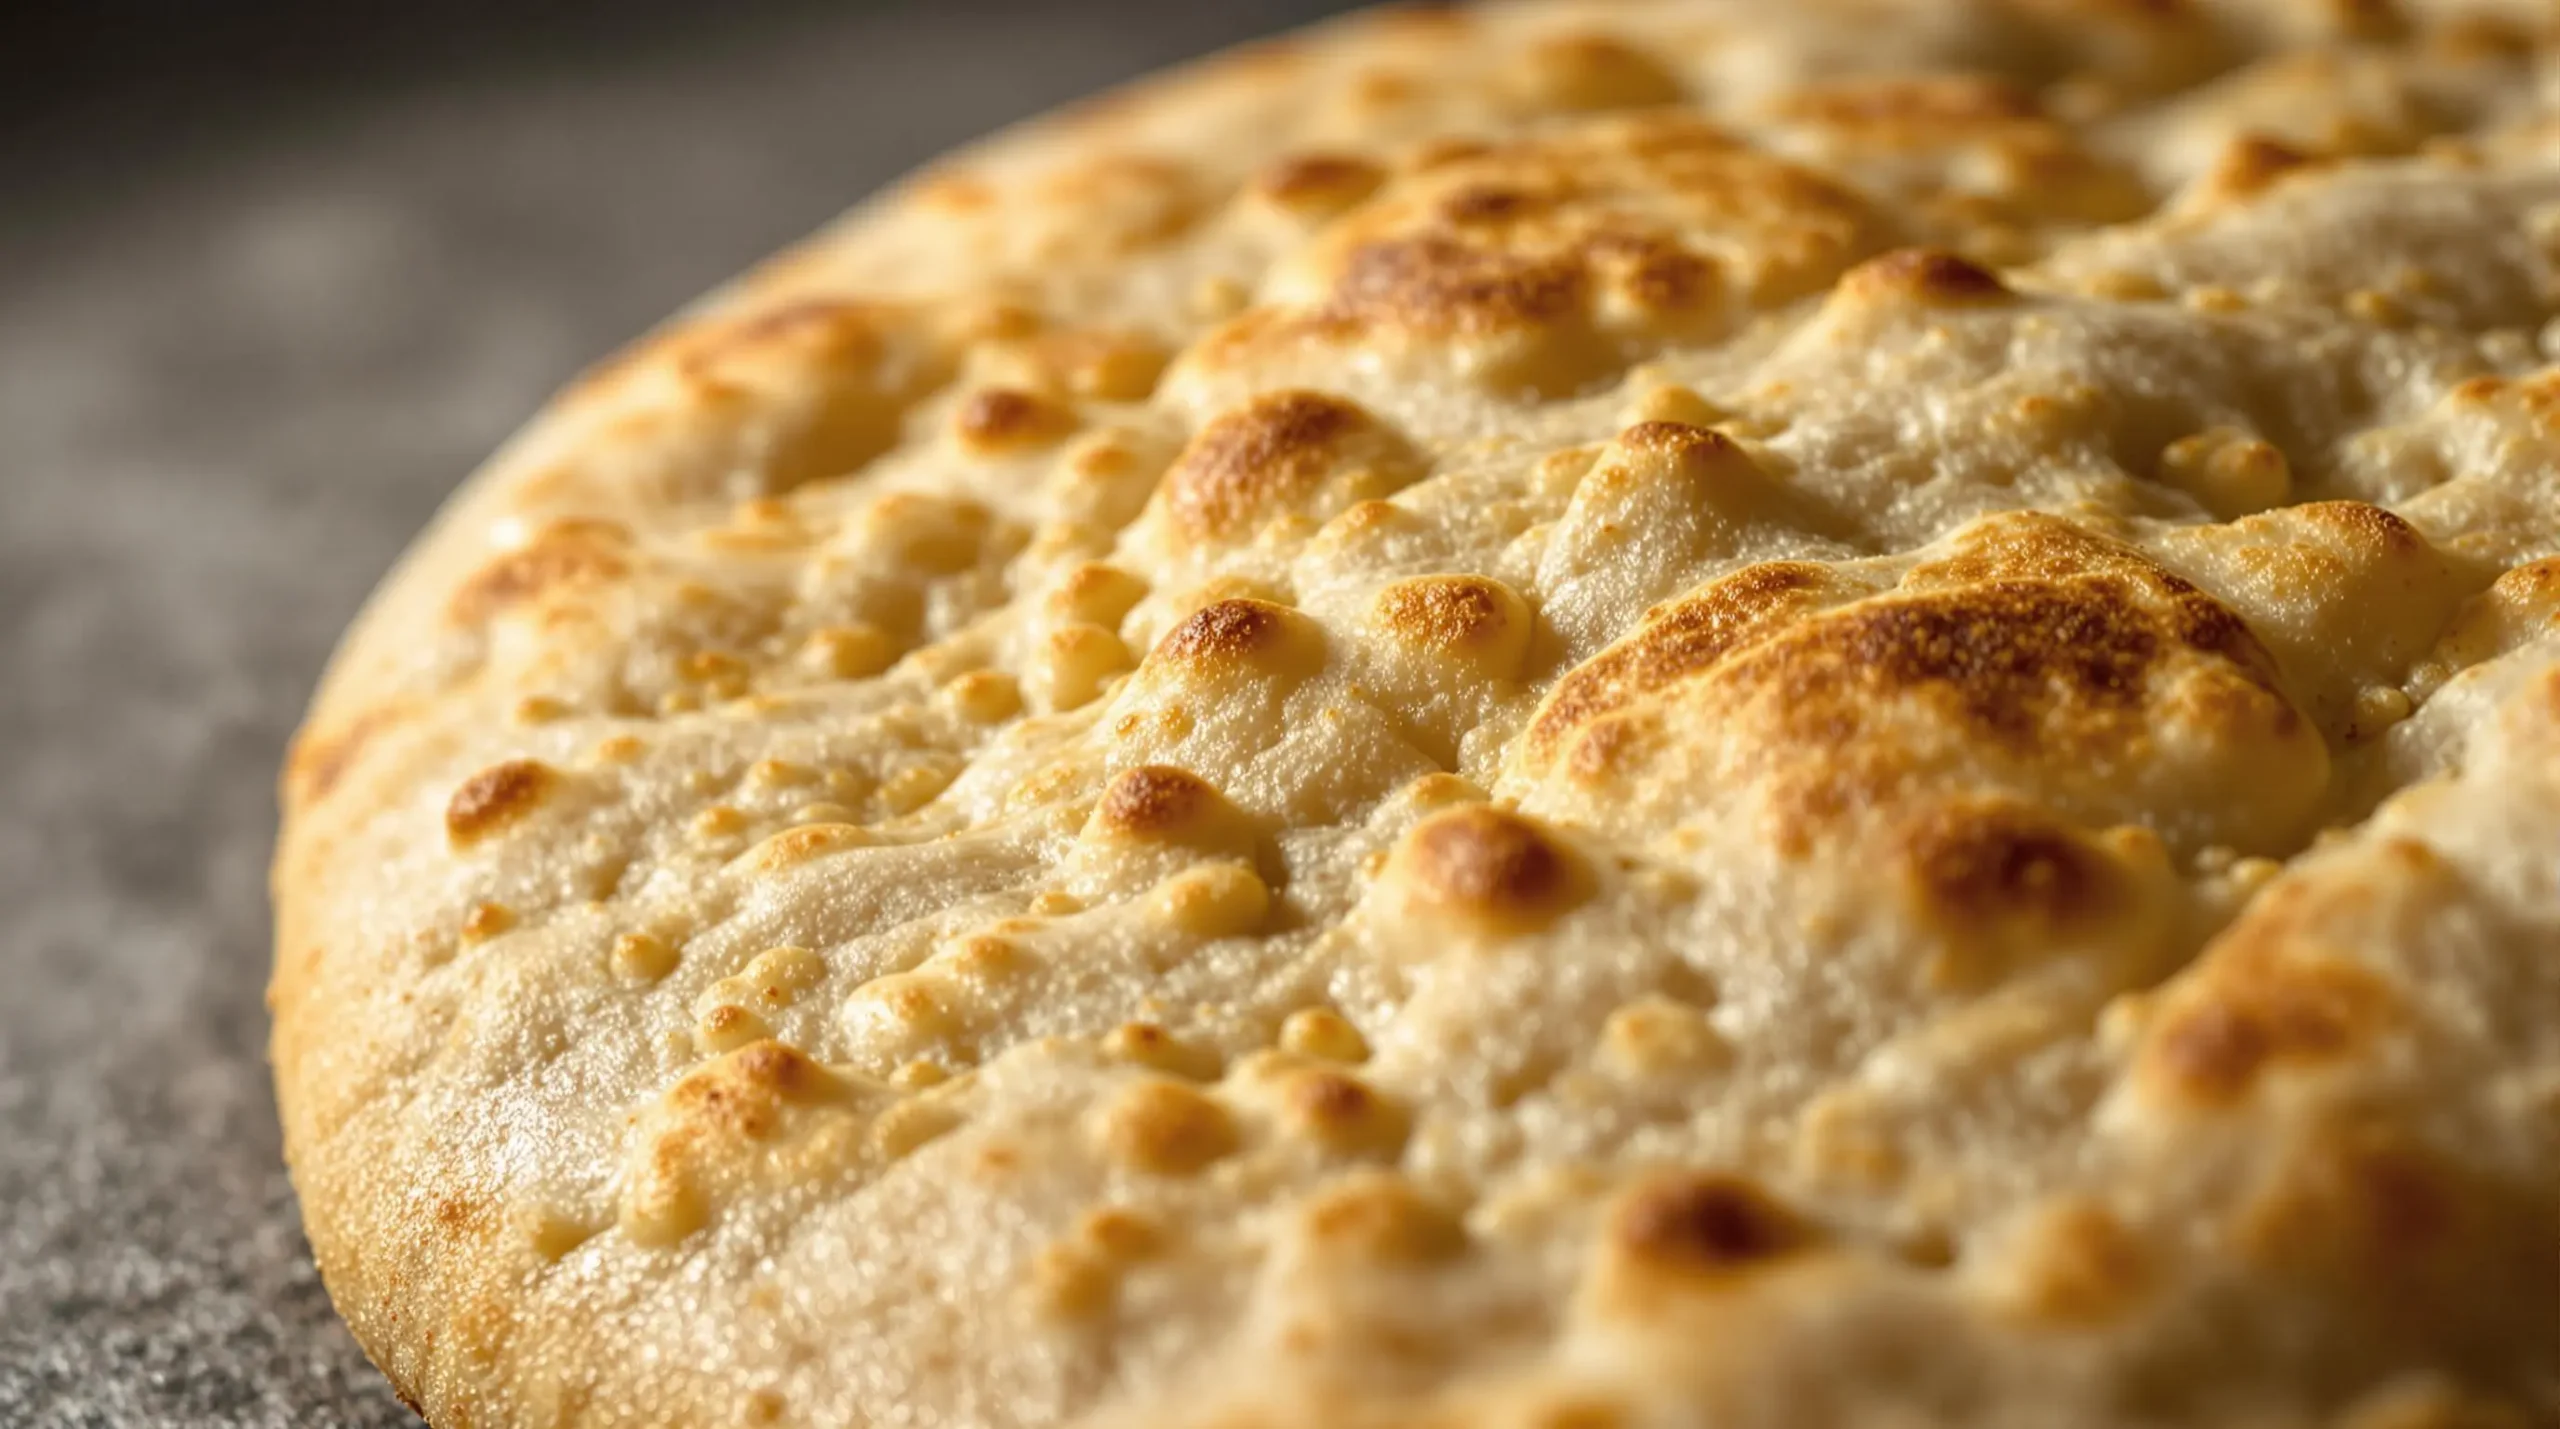
- Cook for 45-60 seconds until bubbles form
- Flip and cook another 30-45 seconds
- Press gently with a spatula to ensure even browning
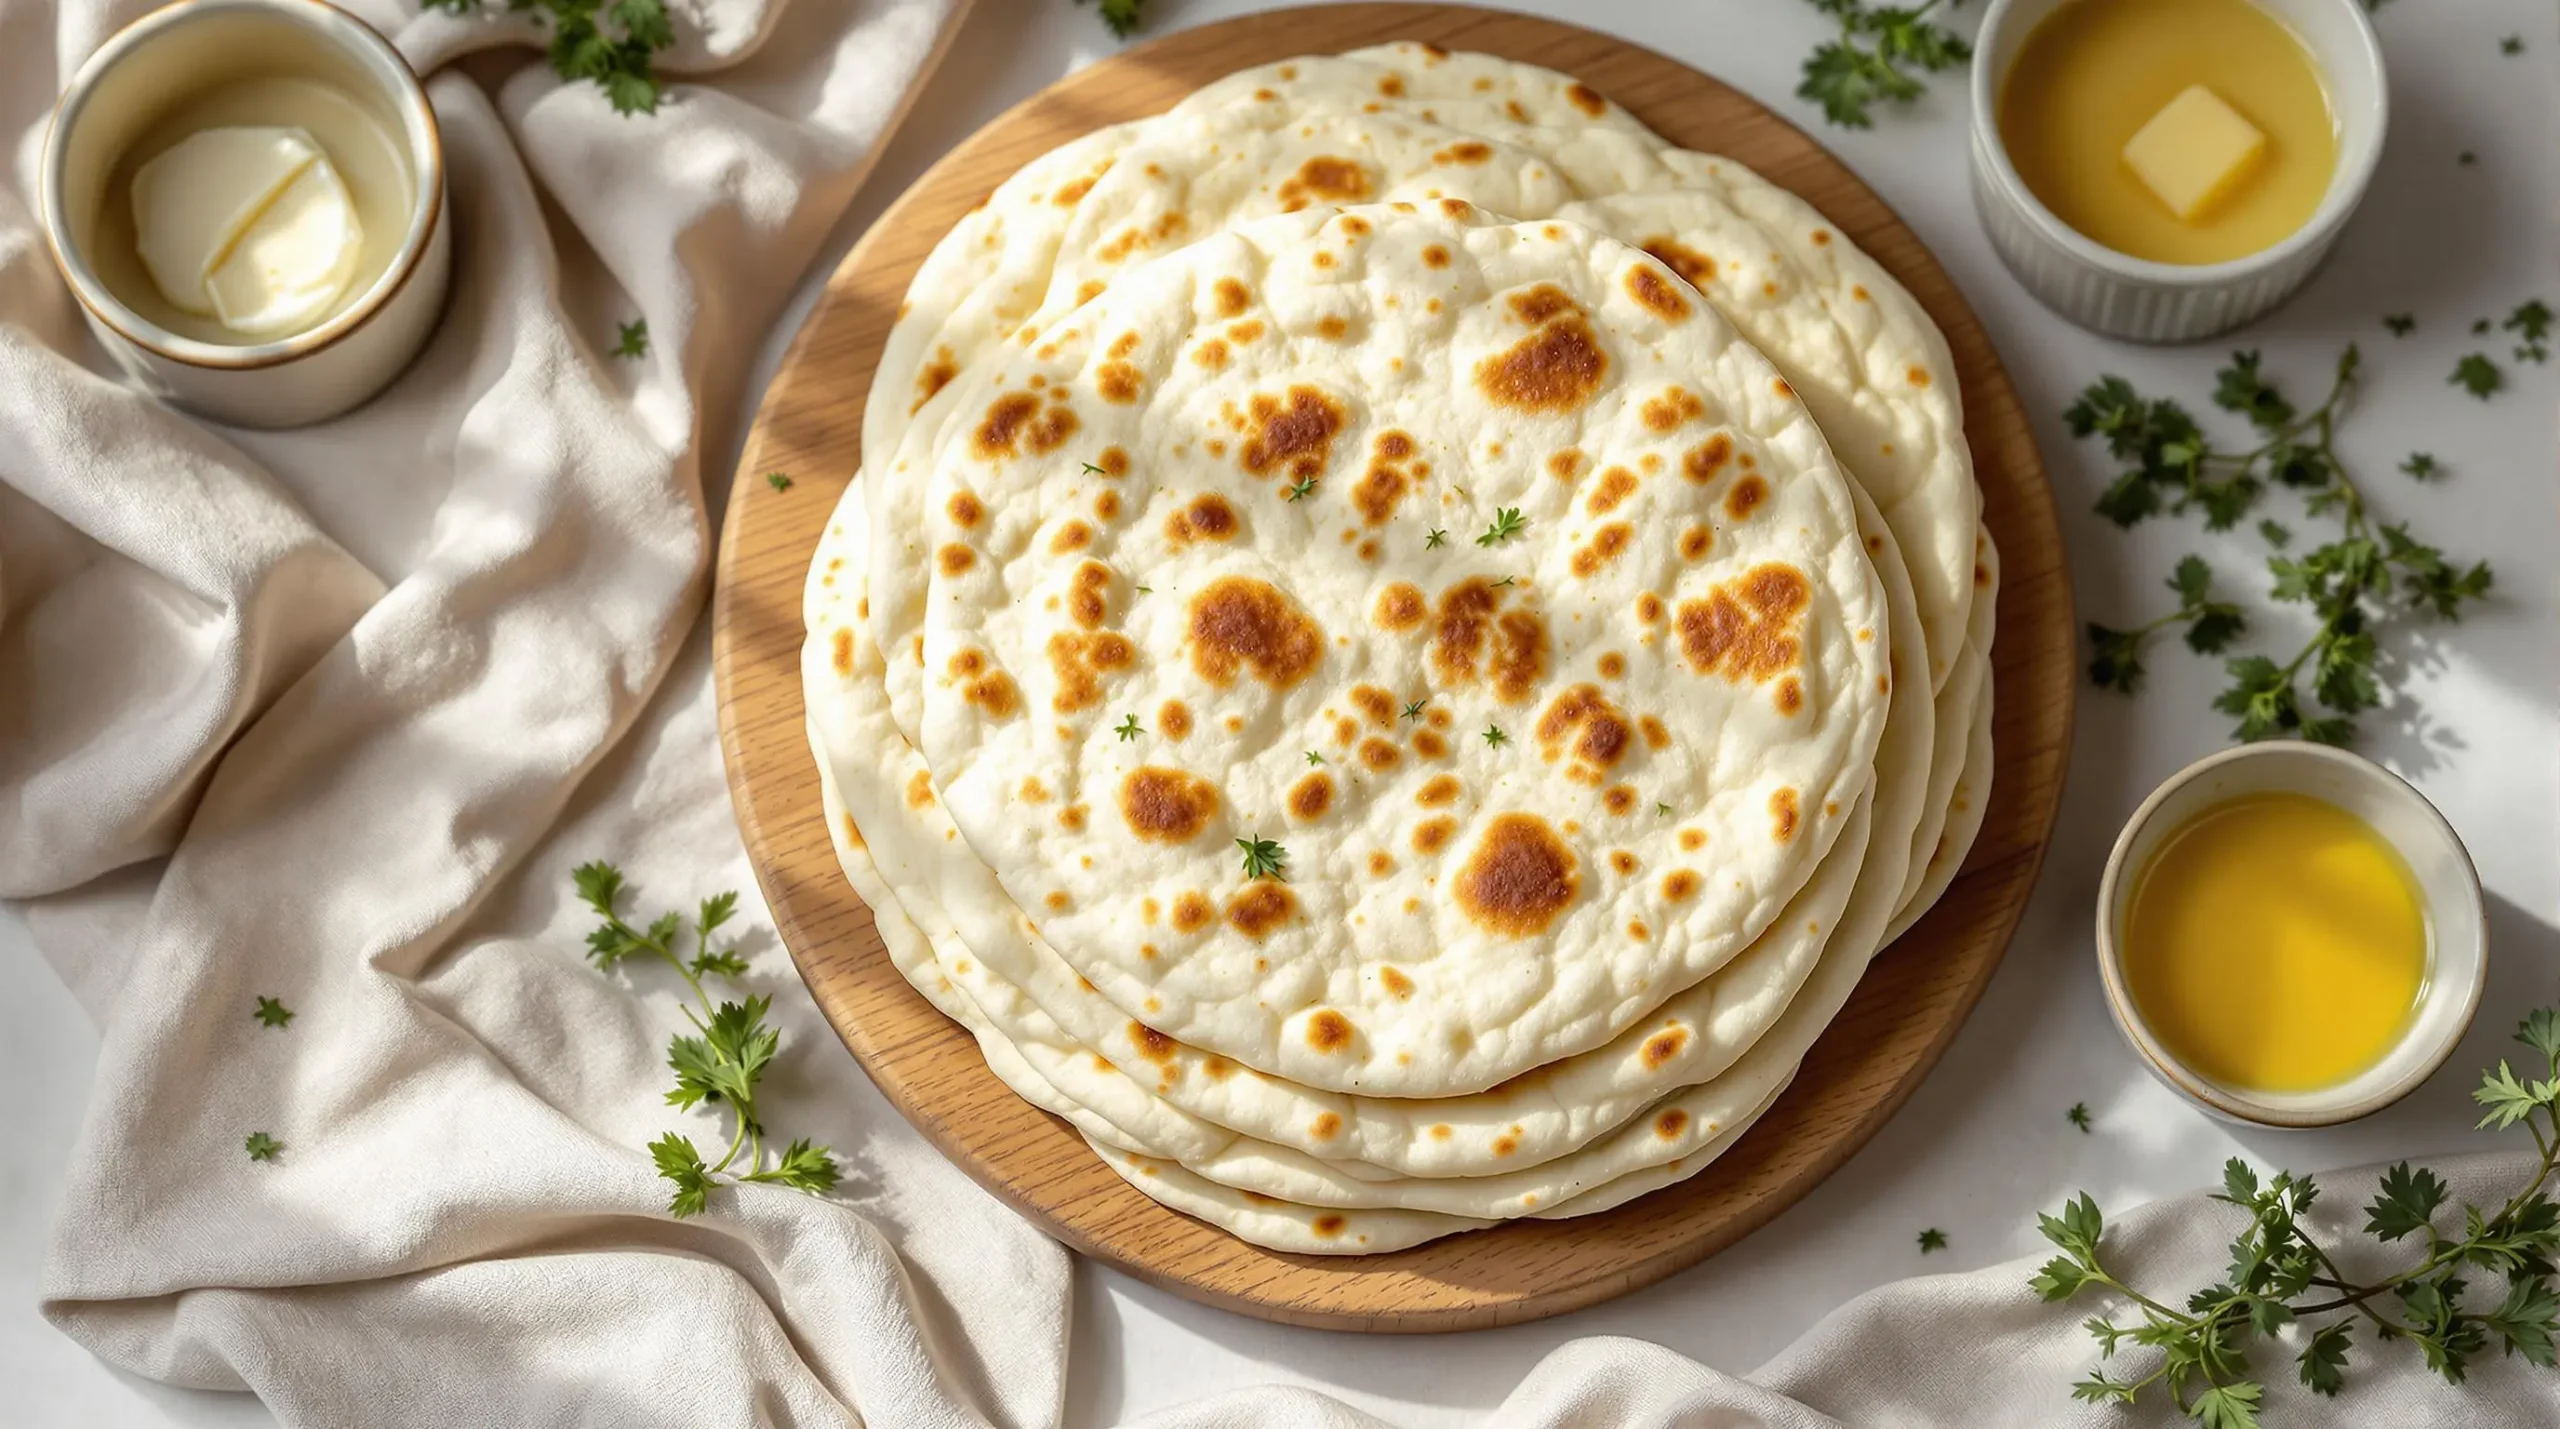
- Brush with butter or oil if desired
Look for these visual cues:
- Golden brown spots on both sides
- Slight puffing as it cooks
- No raw dough visible when done
Remember, maintaining consistent heat is key to this yogurt flatbread recipe. If your pan gets too hot, the outside will burn before the inside cooks through. Conversely, too low heat results in tough, dry flatbreads.
Stack completed flatbreads in a clean kitchen towel to keep warm and soft. This also allows residual steam to create that perfect tender texture we’re aiming for. As you continue cooking, you’ll develop a rhythm that makes the process flow smoothly from rolling to cooking to stacking.
Serving & Storage Tips for Yogurt Flatbread Recipe
Once you’ve mastered making these delicious flatbreads, knowing how to serve and store them properly ensures you’ll get the most enjoyment from your efforts. Let’s explore the best ways to present, preserve, and troubleshoot this versatile yogurt flatbread recipe.
Perfect Serving Suggestions
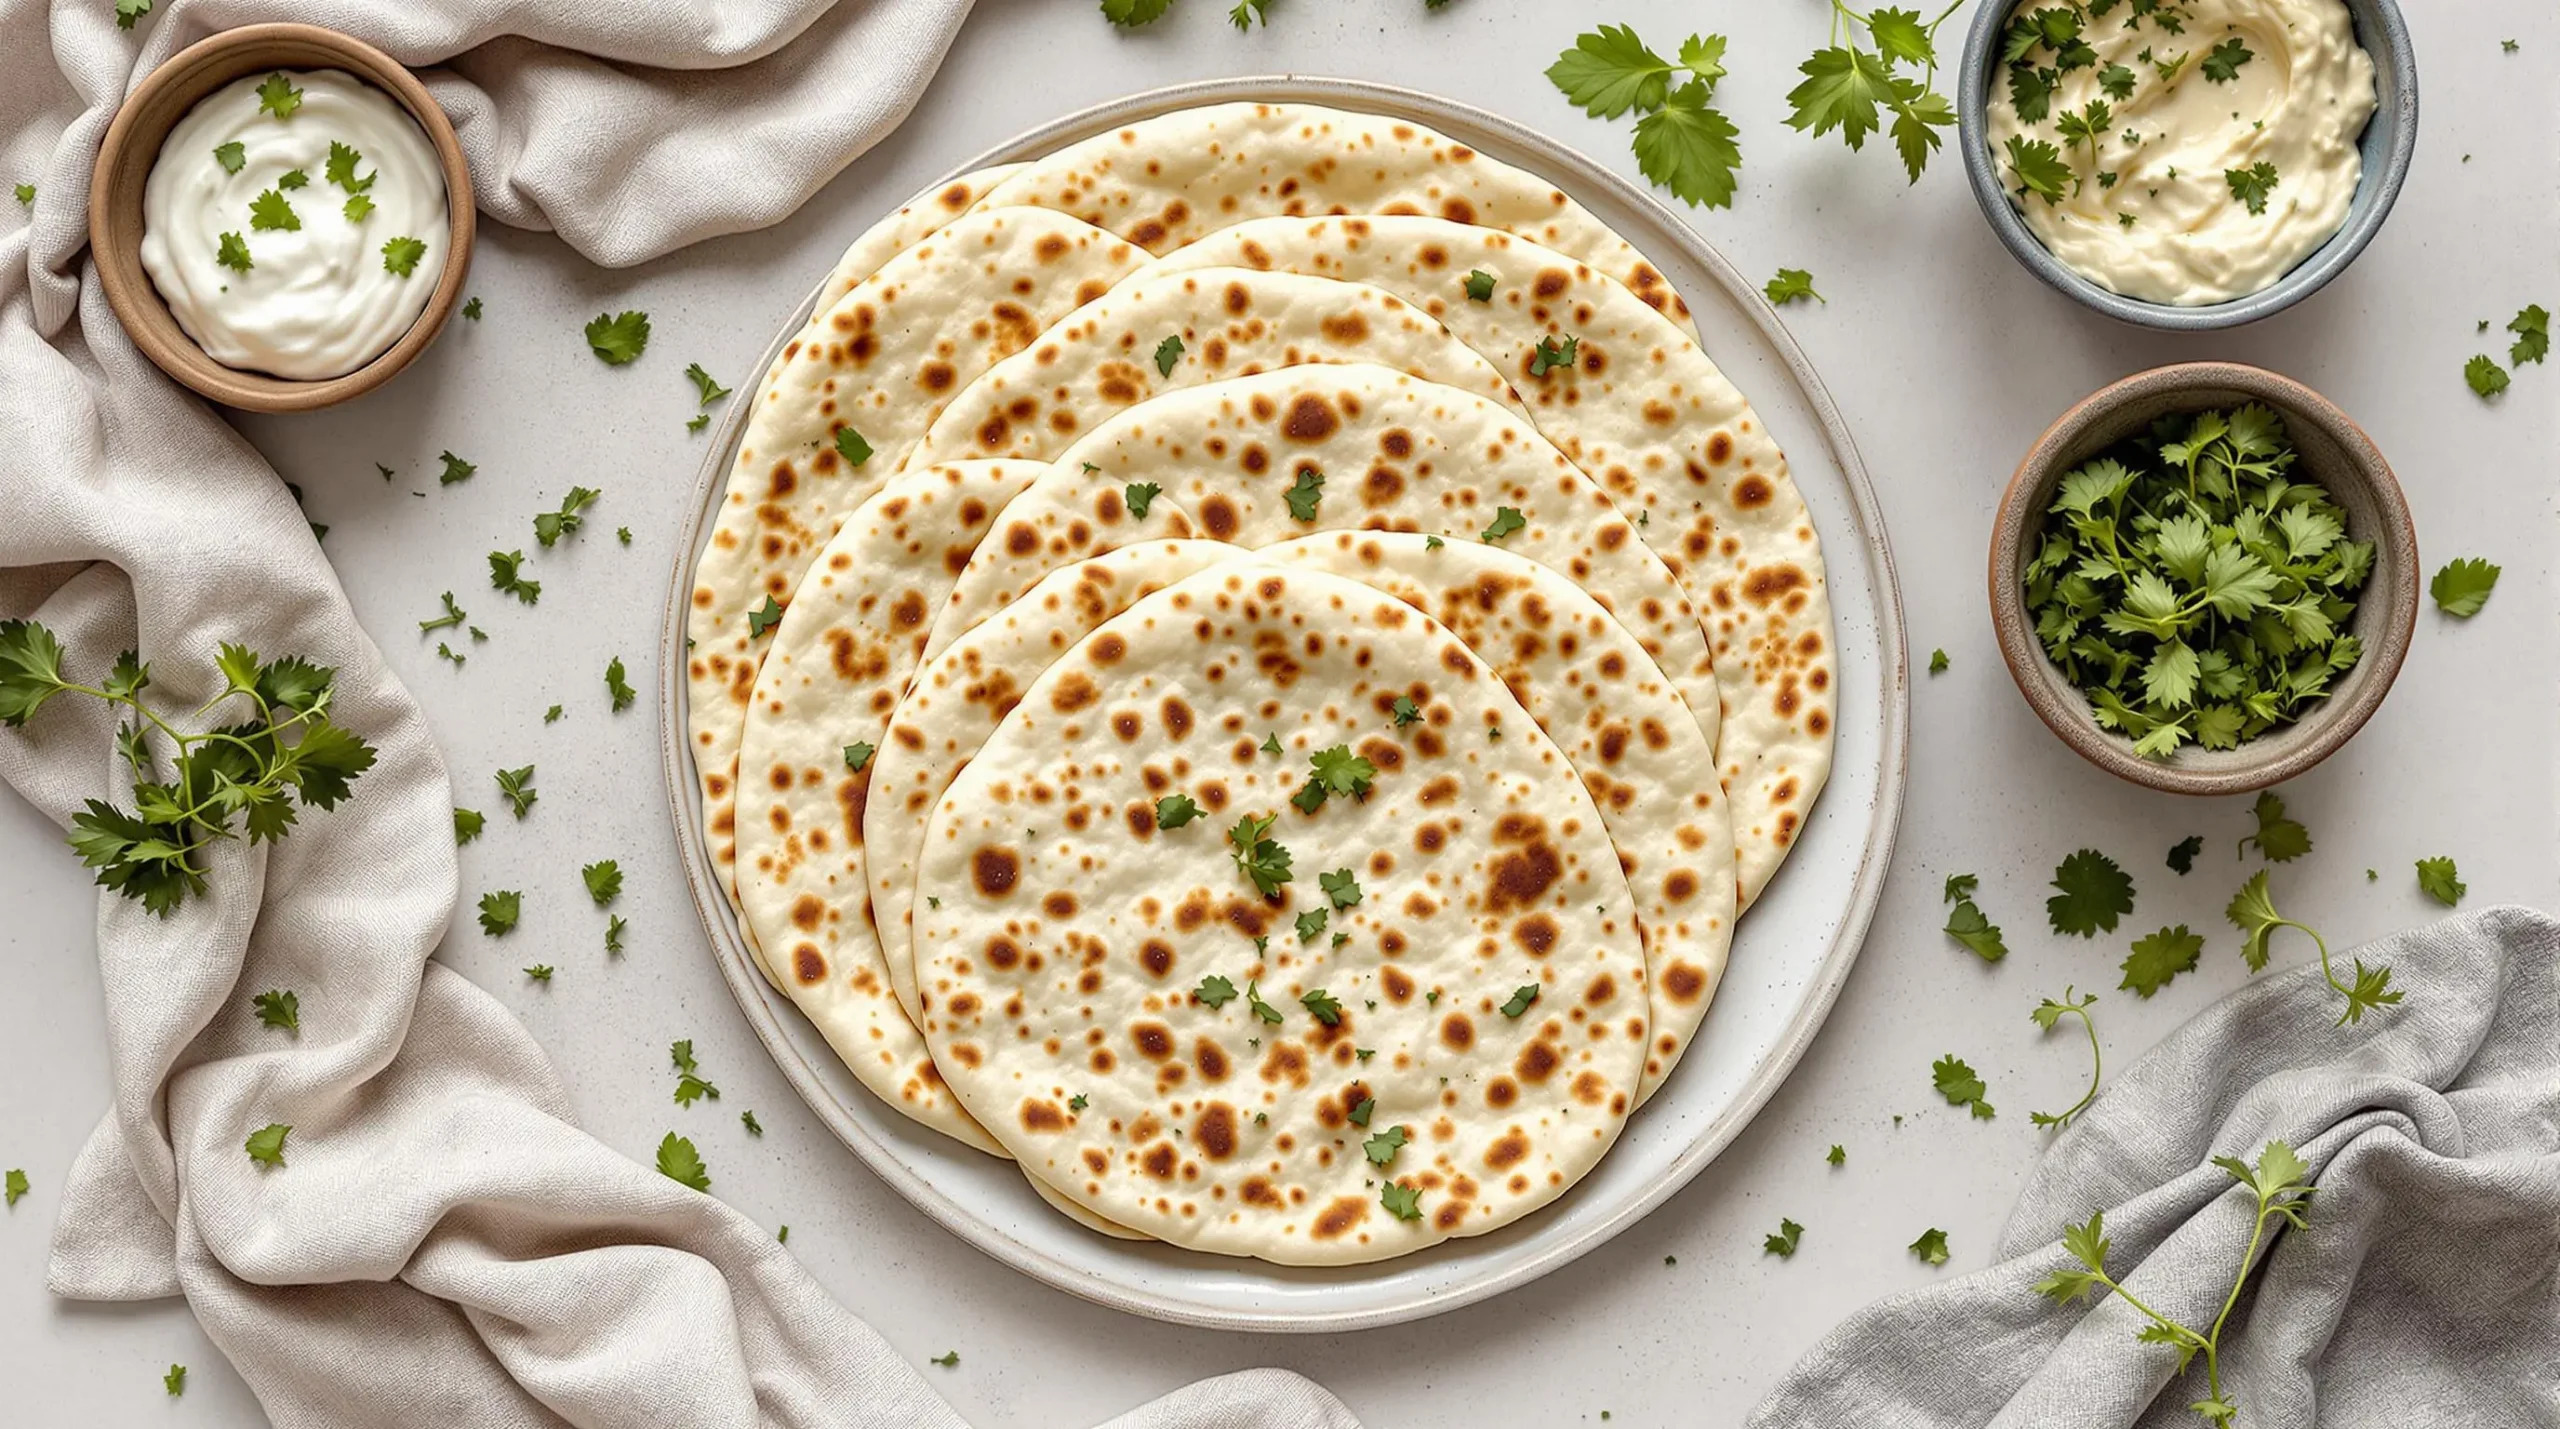
These flatbreads shine brightest when served warm, straight off the griddle. Traditional pairings include:
- Wrapping around grilled meats or kebabs
- Scooping up curries or stews
- Serving alongside dips like hummus or baba ganoush
- Using as a base for quick pizzas
For creative modern twists, try:
- Breakfast wraps with eggs and cheese
- Mediterranean-style sandwiches
- Cutting into strips for dipping
- Using as a base for flatbread tacos
Temperature plays a crucial role in serving. While best warm, these flatbreads remain flexible at room temperature. If serving later, quickly warm them on a griddle or wrap in foil and heat in a low oven for 5-10 minutes.
Effective Storage Methods
Proper storage helps maintain the texture of your yogurt flatbread recipe results. For short-term storage:
Counter Storage (1-2 days):
- Stack between paper towels
- Keep in an airtight container
- Store at room temperature
Refrigerator Storage (up to 5 days):
- Layer with parchment paper
- Place in a sealed bag
- Remove excess air
Freezer Storage (up to 3 months):
- Cool completely
- Separate layers with parchment
- Wrap tightly in foil
- Place in freezer bags
When reheating, avoid microwaving as it can make the bread tough. Instead:
- Heat a dry skillet over medium heat
- Warm each side for 30 seconds
- Brush with butter or oil if desired

Quick Troubleshooting Tips
Even experienced bakers encounter issues with their yogurt flatbread recipe. Here are solutions to common problems:
Tough Texture:
- Reduce kneading time
- Add slightly more yogurt
- Check for over-flouring
Uneven Cooking:
- Roll to consistent thickness
- Adjust heat as needed
- Press gently while cooking
Sticking Issues:
- Use more flour when rolling
- Ensure pan is properly heated
- Don’t flip too early
For high-altitude adjustments:
- Reduce baking powder slightly
- Add an extra tablespoon of yogurt
- Increase cooking time by 15-30 seconds
Remember, practice makes perfect. Each batch teaches you something new about working with this dough. Soon, you’ll develop an intuitive feel for the perfect consistency and cooking time, making this recipe a reliable staple in your cooking repertoire.
Frequently Asked Questions About Yogurt Flatbread Recipe
Why use yogurt in flatbread?
Yogurt creates an incredibly tender texture in flatbread while adding the perfect amount of moisture to the dough. Additionally, it provides a subtle tangy flavor that enhances the overall taste. When mixed with flour, yogurt helps create that signature soft, pliable texture that makes these flatbreads so versatile.
What does adding yogurt to bread do?
When incorporated into bread dough, yogurt acts as a natural leavening agent, working alongside baking powder to create subtle lift. The proteins in yogurt also help develop a softer crumb structure, while its acidity improves overall texture by interacting with the gluten in flour to create tenderness.
What is the difference between flatbread and naan?
While both are types of flatbread, naan traditionally requires yeast and is cooked in a tandoor oven at very high temperatures, creating its characteristic bubbled and charred surface. Yogurt flatbread, on the other hand, uses no yeast, relies on yogurt and baking powder for texture, and can be cooked on any flat griddle or pan.
What to eat with yogurt flatbread?
These versatile flatbreads pair beautifully with numerous dishes. They’re perfect for scooping up curries, stews, and lentil dishes. They also make excellent wraps filled with grilled meats, vegetables, or falafel. For casual meals, try them with hummus, baba ganoush, or your favorite dips. They’re equally delicious used as a base for quick pizzas or torn into pieces for dunking into soups.
Conclusion: Making the Most of Your Yogurt Flatbread Recipe
After exploring the versatility and simplicity of this yogurt flatbread recipe, it’s clear why these tender, homemade breads have become a favorite among home cooks. The combination of basic pantry ingredients transforms into something truly special, offering endless possibilities for creative meal planning.
What makes this recipe particularly appealing is its forgiving nature. Even if your first attempt isn’t perfect, each batch helps you develop a better feel for the dough. Moreover, the quick preparation time means you can easily incorporate these flatbreads into your regular cooking routine, whether for casual family dinners or entertaining guests.
As you experiment with your own yogurt flatbread recipe variations, don’t hesitate to adjust seasonings and try different filling combinations. The basic recipe serves as an excellent canvas for creativity – from adding fresh herbs to the dough to experimenting with various toppings and accompaniments. Remember that the best results come from paying attention to dough consistency and maintaining proper cooking temperature.
For beginners, start with the basic recipe before exploring modifications. Once you’ve mastered the fundamental technique, you’ll find countless ways to adapt these flatbreads to your taste preferences and meal plans. The satisfaction of pulling warm, fresh bread off the griddle makes the simple effort worthwhile.

So heat up that griddle, gather your ingredients, and get ready to enjoy the rewards of homemade flatbread. Your kitchen will smell amazing, and your meals will never be quite the same once you’ve mastered this essential recipe.

