Easy Bisquick Crepe Recipe: A Beginner’s Guide
Have you ever dreamed of making restaurant-quality crepes at home but felt intimidated by traditional recipes? The simple bisquick crepe recipe is about to become your new breakfast hero. Using Bisquick as your secret weapon, you can create delicate, paper-thin crepes that rival any French café’s offerings.
First and foremost, this bisquick crepe recipe takes the guesswork out of achieving the perfect batter consistency. Moreover, you’ll save time by skipping the careful measuring of multiple dry ingredients since Bisquick already contains the perfect blend of flour, leavening agents, and salt. Don’t have Bisquick on hand? You can easily make your own using this homemade mix recipe.
In this guide, you’ll master essential crepe-making techniques, troubleshoot common issues, and discover creative serving suggestions. Additionally, you’ll learn how to achieve the ideal batter thickness and perfect your swirling technique for consistently thin, delicate crepes. Whether you prefer classic butter and sugar, savory ham and cheese, or even baked crepe variations, this versatile recipe has you covered.
Ready to begin your crepe-making journey? Let’s dive into the ingredients and equipment you’ll need to create these French-inspired delights. With just a few simple steps, you’ll be flipping perfect crepes like a pro.
Understanding Bisquick Crepe Basics
Why Choose Bisquick for Crepes
Making crepes with Bisquick isn’t just a shortcut – it’s a smart cooking strategy that delivers consistent results every time. First of all, the pre-measured blend in Bisquick takes the guesswork out of combining dry ingredients, making your bisquick crepe recipe foolproof from the start. Additionally, using Bisquick saves you money since you won’t need to buy multiple ingredients separately.
Furthermore, this time-saving mix allows you to whip up crepe batter in minutes rather than carefully measuring several ingredients. Most importantly, the consistent texture of Bisquick ensures your crepes will turn out perfectly thin and delicate every time. If you prefer making things from scratch, however, you can create your own mix using this homemade Bisquick recipe.
Essential Equipment and Tools
- A 8-10 inch non-stick skillet or dedicated crepe pan
- A flexible rubber spatula for mixing
- An offset spatula or thin turner for flipping
- A large mixing bowl
- A whisk or electric mixer
- A ladle or 1/4 cup measure for portioning
- Optional: crepe spreader for perfectly even results
Ingredients Overview
- Bisquick mix (2 cups for a basic recipe)
- Large eggs (2-3 depending on desired richness)
- Milk (whole milk works best, but alternatives work too)
- Optional flavor enhancers:
- Vanilla extract for sweet crepes
- Herbs for savory versions
- Melted butter for richer texture

When selecting milk, whole milk creates the most traditional texture, but you can experiment with alternatives like almond or oat milk. Moreover, adding a touch of sparkling water can make your crepes even lighter and more delicate.
For the best results, ensure all ingredients are at room temperature before mixing. This simple step helps create a smoother batter that cooks more evenly. Once you’ve mastered the basic recipe, you can move on to creating exciting variations like these baked crepe dishes.
Remember, the key to perfect crepes lies in achieving the right batter consistency – it should be thinner than pancake batter but not watery. Subsequently, letting the batter rest for 15-30 minutes allows the ingredients to fully combine and results in more tender crepes.
Step-by-Step Crepe Making Process
Preparing the Perfect Batter
Creating the ideal bisquick crepe recipe batter starts with proper mixing techniques. First, combine 2 cups of Bisquick with 2 large eggs and 1½ cups of milk in a large bowl. Subsequently, whisk until completely smooth, ensuring no lumps remain. For best results, use room temperature ingredients to achieve a silky-smooth consistency.
The batter should be noticeably thinner than regular pancake batter – it should coat the back of a spoon while easily running off. If needed, gradually add more milk, one tablespoon at a time, until you reach the desired consistency. Furthermore, letting your batter rest for 15-30 minutes allows the ingredients to fully incorporate and results in more tender crepes.
Common batter issues and solutions:
- Too thick: Add milk gradually
- Lumpy: Strain through a fine-mesh sieve
- Too thin: Add small amounts of homemade Bisquick mix
Cooking Techniques and Tips
The key to perfect bisquick crepe recipe execution lies in proper temperature control. Start by heating your non-stick pan over medium heat. To test the temperature, sprinkle a few drops of water – they should dance across the surface. Moreover, lightly grease the pan with butter or oil using a paper towel, being careful not to leave excess fat.
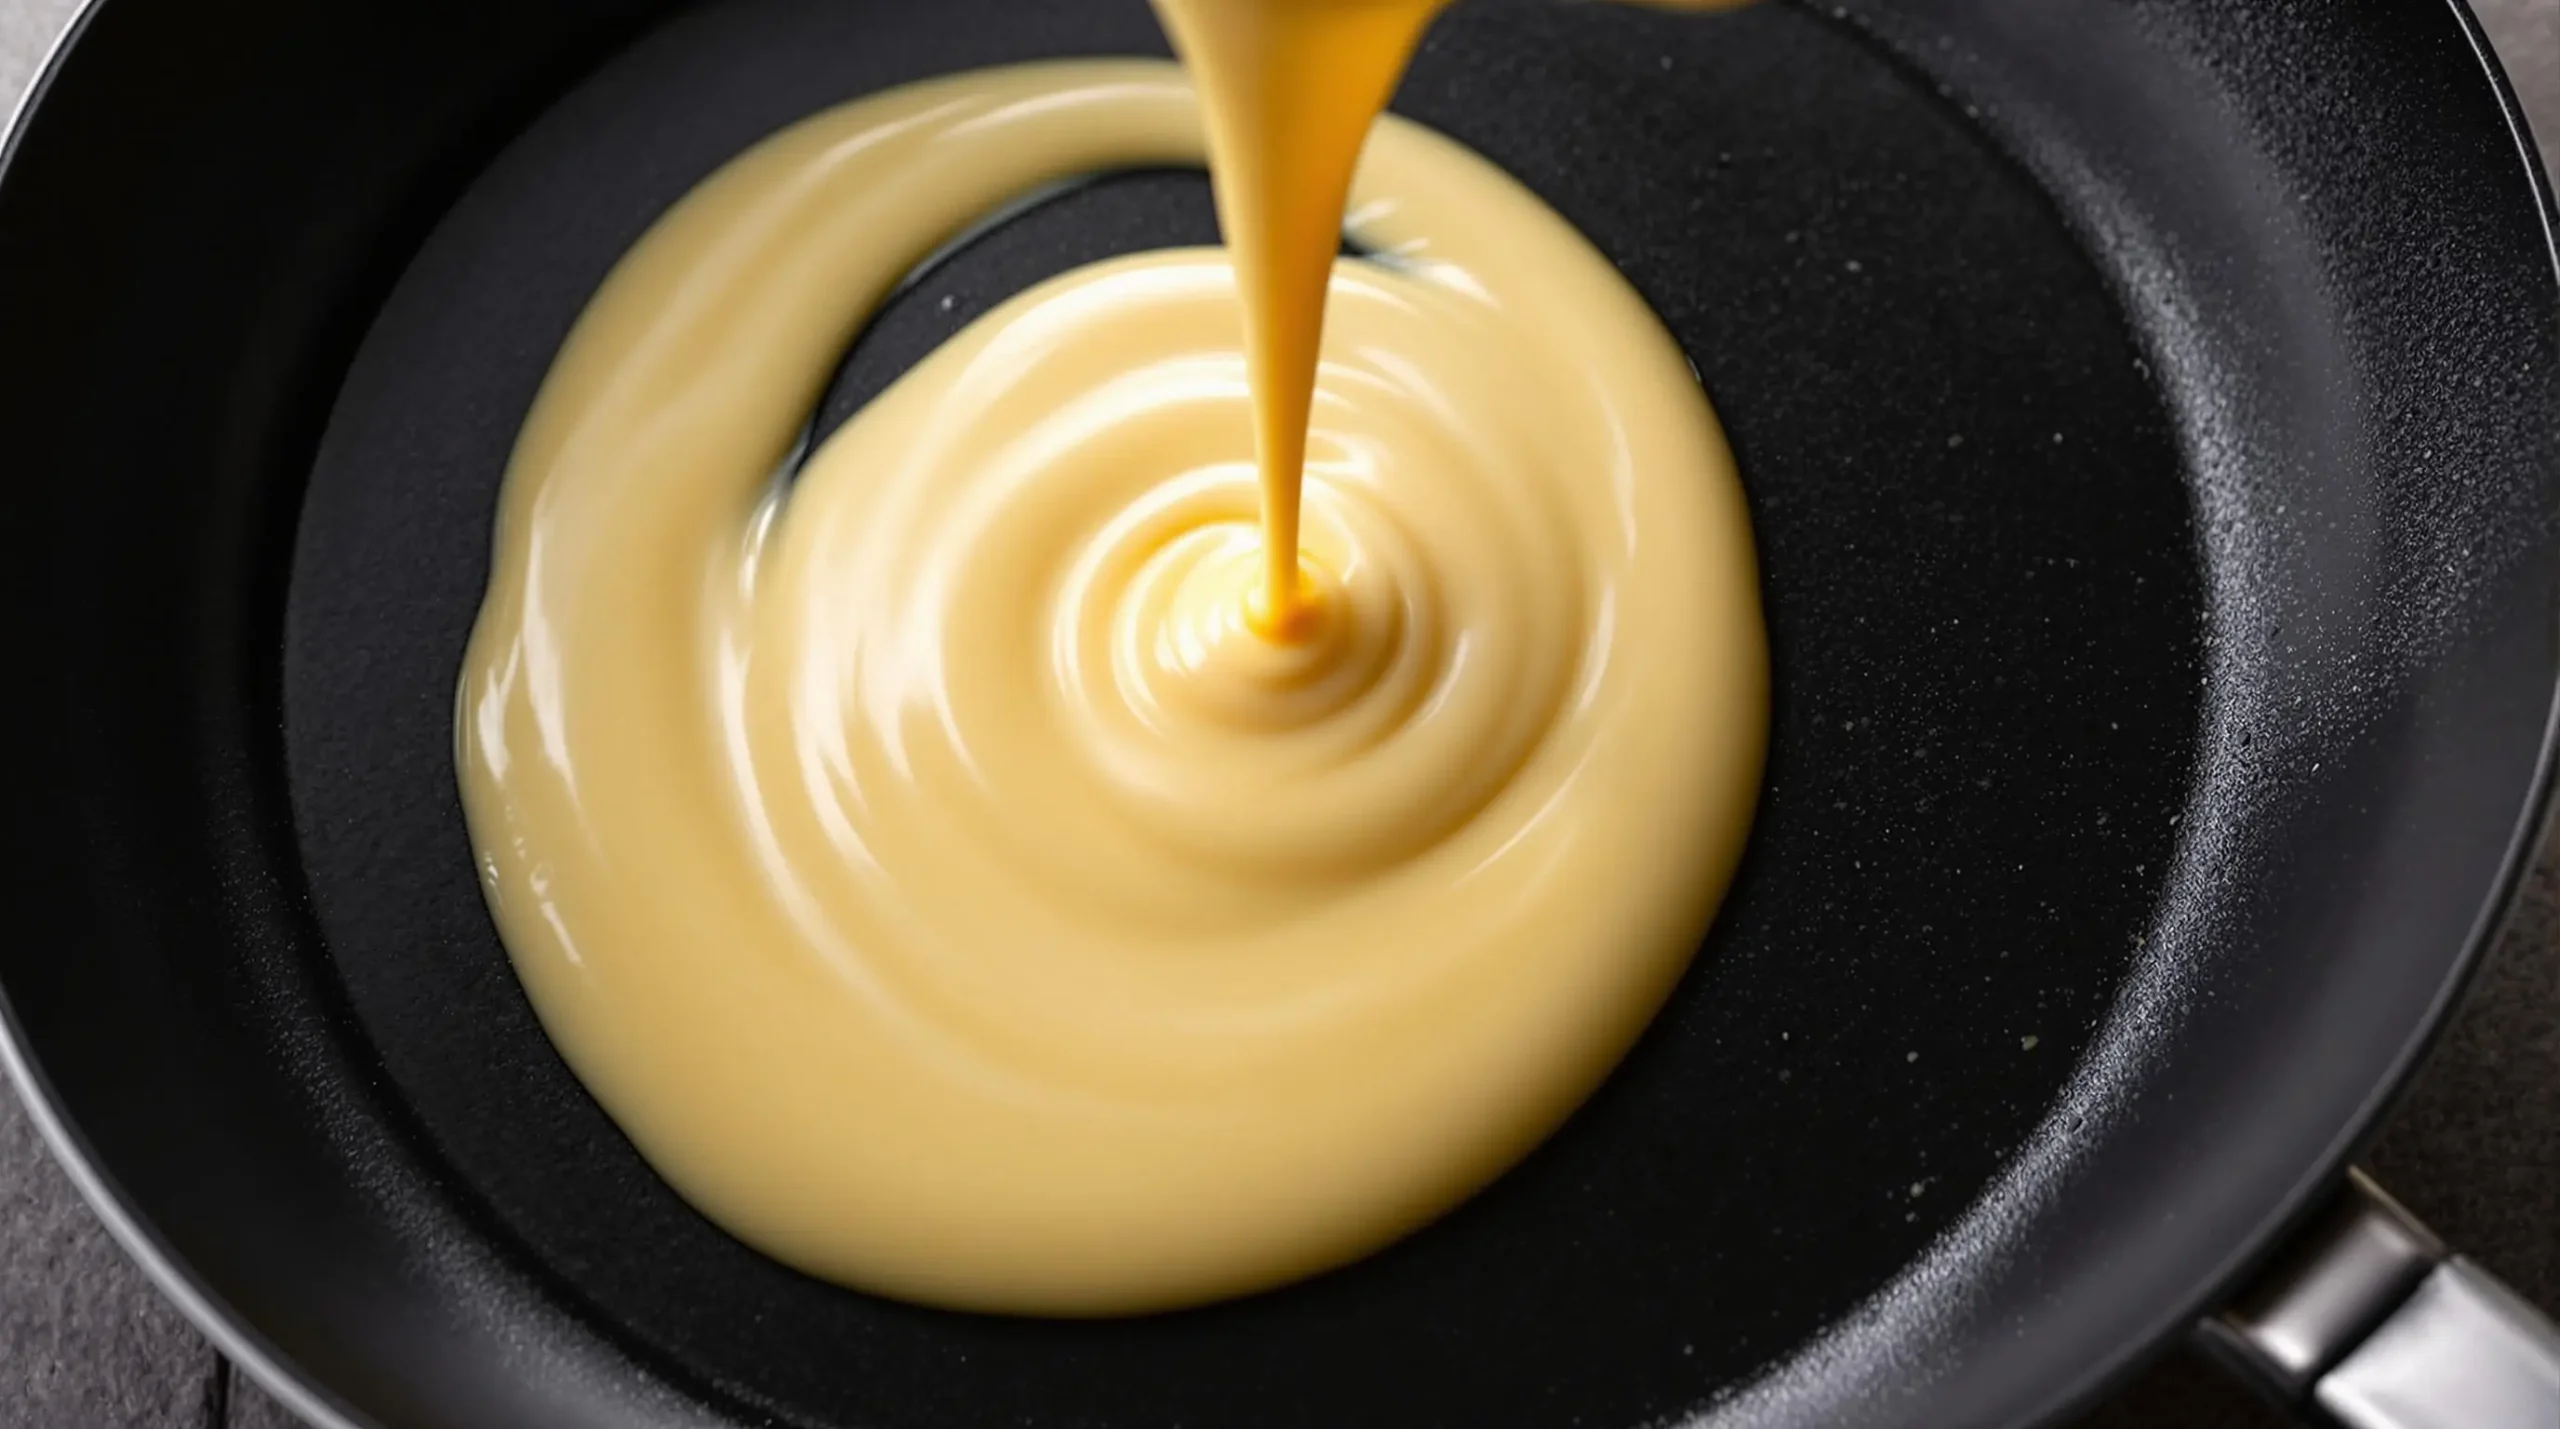
Pour approximately ¼ cup of batter into the center of the pan while lifting and tilting it in a circular motion. This spreading technique ensures even, thin crepes. After about 1-2 minutes, when the edges start to brown, gently slide your spatula underneath and flip the crepe. Subsequently, cook for an additional 30 seconds until light golden brown.
Essential cooking tips:
- Maintain consistent medium heat
- Use minimal greasing between crepes
- Perfect your swirling technique
- Practice gentle flipping motions
Multiple Pan Cooking Strategy
For efficient bisquick crepe recipe preparation, consider using multiple pans simultaneously. This approach works especially well when making baked crepe variations or cooking for a crowd. Additionally, organizing your workspace with preset filling stations helps maintain a smooth workflow.
Time-saving techniques include:
- Setting up an assembly line system
- Preparing fillings in advance
- Using a warming drawer or oven to keep finished crepes hot
- Stacking completed crepes between pieces of wax paper
Furthermore, maintain consistent temperature across all pans by rotating them on the stovetop. Most importantly, keep track of cooking times using a timer or by working in a clockwise direction. This systematic approach ensures each crepe receives proper attention and achieves the perfect texture.
Remember to adjust heat levels as needed throughout the cooking process, as stovetops tend to get hotter over time. Finally, keep a close eye on your first few crepes – they’ll help you gauge whether any temperature or technique adjustments are necessary.
Serving and Storage Solutions for Bisquick Crepes
Sweet and Savory Filling Ideas
Once you’ve mastered the bisquick crepe recipe, it’s time to explore exciting filling combinations. For sweet options, start with classics like fresh berries and whipped cream, or try Nutella with sliced bananas. Additionally, consider these crowd-pleasing sweet combinations:
- Lemon juice and powdered sugar
- Apple cinnamon with caramel sauce
- Mixed berry compote with mascarpone
- Maple syrup with butter (perfect for beginners)
For savory crepes, transform your bisquick crepe recipe into a complete meal. Popular options include:
- Ham and cheese with bechamel sauce
- Spinach and mushroom with garlic
- Scrambled eggs with fresh herbs
- Chicken and pesto with mozzarella
Furthermore, enhance your crepes with complementary sauces. Try chocolate sauce for sweet versions or hollandaise for savory ones.
Storage Methods
Proper storage helps maintain the quality of your Bisquick crepes. First, allow them to cool completely on a wire rack. Subsequently, stack them with wax paper between each layer to prevent sticking. Moreover, store them in an airtight container to maintain freshness.
Follow these storage guidelines:
- Refrigerate for up to 3 days
- Freeze for up to 2 months
- Use plastic wrap and foil for freezer storage
- Label with date and filling type
For best results, separate sweet and savory crepes when storing. Additionally, if you’ve made extra homemade Bisquick mix, store it separately in an airtight container.

Reheating Techniques
To maintain the delicate texture of your bisquick crepe recipe creations when reheating, follow these methods:
Microwave Method:
- Place 1-2 crepes between damp paper towels
- Heat in 15-second intervals
- Check frequently to avoid overcooking
- Serve immediately while warm
Stovetop Reheating:
- Warm a non-stick pan over medium-low heat
- Heat each crepe for 15-30 seconds per side
- Avoid using additional butter or oil
- Stack and cover to keep warm
Furthermore, consider these professional tips for optimal results:
- Never refreeze thawed crepes
- Bring refrigerated crepes to room temperature before reheating
- Use gentle heat to prevent toughening
- Add fillings after reheating for best texture
Remember, properly stored and reheated crepes can taste almost as good as fresh ones. Most importantly, serve them at the right temperature – warm but not hot for sweet crepes, and piping hot for savory versions.
Frequently Asked Questions About Bisquick Crepe Recipe
After mastering the basic bisquick crepe recipe, you might still have some questions. Here are the most common queries and their detailed solutions to help you achieve perfect results every time.
Can I make the batter ahead of time?
Yes, you can prepare your bisquick crepe recipe batter up to 24 hours in advance. First, mix the batter according to instructions and store it in an airtight container in the refrigerator. Subsequently, let it come to room temperature for about 30 minutes before cooking. Additionally, give the batter a gentle whisk to recombine any separated ingredients.
Why do my first crepes always fail?
The first crepe often turns out less than perfect because the pan hasn’t reached the ideal temperature yet. Moreover, the pan’s surface needs to be properly seasoned with that first crepe. To solve this, consider making a “test crepe” to get your pan ready. Furthermore, ensure your pan is properly preheated and lightly greased before starting.
Can I use alternatives to dairy milk?
Yes, you can successfully use non-dairy alternatives in your crepes. Plant-based options like almond, soy, or oat milk work well. However, keep in mind that different milk alternatives may require slight adjustments to achieve the right consistency:
- Almond milk: Use as-is
- Oat milk: Reduce amount slightly due to thickness
- Soy milk: Perfect 1:1 replacement
- Coconut milk: Mix with water (1:1 ratio)
How can I make the crepes thinner or thicker?
To adjust the thickness of your crepes, simply modify the milk quantity:
- For thinner crepes: Gradually add more milk, one tablespoon at a time
- For thicker crepes: Add small amounts of Bisquick
- Test one crepe before adjusting further
- Aim for a consistency similar to heavy cream
Remember to make small adjustments and test as you go. Most importantly, keep notes of your successful modifications for future reference. If you’re still unsure, start with the standard recipe and adjust based on your preferences after making a few test crepes.
Mastering Your Bisquick Crepe Recipe Journey
After exploring all aspects of making perfect crepes with Bisquick, let’s recap the essential elements that make this bisquick crepe recipe a guaranteed success. First and foremost, remember that achieving the right batter consistency is crucial – it should flow smoothly like heavy cream. Additionally, maintaining proper pan temperature and mastering the swirling technique will significantly improve your results.
Moreover, don’t be afraid to experiment with different fillings and variations. Whether you prefer classic sweet toppings or innovative savory combinations, this versatile bisquick crepe recipe serves as an excellent foundation. Furthermore, you can always refer to Bisquick’s official guidelines for additional tips and inspiration.
For those interested in making larger batches, proper storage techniques ensure your crepes remain fresh and delicious. Subsequently, you can enjoy them throughout the week or freeze them for future use. Additionally, consider trying some baked crepe variations to expand your culinary repertoire.

Remember, practice makes perfect, and even experienced cooks sometimes need multiple attempts to achieve their ideal crepe. Most importantly, don’t get discouraged if your first few attempts aren’t picture-perfect – each crepe helps you refine your technique. Furthermore, if you prefer making everything from scratch, try this homemade Bisquick mix recipe for an authentic touch.
We’d love to hear about your crepe-making adventures! Share your experiences, favorite filling combinations, and any helpful tips you’ve discovered along the way. With these comprehensive guidelines and a bit of practice, you’ll soon be creating restaurant-quality crepes in your own kitchen.

