Have you ever wondered how to achieve that perfectly smooth, spreadable honey texture that makes your morning toast simply irresistible? Creating a cream honey recipe at home is like unlocking a sweet secret that transforms ordinary honey into a velvety spread with the consistency of butter.
Controlled crystallization is the key to achieving this luxurious texture. Unlike naturally crystallized honey that can become grainy and hard, a properly executed cream honey recipe results in a silky-smooth spread that maintains its consistency for months. Furthermore, recent studies have shown that this controlled process helps preserve honey’s natural benefits while making it more versatile for everyday use.
What makes this transformation truly remarkable is how it enhances both the honey’s usability and shelf life. This process creates a stable product that resists further crystallization and maintains its spreadable texture. Moreover, the controlled crystallization process ensures that every batch of cream honey delivers consistent quality and texture.
In this comprehensive guide, we’ll walk you through everything you need to know about making cream honey at home – from selecting the right equipment to mastering the precise techniques that ensure perfect results every time. Whether you’re a honey enthusiast or simply looking to elevate your breakfast spread, this step-by-step tutorial will help you create this delightful treat in your own kitchen.
Let’s dive into the essential equipment and ingredients you’ll need to begin your cream honey journey.
Understanding Cream Honey Basics
What is Cream Honey?
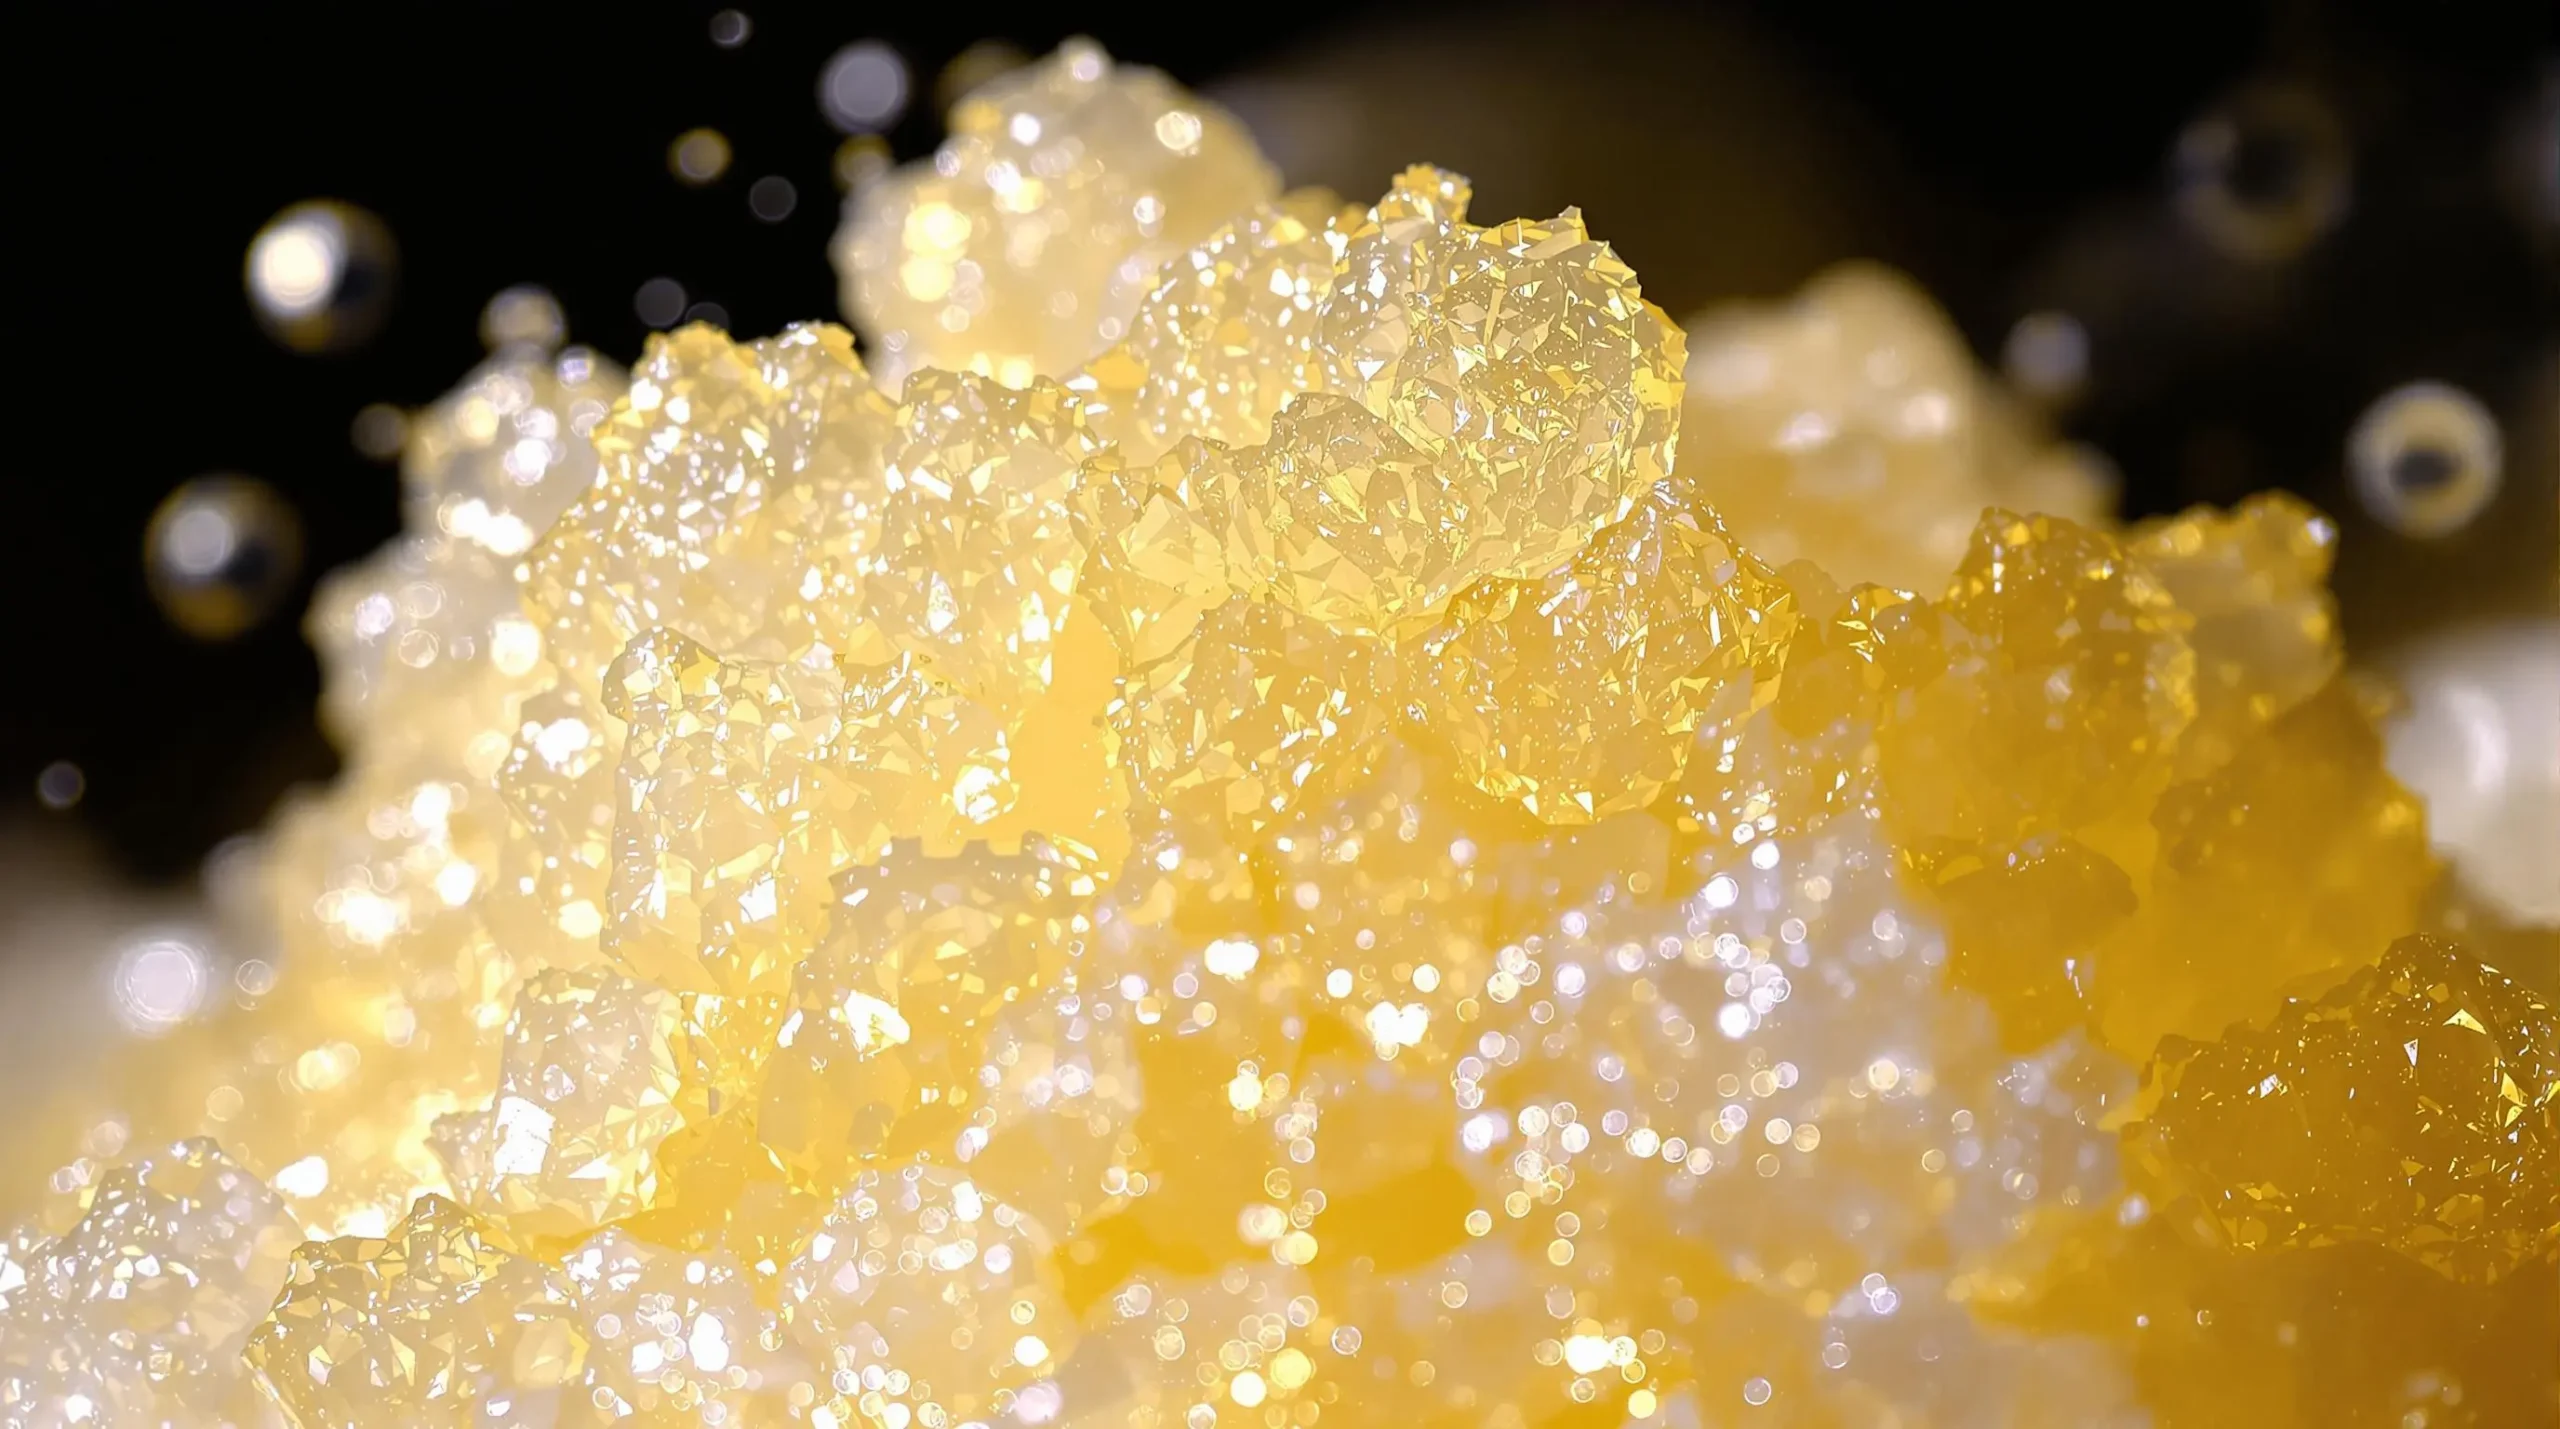
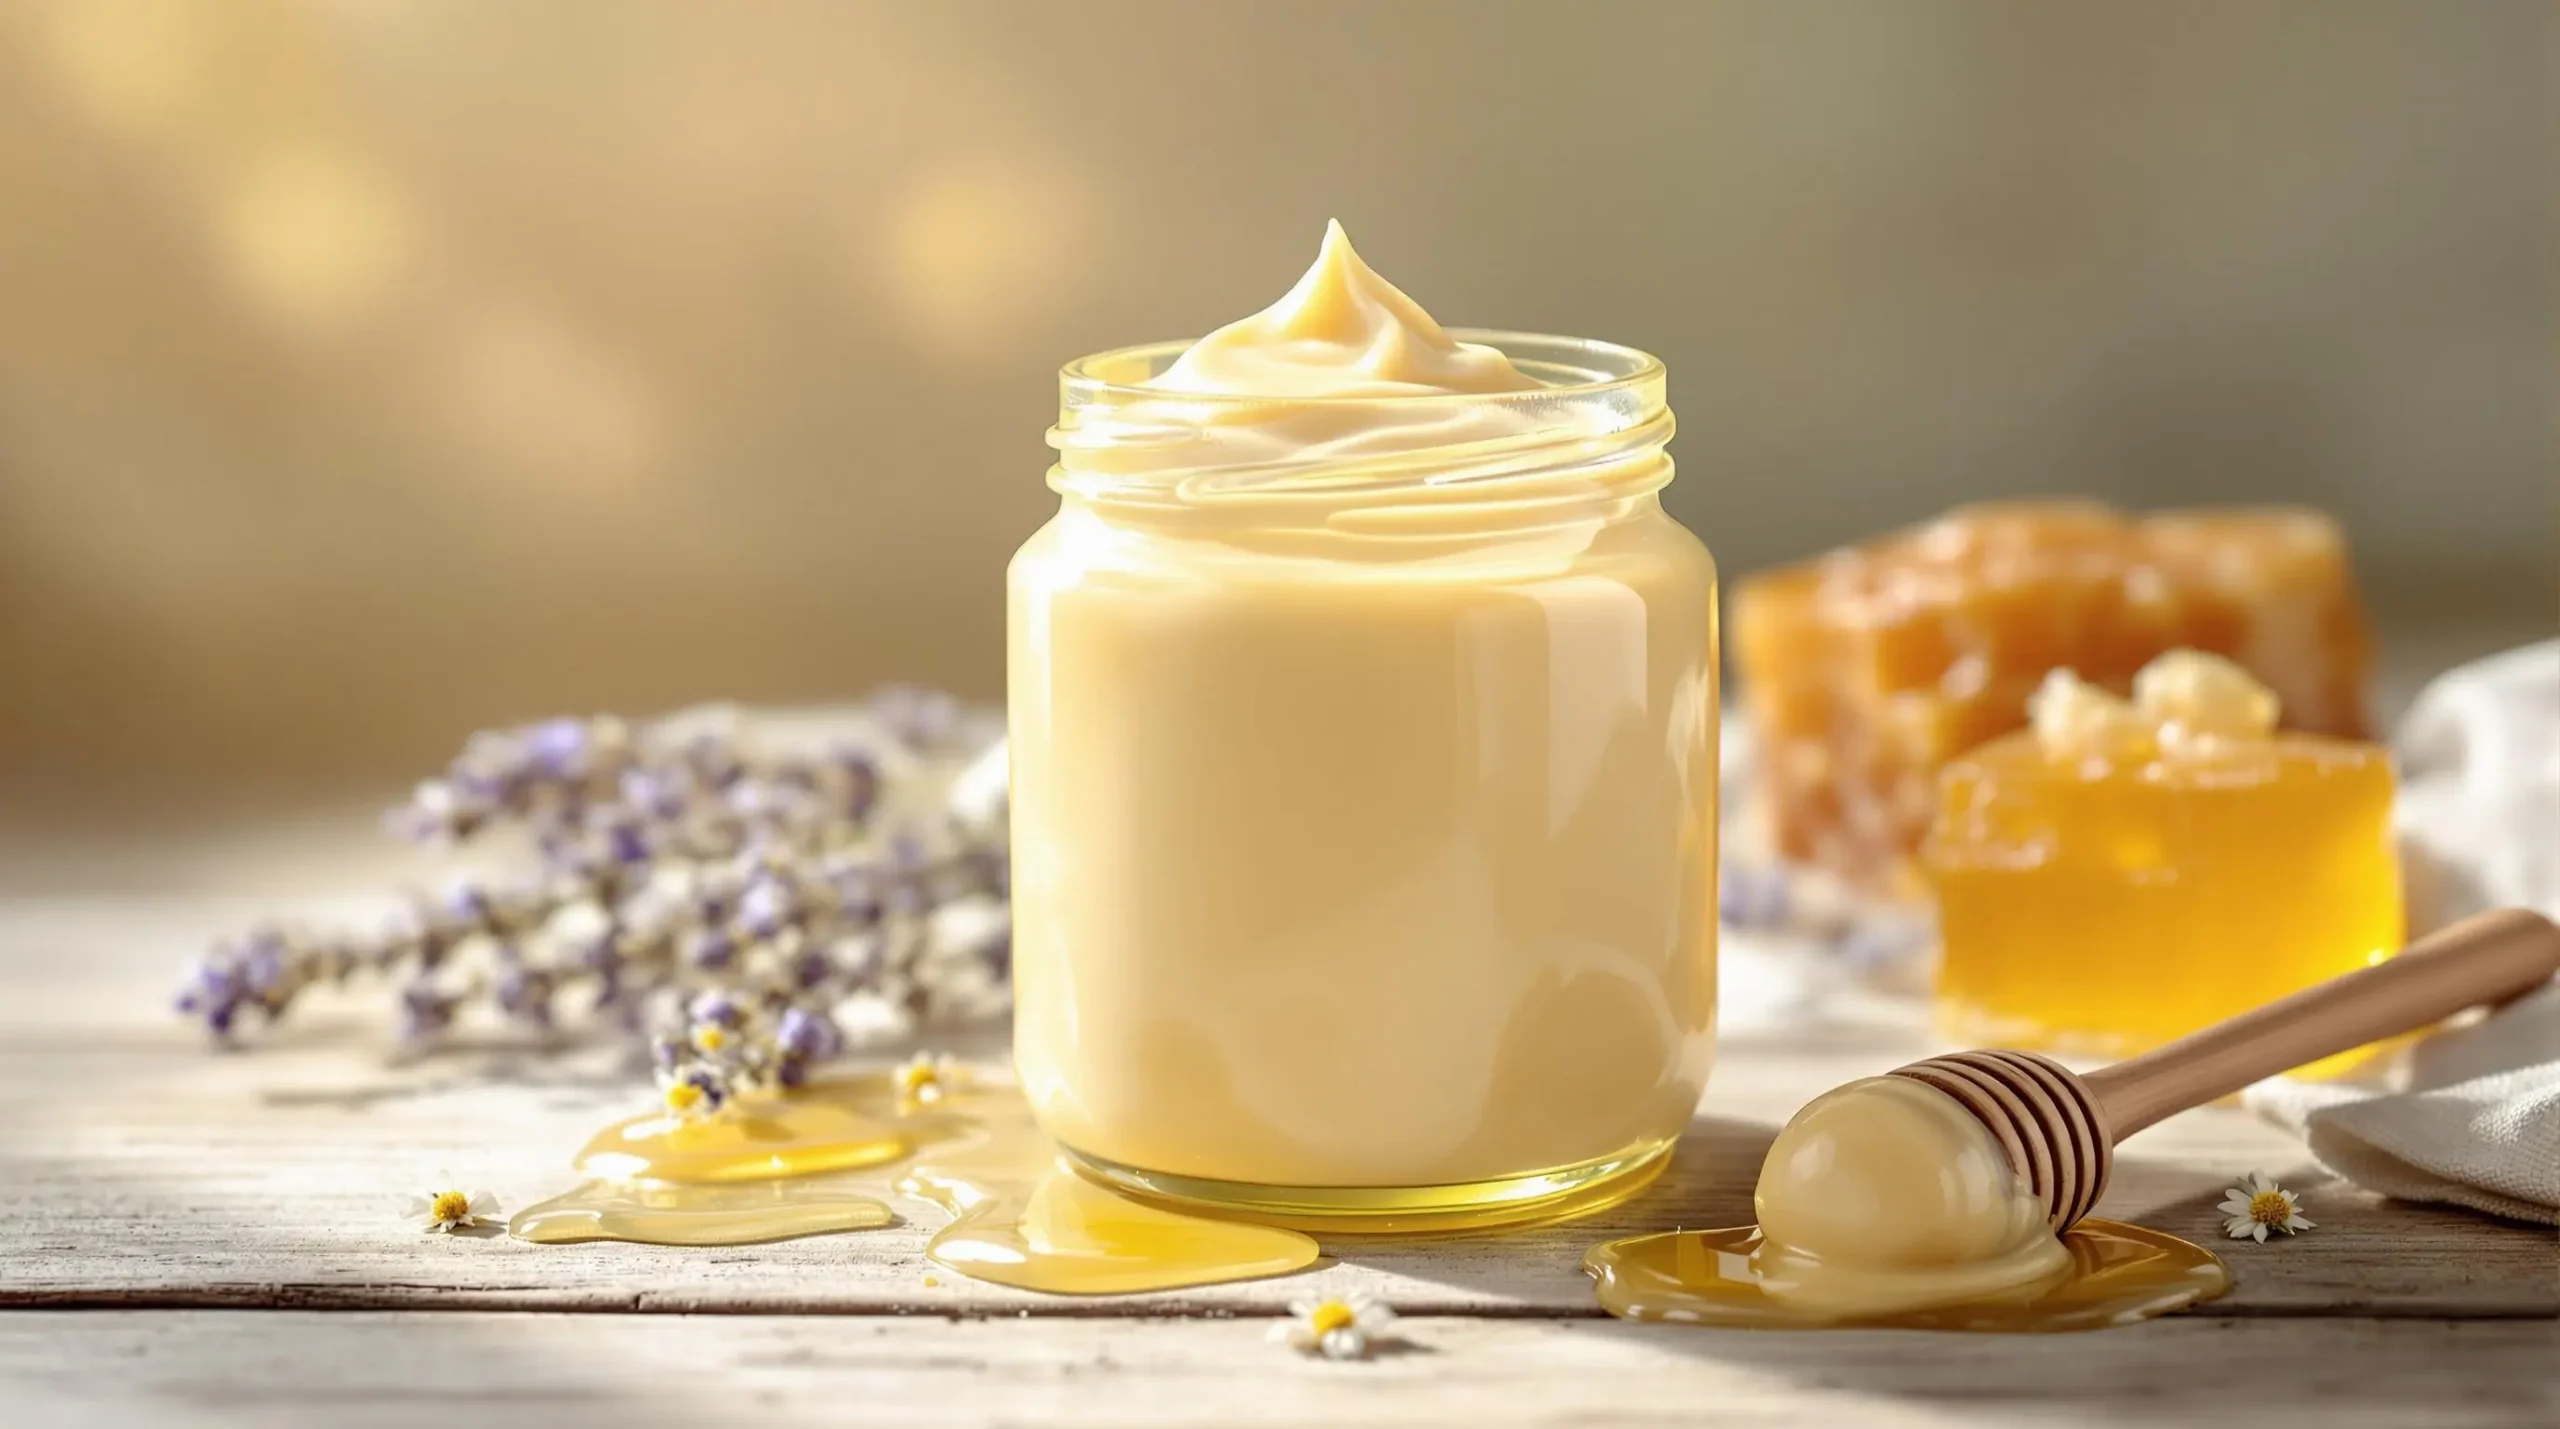
Creating a cream honey recipe starts with understanding its fundamental nature. Also known as whipped honey, spun honey, or churned honey, cream honey is the result of a carefully controlled crystallization process. Unlike regular honey that crystallizes randomly over time, this deliberate process creates incredibly fine crystals that give the honey its signature smooth, creamy texture.
The controlled crystallization involved in making cream honey actually helps maintain the natural enzymes and beneficial compounds found in raw honey. This makes cream honey not just delicious, but also nutritionally valuable.
Benefits of Cream Honey
First and foremost, the most notable advantage of following a cream honey recipe is achieving that perfectly spreadable texture that won’t drip off your toast or create a mess. Additionally, properly creamed honey offers several key benefits:
- Stable consistency that doesn’t separate or harden
- Longer shelf life compared to liquid honey
- Easy spreading without drips or mess
- Versatile uses in cooking and baking
- Natural preservation of honey’s beneficial properties
Moreover, cream honey’s controlled crystallization prevents the formation of large, grainy crystals that often occur in naturally crystallized honey, ensuring a consistently smooth experience with every spoonful.
Required Materials
Before starting your cream honey journey, gathering the right materials is crucial. Here’s what you’ll need for a successful cream honey recipe:
Essential Equipment:
- Large mixing bowl (stainless steel preferred)
- Electric mixer with paddle attachment
- Clean glass jars for storage
- Thermometer for temperature control
- Spatula for scraping
- Storage containers with tight-fitting lids
Required Ingredients:
- Raw liquid honey (4 parts)
- Starter cream honey (1 part)
- Optional natural flavoring (vanilla, cinnamon, or lavender)
Raw honey selection is particularly important – choose a high-quality, unprocessed variety that hasn’t been heated above 95°F (35°C). The starter cream honey, also known as seed honey, provides the initial fine crystals that will guide the crystallization process of your batch.

Furthermore, temperature control plays a crucial role in achieving the perfect texture. The ideal working temperature range is between 57-65°F (14-18°C). Working outside this range can result in irregular crystallization and affect the final texture of your cream honey.
Remember that cleanliness is paramount when preparing cream honey. All equipment should be thoroughly cleaned and dried before use to prevent any contamination that could affect the crystallization process or honey quality.
Preparation Process
Creating Crystallized Honey Base
The foundation of any successful cream honey recipe lies in properly preparing your crystallized honey base. According to the National Honey Board, maintaining precise temperature control is crucial during this initial phase. First, ensure your raw honey is at room temperature, then gradually cool it to 57°F (14°C) over 24 hours.
To begin the process, thoroughly mix your starter cream honey with raw liquid honey. This combination initiates the controlled crystallization that’s essential for achieving that perfect, spreadable texture. Moreover, research from recent studies shows that this careful temperature regulation helps preserve honey’s natural enzymes and beneficial properties.
Mixing Ratios and Measurements
Following the proper mixing ratios is critical when creating your cream honey recipe.
Basic Mixing Formula:
- 80% liquid raw honey (4 parts)
- 20% starter cream honey (1 part)
For a standard batch, use:
- 4 cups (1.2 kg) raw liquid honey
- 1 cup (300g) starter cream honey
First, combine both ingredients in your mixing bowl, then blend at medium speed for 5 minutes. Subsequently, reduce speed to low and continue mixing for another 10 minutes. This careful mixing process ensures even crystal distribution throughout the mixture.
Optional Flavor Additions
Once you’ve mastered the basic cream honey recipe, you can experiment with natural flavoring options. However, timing is crucial when adding flavors. Furthermore, it’s essential to maintain proper proportions to preserve the honey’s crystallization process.
Recommended Natural Additions:
- Vanilla extract (1/4 teaspoon per cup of honey)
- Ground cinnamon (1/8 teaspoon per cup)
- Dried lavender (1/4 teaspoon per cup)
- Citrus zest (1/4 teaspoon per cup)
Add your chosen flavoring after the initial mixing phase but before the final blending. Additionally, ensure all additions are completely dry to prevent moisture from affecting the crystallization process. After incorporating flavors, continue mixing for an additional 5 minutes to ensure even distribution.
Remember to store your finished cream honey in airtight containers at room temperature. Most importantly, allow the mixture to rest undisturbed for 3-5 days to achieve its final, perfectly creamy texture. The finished product should maintain its smooth, spreadable consistency for several months when stored properly.
This methodical approach to preparing cream honey ensures consistent results every time. Furthermore, by following these precise measurements and timing guidelines, you’ll create a product that rivals commercially available options while maintaining complete control over ingredients and quality.
Making and Storing Cream Honey
Whipping Process
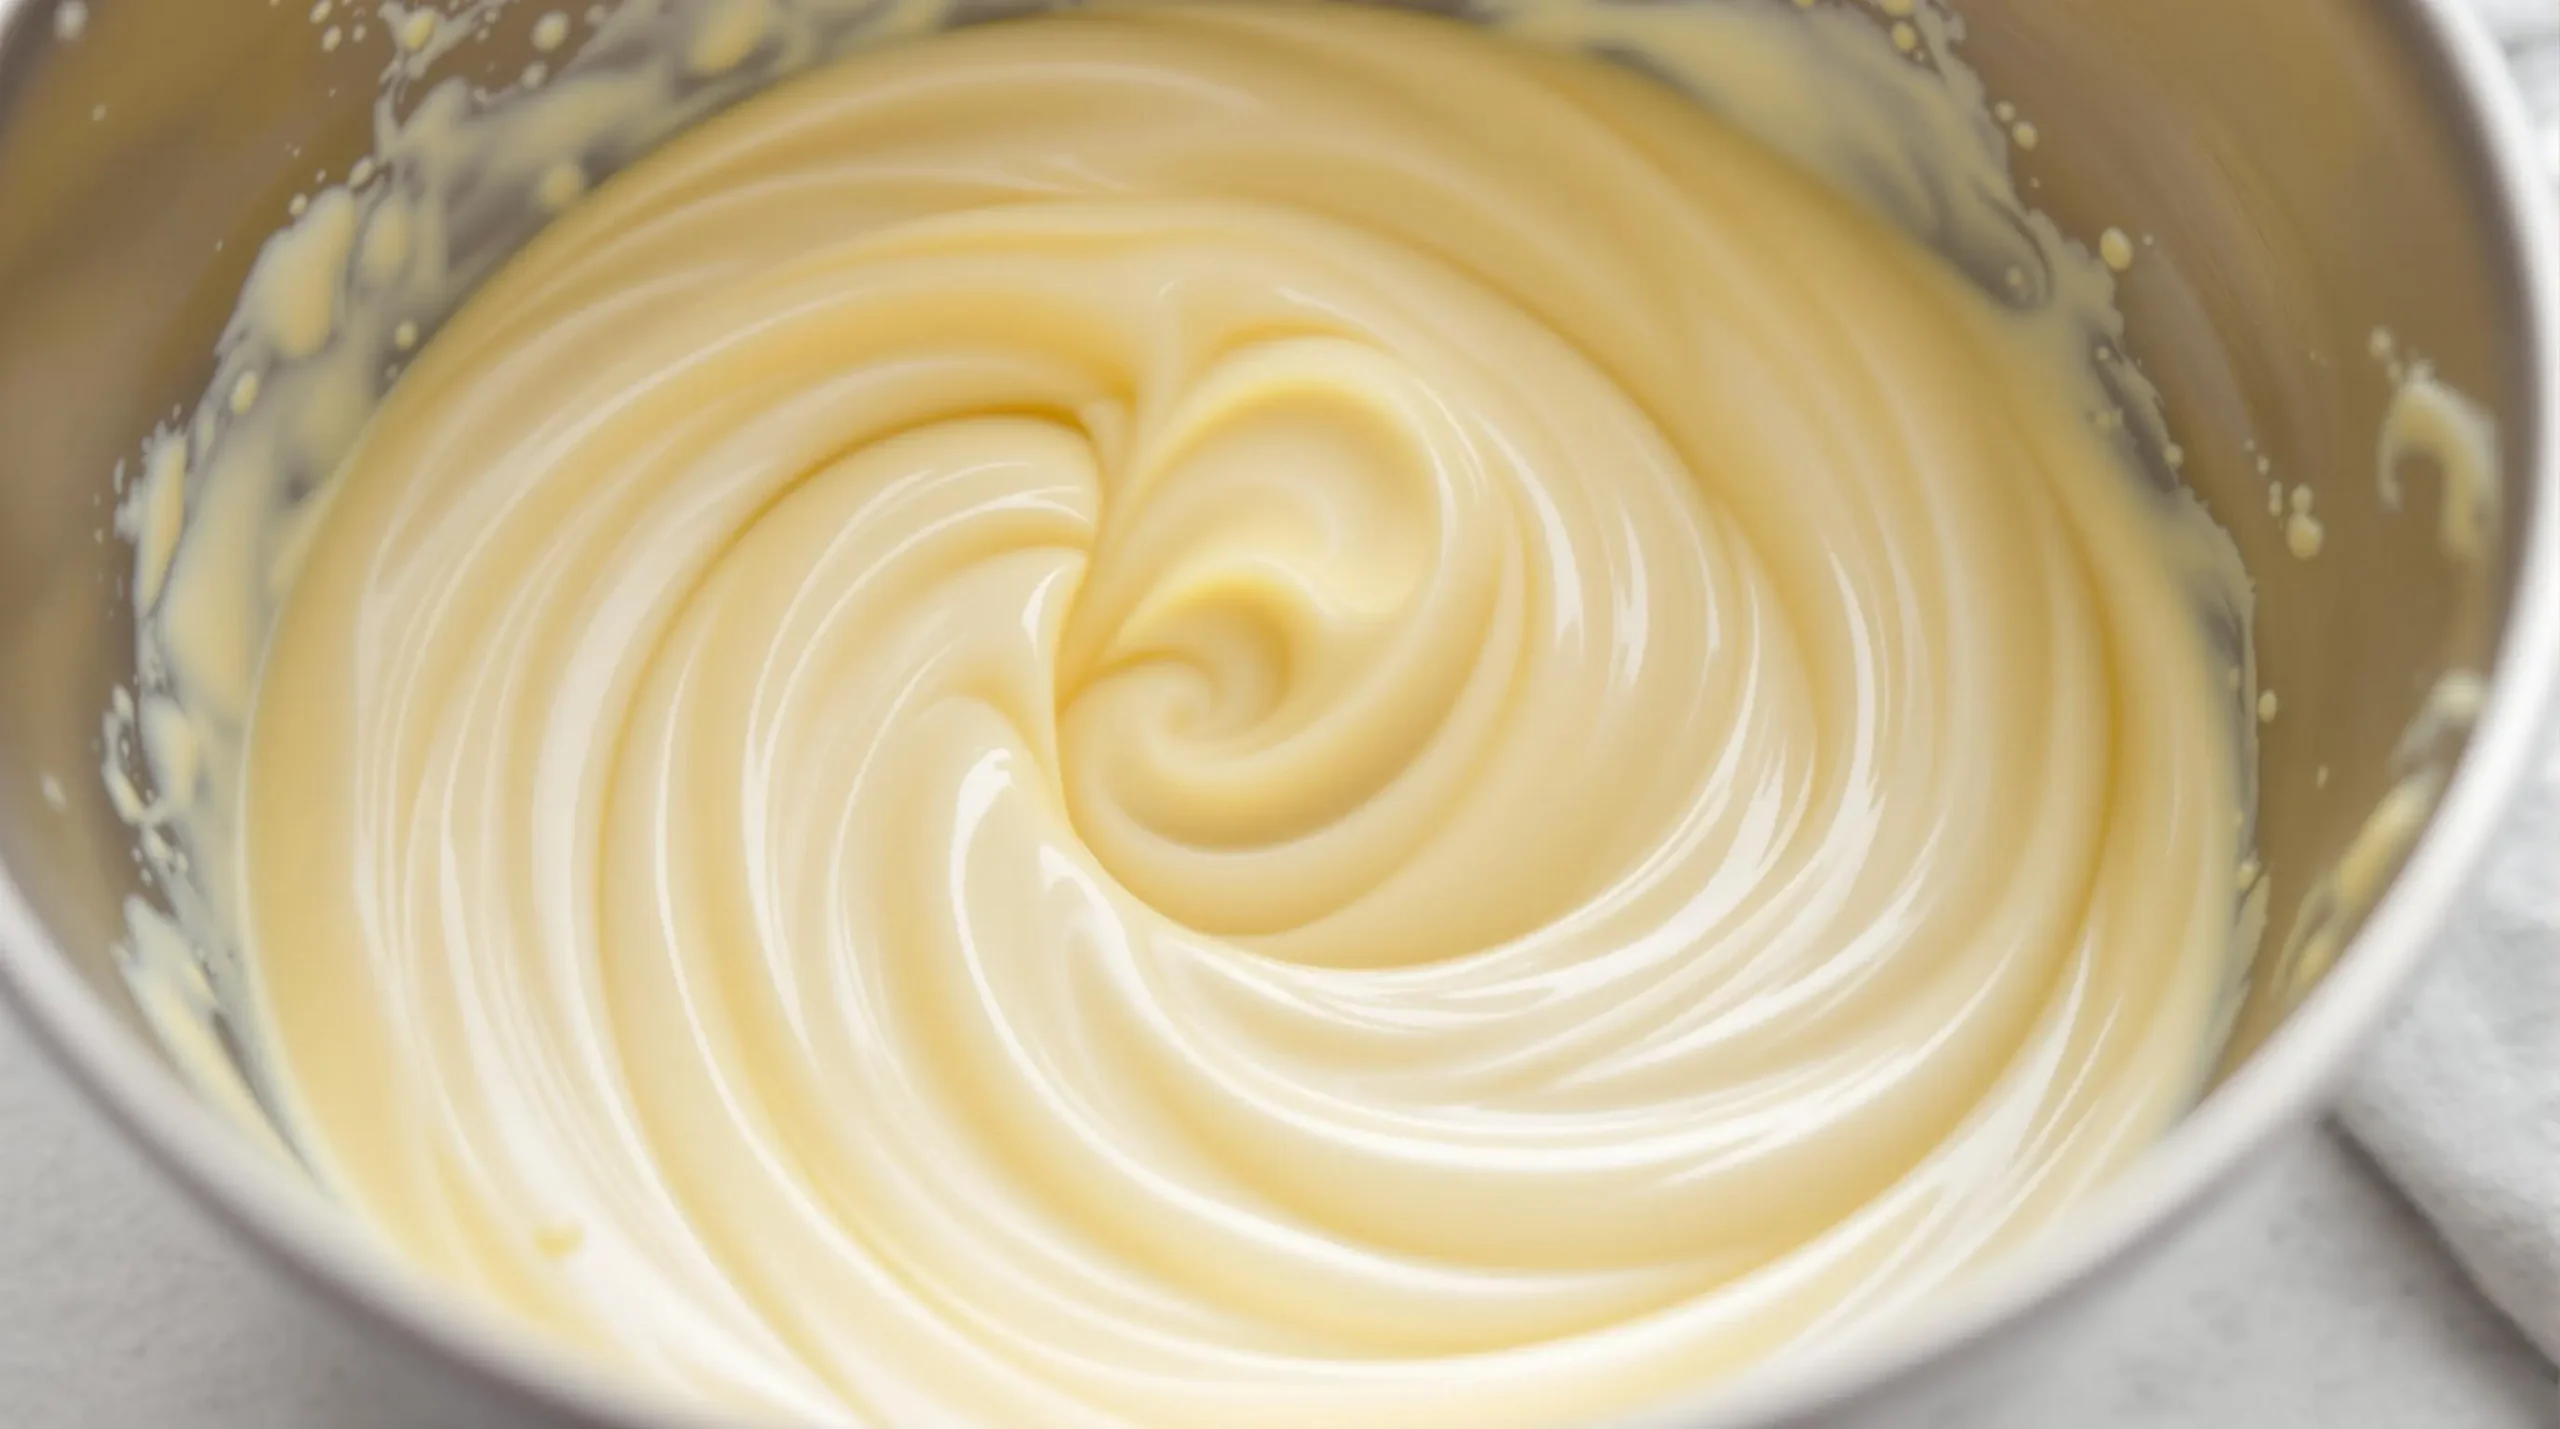
Creating the perfect cream honey recipe requires careful attention to the whipping process. The key to achieving that signature smooth texture lies in maintaining consistent mixing speeds and durations. First, set your mixer to medium speed and begin the initial whipping phase.
The whipping process follows these essential steps:
- Initial mix: 5 minutes at medium speed
- Secondary mix: 15 minutes at low speed
- Rest period: 2-3 minutes between cycles
- Final mix: 10 minutes at medium-low speed
Moreover, you’ll know your cream honey recipe is progressing correctly when the mixture becomes noticeably lighter in color and thicker in consistency. Additionally, the honey should form soft peaks when the mixer is lifted, similar to whipped cream at medium peaks.
Troubleshooting Common Issues
Even experienced beekeepers sometimes encounter challenges when making cream honey. Most texture issues can be resolved by adjusting specific variables in your process.
Common Problems and Solutions:
- Grainy texture: Re-mix at lower speed for 10 minutes
- Too liquid: Lower temperature and continue mixing
- Too firm: Gradually warm to 75°F (24°C) while mixing
- Uneven crystallization: Start fresh with proper temperature control
Furthermore, if your mixture isn’t thickening properly, check that your starter cream honey hasn’t exceeded its recommended storage temperature.
Storage and Shelf Life
Proper storage is crucial for maintaining the perfect texture of your cream honey recipe. First, select appropriate containers that are both airtight and food-grade. Subsequently, fill them leaving minimal headspace to prevent crystallization issues.
Essential Storage Guidelines:
- Use glass or food-grade plastic containers
- Store at constant room temperature (65-70°F/18-21°C)
- Keep away from direct sunlight
- Avoid temperature fluctuations
- Check seals regularly for proper closure
Additionally, properly stored cream honey typically maintains its consistency for 6-8 months. However, it’s important to note that exposure to heat or significant temperature changes can affect the texture. Most importantly, always ensure your storage containers are completely clean and dry before use.
When stored correctly, your cream honey will maintain its spreadable consistency and delightful texture. Subsequently, you can enjoy this versatile treat on toast, in beverages, or as a natural sweetener in various recipes. Remember to always keep a small portion as starter for your next batch, ensuring you can continue creating this delicious spread whenever needed.

Frequently Asked Questions About Cream Honey Recipe
Common Questions From Home Honey Makers
Whether you’re new to making cream honey or looking to perfect your technique, here are answers to the most common questions about creating the perfect cream honey recipe.
Q1: Can I use regular store-bought honey instead of raw honey?
While you can use store-bought honey, raw honey works best for your cream honey recipe because it contains natural pollen and enzymes that help with crystallization. Additionally, raw honey hasn’t been heated or filtered extensively, which preserves its natural properties and makes it ideal for controlled crystallization.
Q2: How long does cream honey last?
When stored properly in airtight containers at room temperature (65-70°F), cream honey typically lasts 6-8 months without losing its smooth texture. Moreover, keeping it away from direct sunlight and temperature fluctuations helps maintain its consistency longer.
Q3: Why did my cream honey become hard?
If your cream honey has hardened, it’s likely due to improper temperature control during the making process or storage. First, try warming it gently to 75°F while stirring. Subsequently, if the issue persists, you may need to restart the process with better temperature control.
Q4: Can I add flavors to cream honey?
Yes, you can enhance your cream honey with natural flavors! However, timing is crucial. Add flavors after the initial mixing but before the final whipping stage. Furthermore, ensure all additions are completely dry to prevent affecting the crystallization process. Popular options include:
- Vanilla extract
- Ground cinnamon
- Dried lavender
- Citrus zest
Q5: What if I don’t have starter cream honey?
If you can’t find starter cream honey, you can use finely crystallized honey as a substitute. Additionally, some beekeepers suggest using powdered honey or very finely ground crystallized honey. Most importantly, ensure whatever starter you use has a smooth, fine crystal structure.
Q6: How do I know when my cream honey is ready?
Your cream honey is ready when it:
- Has a uniform, pale color
- Forms soft peaks when stirred
- Spreads easily without being runny
- Shows no visible crystal formation
Remember that patience is key when making cream honey. Most importantly, allow adequate time for each step in the process to ensure the best results.
Final Tips and Serving Suggestions
Creating the perfect cream honey recipe is both an art and a science, and now that you’ve mastered the basics, let’s explore how to make the most of your creation. Cream honey’s versatility makes it an excellent addition to various culinary applications.
First, consider using your cream honey recipe creation in these delightful ways:
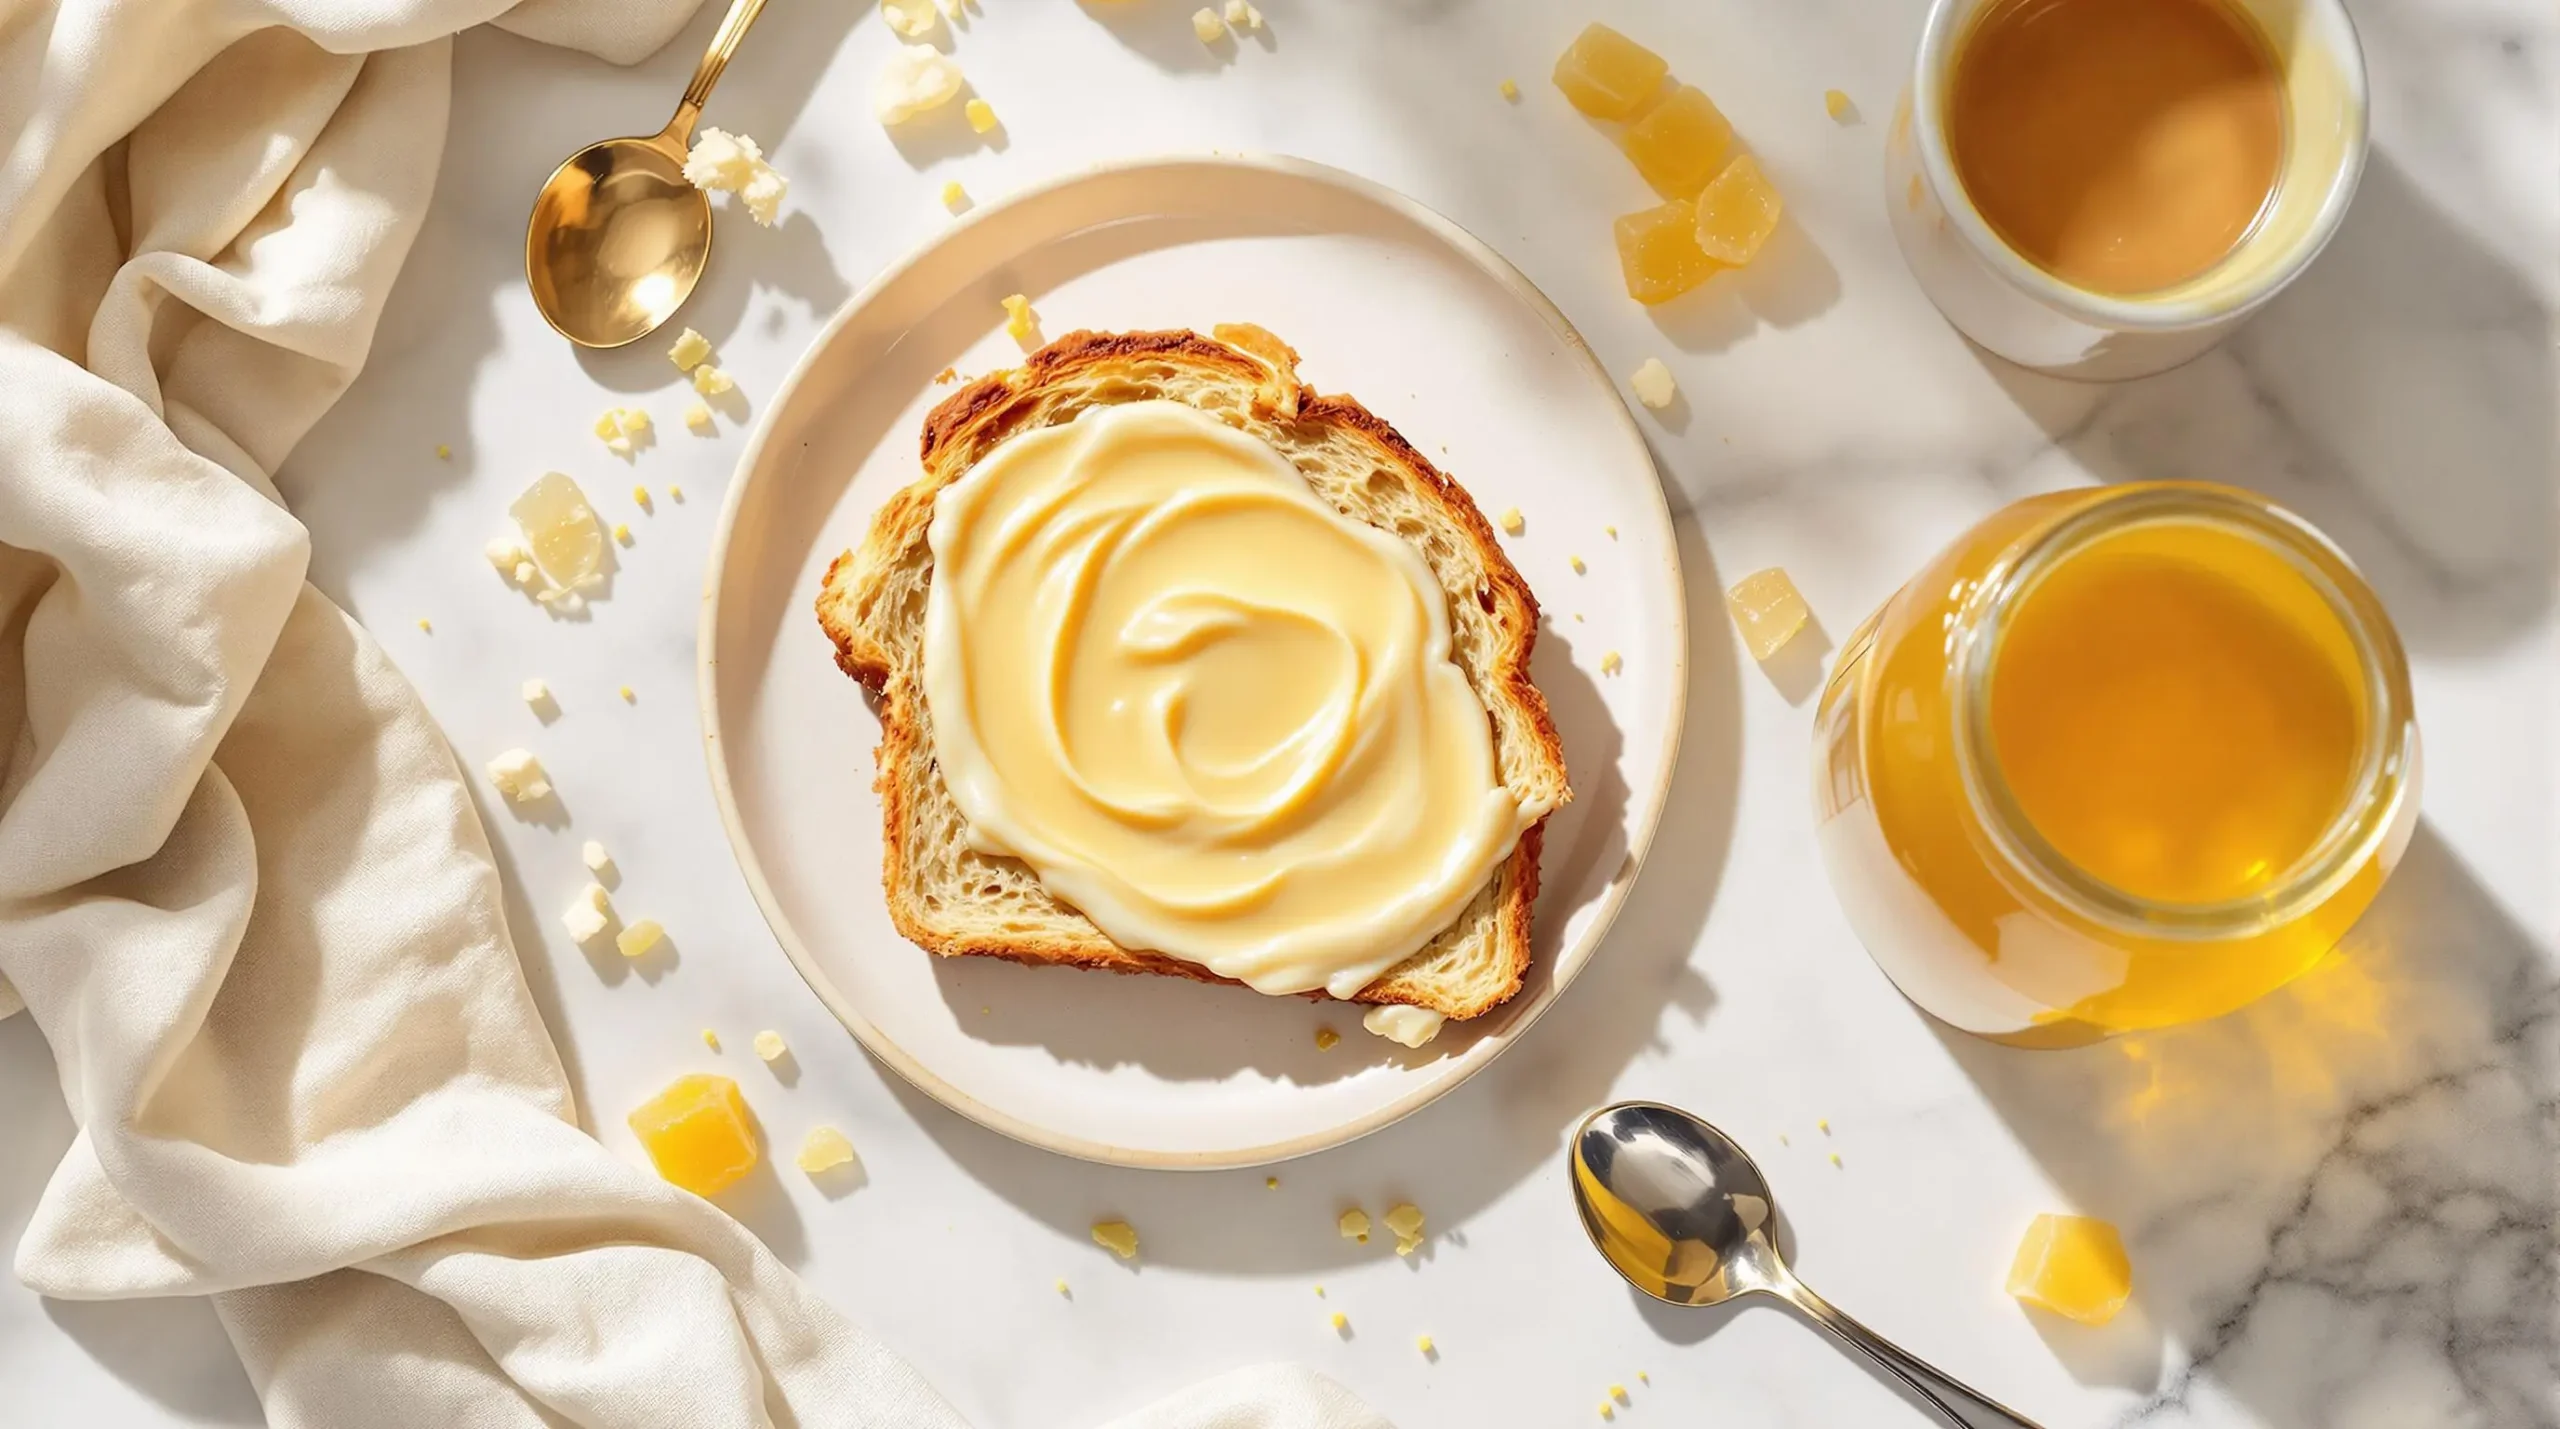
- Spread on warm toast, bagels, or croissants
- Stir into hot tea or coffee
- Blend into smoothies or yogurt
- Use as a natural sweetener in baking
- Create honey butter by mixing with softened butter
Moreover, experimenting with different honey varieties can lead to unique flavor profiles. Different floral sources can significantly impact the final taste of your cream honey. Additionally, try combining various raw honey types to create your signature blend.
Remember that practice makes perfect when crafting cream honey. Furthermore, each batch you make will help you better understand the subtle nuances of the crystallization process. Even small adjustments in temperature and mixing time can influence the final texture.
Most importantly, don’t be discouraged if your first attempt isn’t perfect. The journey of making cream honey is as rewarding as the destination. Subsequently, you’ll develop an intuitive understanding of the process that will lead to consistently excellent results.

As you continue your cream honey-making adventure, share your creations with friends and family. Not only will you have a delicious, spreadable treat, but you’ll also have the satisfaction of knowing you’ve mastered a traditional culinary craft. Remember, the best cream honey recipe is the one you’ve perfected through practice and patience, making it uniquely yours.

