Have you ever dreamed of transforming your favorite cookie into a creamy, dreamy frozen treat? This irresistible Oreo ice cream recipe combines the classic crunch of Oreo cookies with smooth, velvety ice cream that’ll make your taste buds dance. It’s the perfect marriage of textures and flavors that both kids and adults can’t resist.
The best part? You don’t need any fancy equipment to create this homemade delight. With just three simple ingredients and minimal prep time, this Oreo ice cream recipe delivers restaurant-quality results right in your kitchen. Furthermore, you’ll save money while controlling exactly what goes into your dessert.
In this guide, you’ll discover the secrets to achieving the perfect texture, learn essential storage tips, and master the art of creating creamy homemade ice cream without an ice cream maker. Additionally, we’ll explore how to properly store your creation to maintain its freshness.
From crushing Oreos to the final scoop, this step-by-step guide will walk you through every stage of creating this delectable dessert. Moreover, you’ll learn valuable tips for customizing the recipe to your taste preferences. Let’s dive into the ingredients and equipment you’ll need to get started on this amazing frozen treat.
Essential Ingredients and Equipment for the Perfect Oreo Ice Cream Recipe
Understanding the Core Ingredients
Creating the perfect oreo ice cream recipe starts with selecting high-quality ingredients. First and foremost, you’ll need heavy whipping cream with a fat content between 36-40%. This higher fat percentage ensures your ice cream stays creamy and smooth, even after freezing. For best results, choose cream from reputable dairy brands.
The second crucial ingredient is sweetened condensed milk. While any brand will work, I recommend using full-fat varieties for the richest texture. Additionally, make sure to check the expiration date, as fresher condensed milk yields better results.
As for the star ingredient, regular Oreo cookies work wonderfully in this recipe. However, you can experiment with different varieties like Double Stuf or Dark Chocolate to create unique flavor profiles. Generally, one standard package (14.3 oz) provides the perfect cookie-to-cream ratio for this oreo ice cream recipe.

Required Kitchen Tools
To ensure success, you’ll need these essential tools:
- A large mixing bowl (at least 4-quart capacity)
- A medium bowl for crushing cookies
- An electric mixer (stand or hand-held)
- Rubber spatula
- Freezer-safe container
While an electric mixer is preferred, you can alternatively use a balloon whisk if you’re ready for an arm workout!
Ingredient Substitutions
Sometimes you might need to adapt the classic oreo ice cream recipe to accommodate dietary restrictions or available ingredients. For heavy cream, you can use a combination of whole milk and butter (3/4 cup milk plus 1/3 cup melted butter equals 1 cup cream). However, keep in mind this may affect the final texture.
If you’re avoiding condensed milk, try this alternative: combine 1 cup of whole milk with 2/3 cup of sugar in a saucepan, then simmer until reduced by half. Moreover, let it cool completely before using.
For cookie variations, consider these options:
- Chocolate sandwich cookies
- Chocolate chip cookies (crushed)
- Graham crackers with cocoa powder
- Chocolate wafers
Remember that substitutions might slightly alter the texture and flavor of your final product. Nevertheless, these alternatives still produce delicious results while accommodating different dietary needs or preferences.
Before proceeding with the mixing and freezing process, ensure all your ingredients are properly chilled. Additionally, having extra cookies on hand for garnishing is always a good idea. In the next section, we’ll dive into the step-by-step mixing process that transforms these simple ingredients into a decadent frozen dessert.
Step-by-Step Preparation Guide for Your Oreo Ice Cream Recipe
Preparing Your Ingredients
Before diving into this oreo ice cream recipe, proper ingredient preparation is crucial for achieving the perfect texture. First, allow your heavy cream to chill in the refrigerator until it reaches 40°F (4°C). Meanwhile, let the condensed milk sit at room temperature for about 15 minutes to ensure smooth incorporation.
For the cookies, crushing technique matters significantly. Rather than pulverizing them into dust, aim for a mix of sizes: some fine crumbs and some chunky pieces. This variety creates an authentic cookies-and-cream texture that makes this oreo ice cream recipe truly special. Additionally, set aside a few whole cookies for garnishing later.
Accurate measurements are essential for consistent results. Therefore, use proper measuring tools rather than eyeballing ingredients. Moreover, scrape measuring cups completely to ensure you’re using the exact amounts specified.
Mixing Process
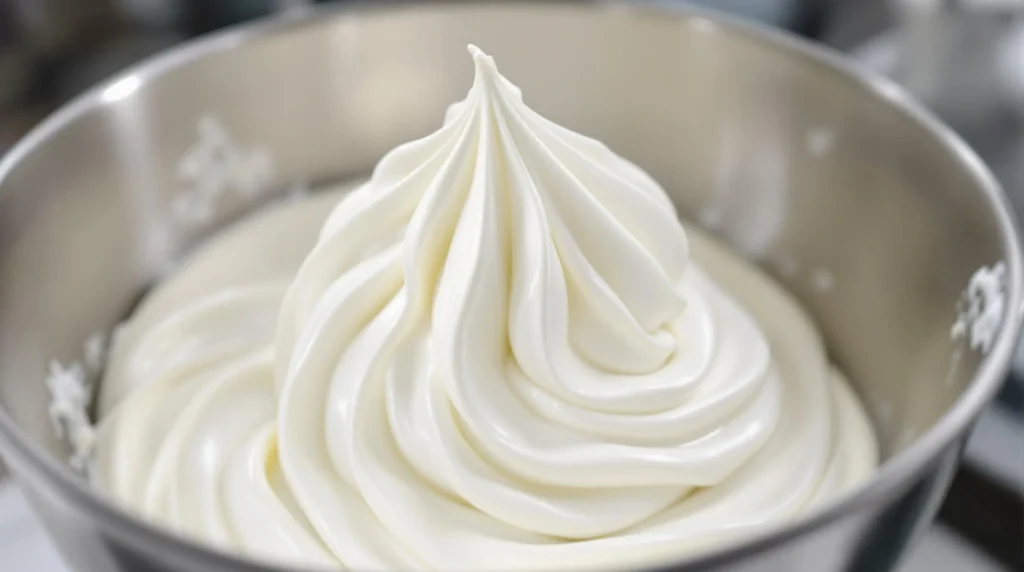
The key to perfect homemade ice cream lies in properly whipping the cream. Using a chilled bowl, beat the heavy cream until stiff peaks form – this typically takes 3-4 minutes with an electric mixer. Be careful not to over-whip, as this can result in a grainy texture.
Next, gently fold the sweetened condensed milk into the whipped cream using a figure-eight motion. Furthermore, ensure your folding technique is gentle to maintain the air bubbles that create that luxurious, creamy texture. Maintaining proper temperature throughout mixing is crucial for food safety.
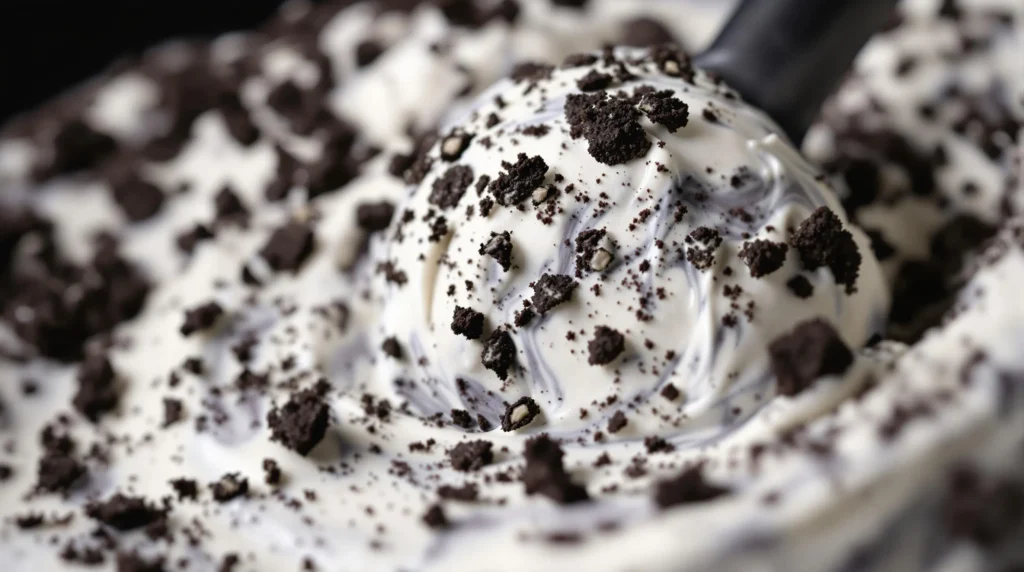
When incorporating the crushed Oreos, use a rubber spatula to fold them in gradually. This method ensures even distribution while preventing the cream from deflating. Additionally, reserve some cookie pieces for layering throughout the mixture.
Freezing Techniques
Selecting the right container is crucial for proper freezing. For best results, use a shallow container that allows for even freezing.
Before transferring your mixture, layer some crushed cookies at the bottom of your container. Then, add half the ice cream mixture, followed by more cookie pieces. Subsequently, add the remaining mixture and top with the final cookie crumbs. This layering technique ensures every scoop contains the perfect amount of cookies.
Cover the container with plastic wrap, pressing it directly onto the surface of the ice cream to prevent ice crystals. Then, seal with an airtight lid. For optimal results, freeze for at least 6 hours, though overnight freezing is ideal. Keep your freezer temperature at or below 0°F (-18°C) to maintain the perfect consistency.
Remember these key storage tips:
- Place container in the back of the freezer
- Avoid storing near strong-smelling foods
- Keep away from the freezer door to maintain consistent temperature
- Use within two weeks for best quality
Serving and Variations for Your Perfect Oreo Ice Cream Recipe
Perfect Scooping Tips
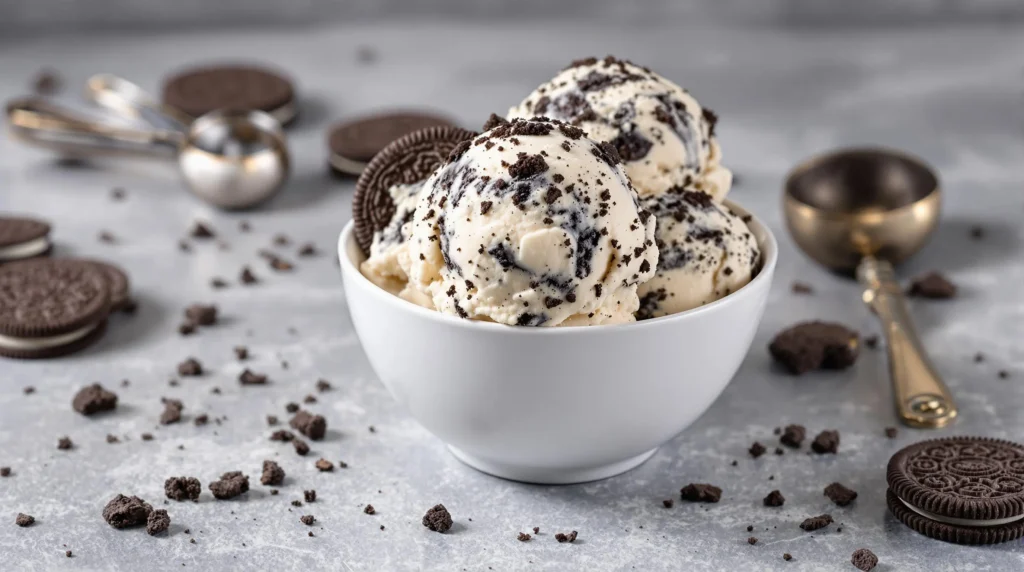
Getting that picture-perfect scoop from your oreo ice cream recipe starts with the right temperature. Allow the ice cream to soften at room temperature for 5-10 minutes before serving. This waiting period ensures the perfect scoopability while maintaining the ideal serving temperature of 6-10°F (-14 to -12°C).
For effortless scooping, dip your ice cream scoop in hot water between servings. Additionally, wipe it dry before each use to prevent ice crystals from forming. This technique creates those beautiful, round scoops that make your dessert look professionally made.
Presentation matters almost as much as taste. Consider these serving suggestions:
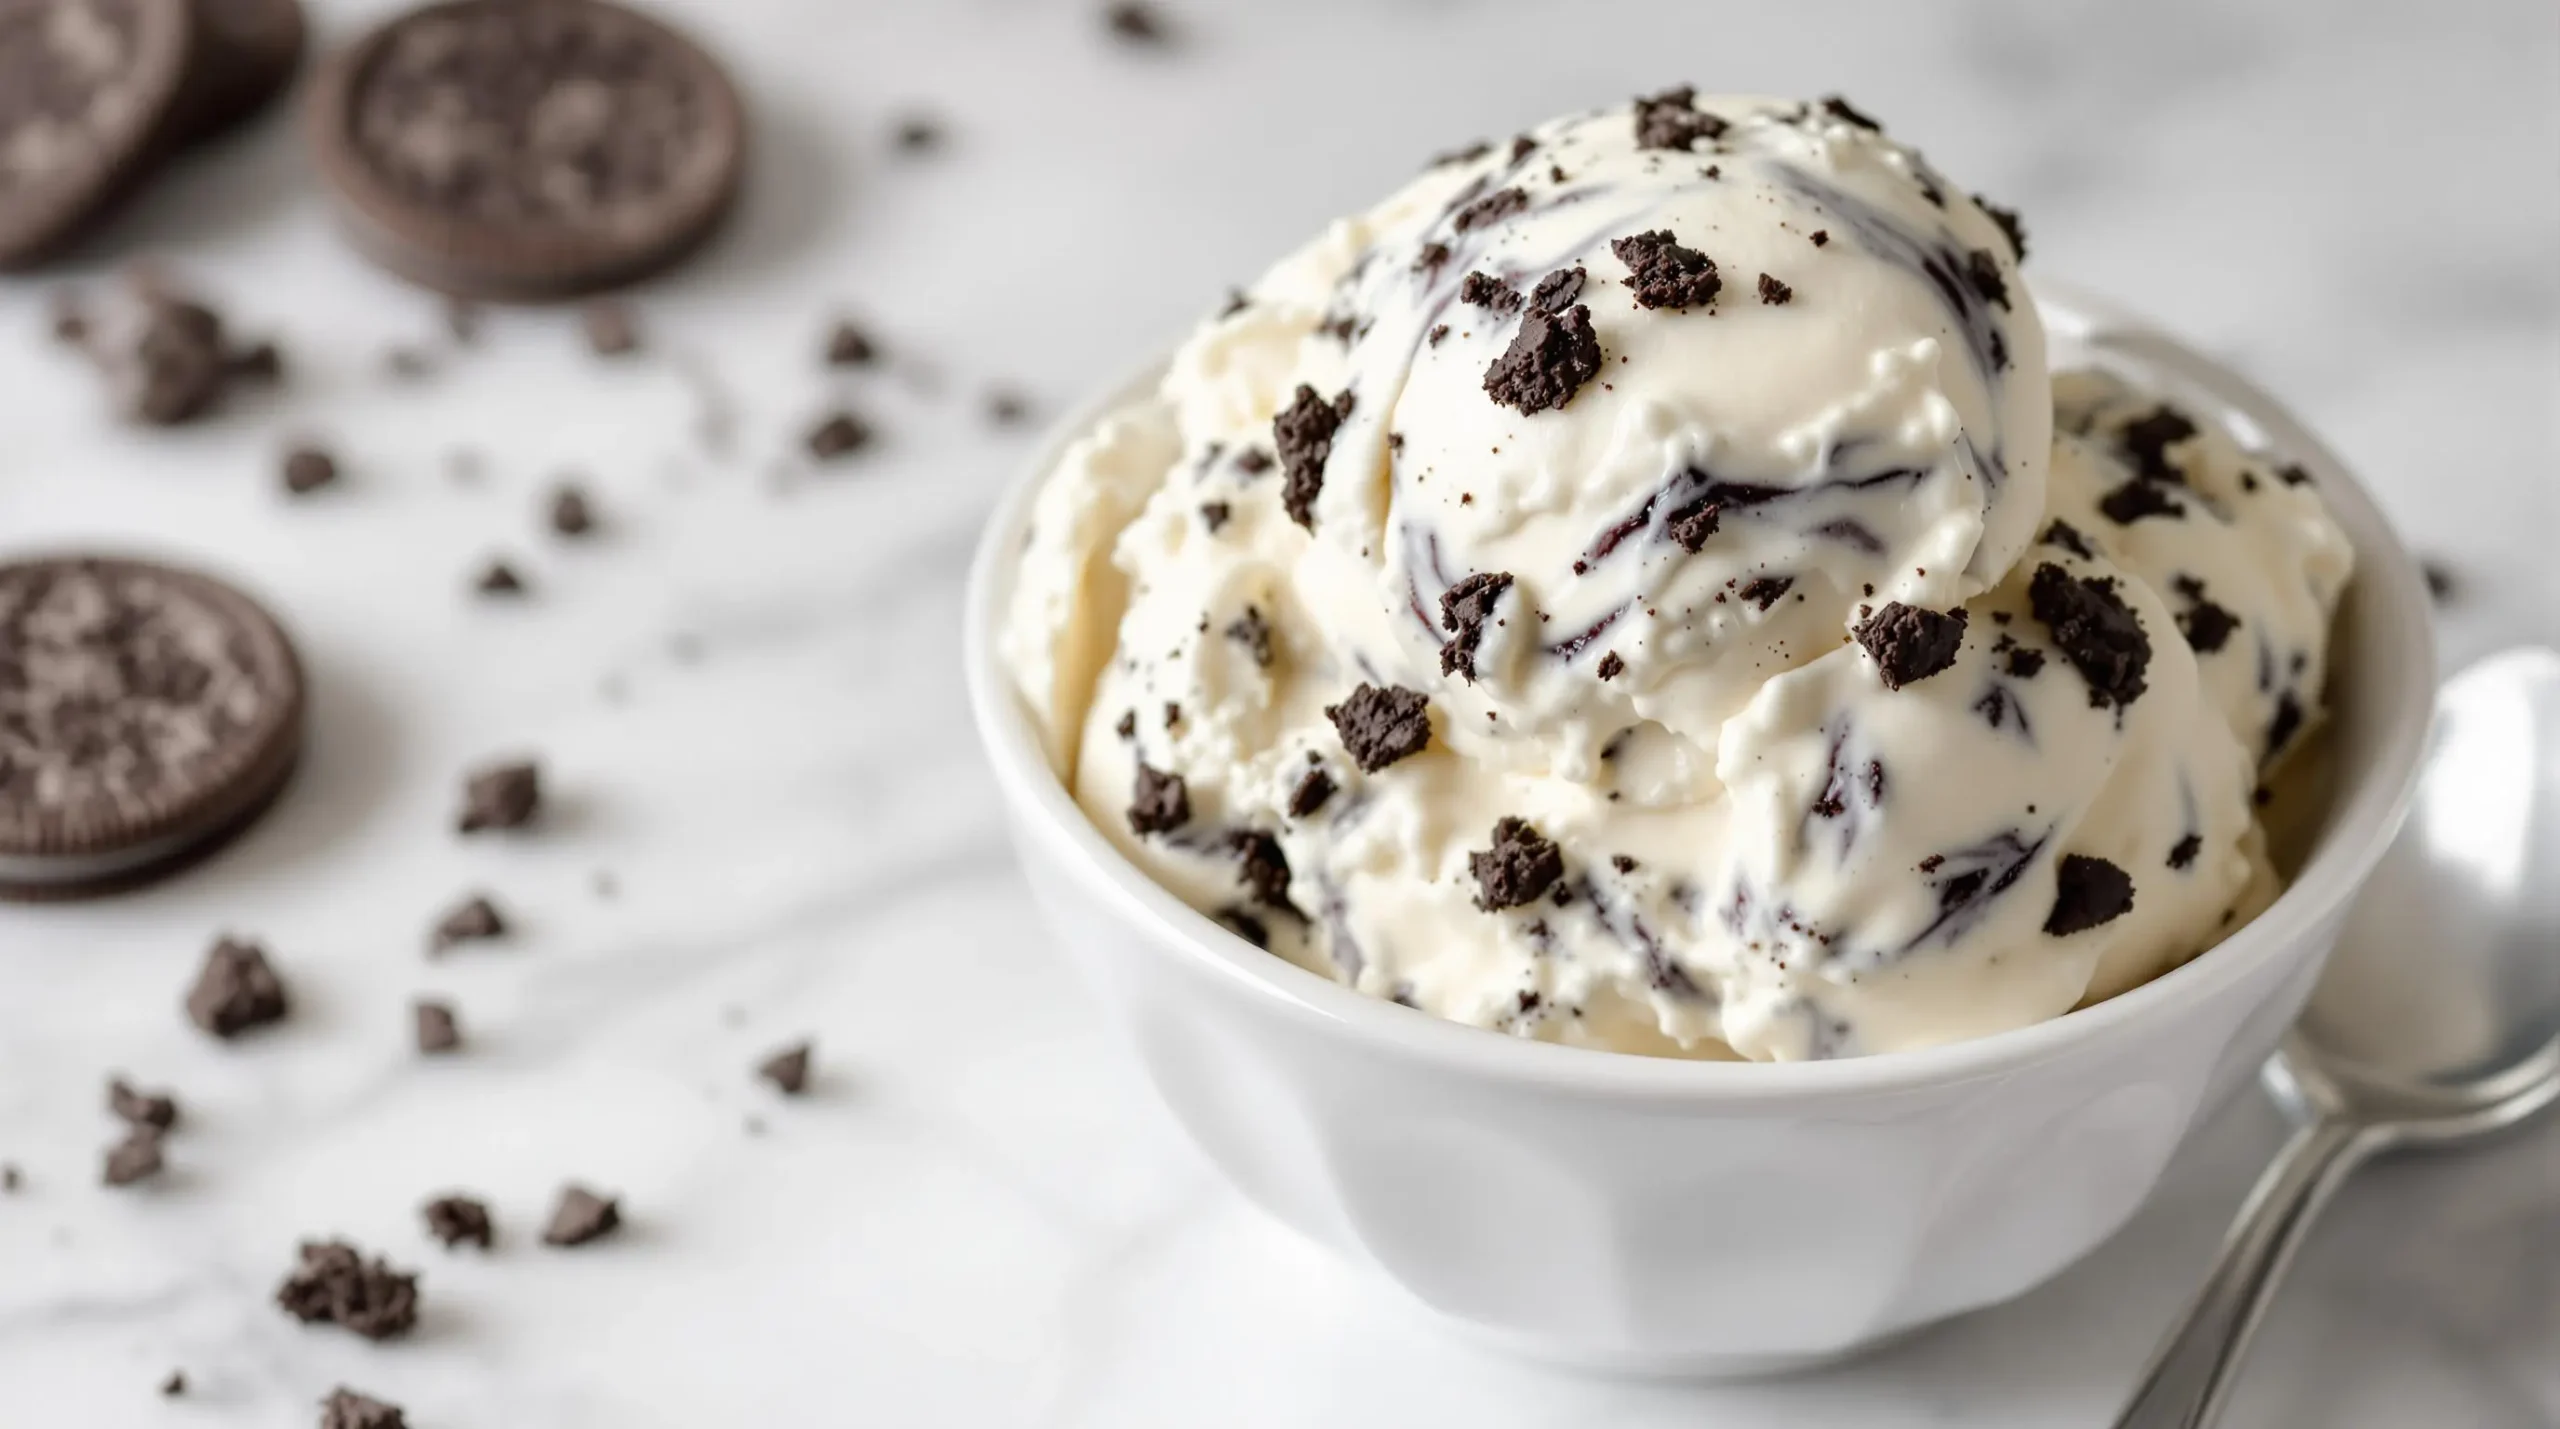
- Garnish with whole or crushed Oreos
- Drizzle with chocolate sauce
- Serve in chilled bowls
- Add fresh whipped cream
- Use wafer cones for a classic touch
Flavor Variations
While the classic oreo ice cream recipe is delightful on its own, experimenting with variations can create exciting new desserts. Double Stuf Oreos add extra creaminess, while Mint Oreos bring a refreshing twist. Furthermore, you can enhance your base recipe with these mix-ins:
- Chocolate chips
- Caramel sauce
- Crushed nuts
- Cookie dough pieces
- Marshmallow swirl
Creating unique flavor combinations keeps this dessert exciting. For instance, try adding a tablespoon of instant coffee powder to the cream mixture for a mocha version. Moreover, mint extract paired with regular Oreos creates a fresh, cool taste perfect for summer.
Storage and Shelf Life
Proper storage is crucial for maintaining the quality of your homemade ice cream. Use airtight containers specifically designed for freezer storage. These containers prevent freezer burn and maintain the creamy texture longer.
To prevent ice crystals from forming:
- Press plastic wrap directly onto the ice cream surface
- Store at a consistent temperature below 0°F (-18°C)
- Keep away from the freezer door
- Minimize exposure to warm air when serving
Homemade ice cream typically maintains its best quality for up to two weeks when properly stored. However, for the most delicious results, consume within the first week of preparation. Additionally, always check for any signs of freezer burn before serving.
When storing multiple flavors, label containers with the date and flavor. Subsequently, arrange them in your freezer so older batches are used first. This organization ensures you’ll enjoy every batch of your oreo ice cream recipe at its peak freshness.
Remember that frequent temperature fluctuations can affect texture and taste. Therefore, return unused portions to the freezer promptly after serving. With proper storage techniques, your homemade ice cream will maintain its creamy texture and delicious flavor for everyone to enjoy.

Frequently Asked Questions About Your Oreo Ice Cream Recipe
Making the perfect oreo ice cream recipe can raise some questions. Here are answers to the most common concerns to help you achieve delicious results every time.
Can I use low-fat cream or milk instead of whipping cream?
While you can substitute low-fat alternatives, they won’t produce the same creamy texture. Heavy whipping cream contains essential fat content (36-40%) that creates the smooth, rich consistency we love in ice cream. Using lower-fat options may result in a more icy texture and harder final product. However, if you must use an alternative, try combining whole milk with some heavy cream for a better outcome.
Why is my ice cream too hard or soft?
The texture of your oreo ice cream recipe depends on several factors. If it’s too hard, the likely causes are:
- Freezer temperature set too low
- Insufficient fat content in ingredients
- Over-mixing during preparation
For soft ice cream, check these common issues:
- Inadequate freezing time
- Too much sugar content
- Improper storage temperature
To fix texture problems, ensure your freezer maintains a consistent temperature of 0°F (-18°C). Additionally, allow the ice cream to sit at room temperature for 5-10 minutes before serving.
Can I make this recipe ahead of time?
Yes! This dessert is perfect for advance preparation. When properly stored in an airtight container, it maintains its best quality for up to two weeks. Furthermore, making it ahead allows the flavors to develop fully. For optimal results:
- Use freezer-safe containers
- Cover with plastic wrap before sealing
- Store in the back of the freezer
- Avoid frequent temperature changes
How many servings does this recipe make?
This recipe typically yields 8-10 generous servings (about 1 quart). You can easily double the recipe for larger gatherings. Moreover, if you’re serving it at a party, consider these tips:
- Pre-scoop and freeze individual portions
- Keep serving sizes consistent (about ½ cup each)
- Plan extra for second helpings
- Consider garnishes when calculating portions
Remember that proper storage and serving techniques significantly impact your dessert’s quality. Following these guidelines ensures everyone enjoys this delightful treat at its best.
Conclusion: Making Your Oreo Ice Cream Recipe a Sweet Success
Creating the perfect oreo ice cream recipe is more than just following instructions – it’s about embracing the joy of homemade desserts. Throughout this guide, we’ve explored everything from essential ingredients to storage techniques, ensuring you have all the knowledge needed for success. Furthermore, we’ve discovered how simple adjustments can transform this basic recipe into countless delicious variations.
Remember that practice makes perfect when crafting homemade ice cream. Don’t be discouraged if your first attempt isn’t restaurant-quality – each batch helps you better understand the proper techniques and timing. Additionally, following proper storage guidelines from the USDA ensures your creation maintains its delightful texture and flavor.
The beauty of this oreo ice cream recipe lies in its versatility. Whether you’re making it for a family dessert, special occasion, or simply satisfying a sweet craving, the possibilities for customization are endless. Moreover, sharing your creations with loved ones creates memorable moments and traditions.
We encourage you to experiment with different variations and share your results with fellow ice cream enthusiasts. Try adding your favorite mix-ins, adjusting the cookie-to-cream ratio, or creating unique flavor combinations.

As you perfect your technique, don’t forget to document your modifications and successful variations. Your journey to mastering this recipe might inspire others to create their own frozen masterpieces. Now, it’s time to gather your ingredients, unleash your creativity, and start making memories one scoop at a time!

