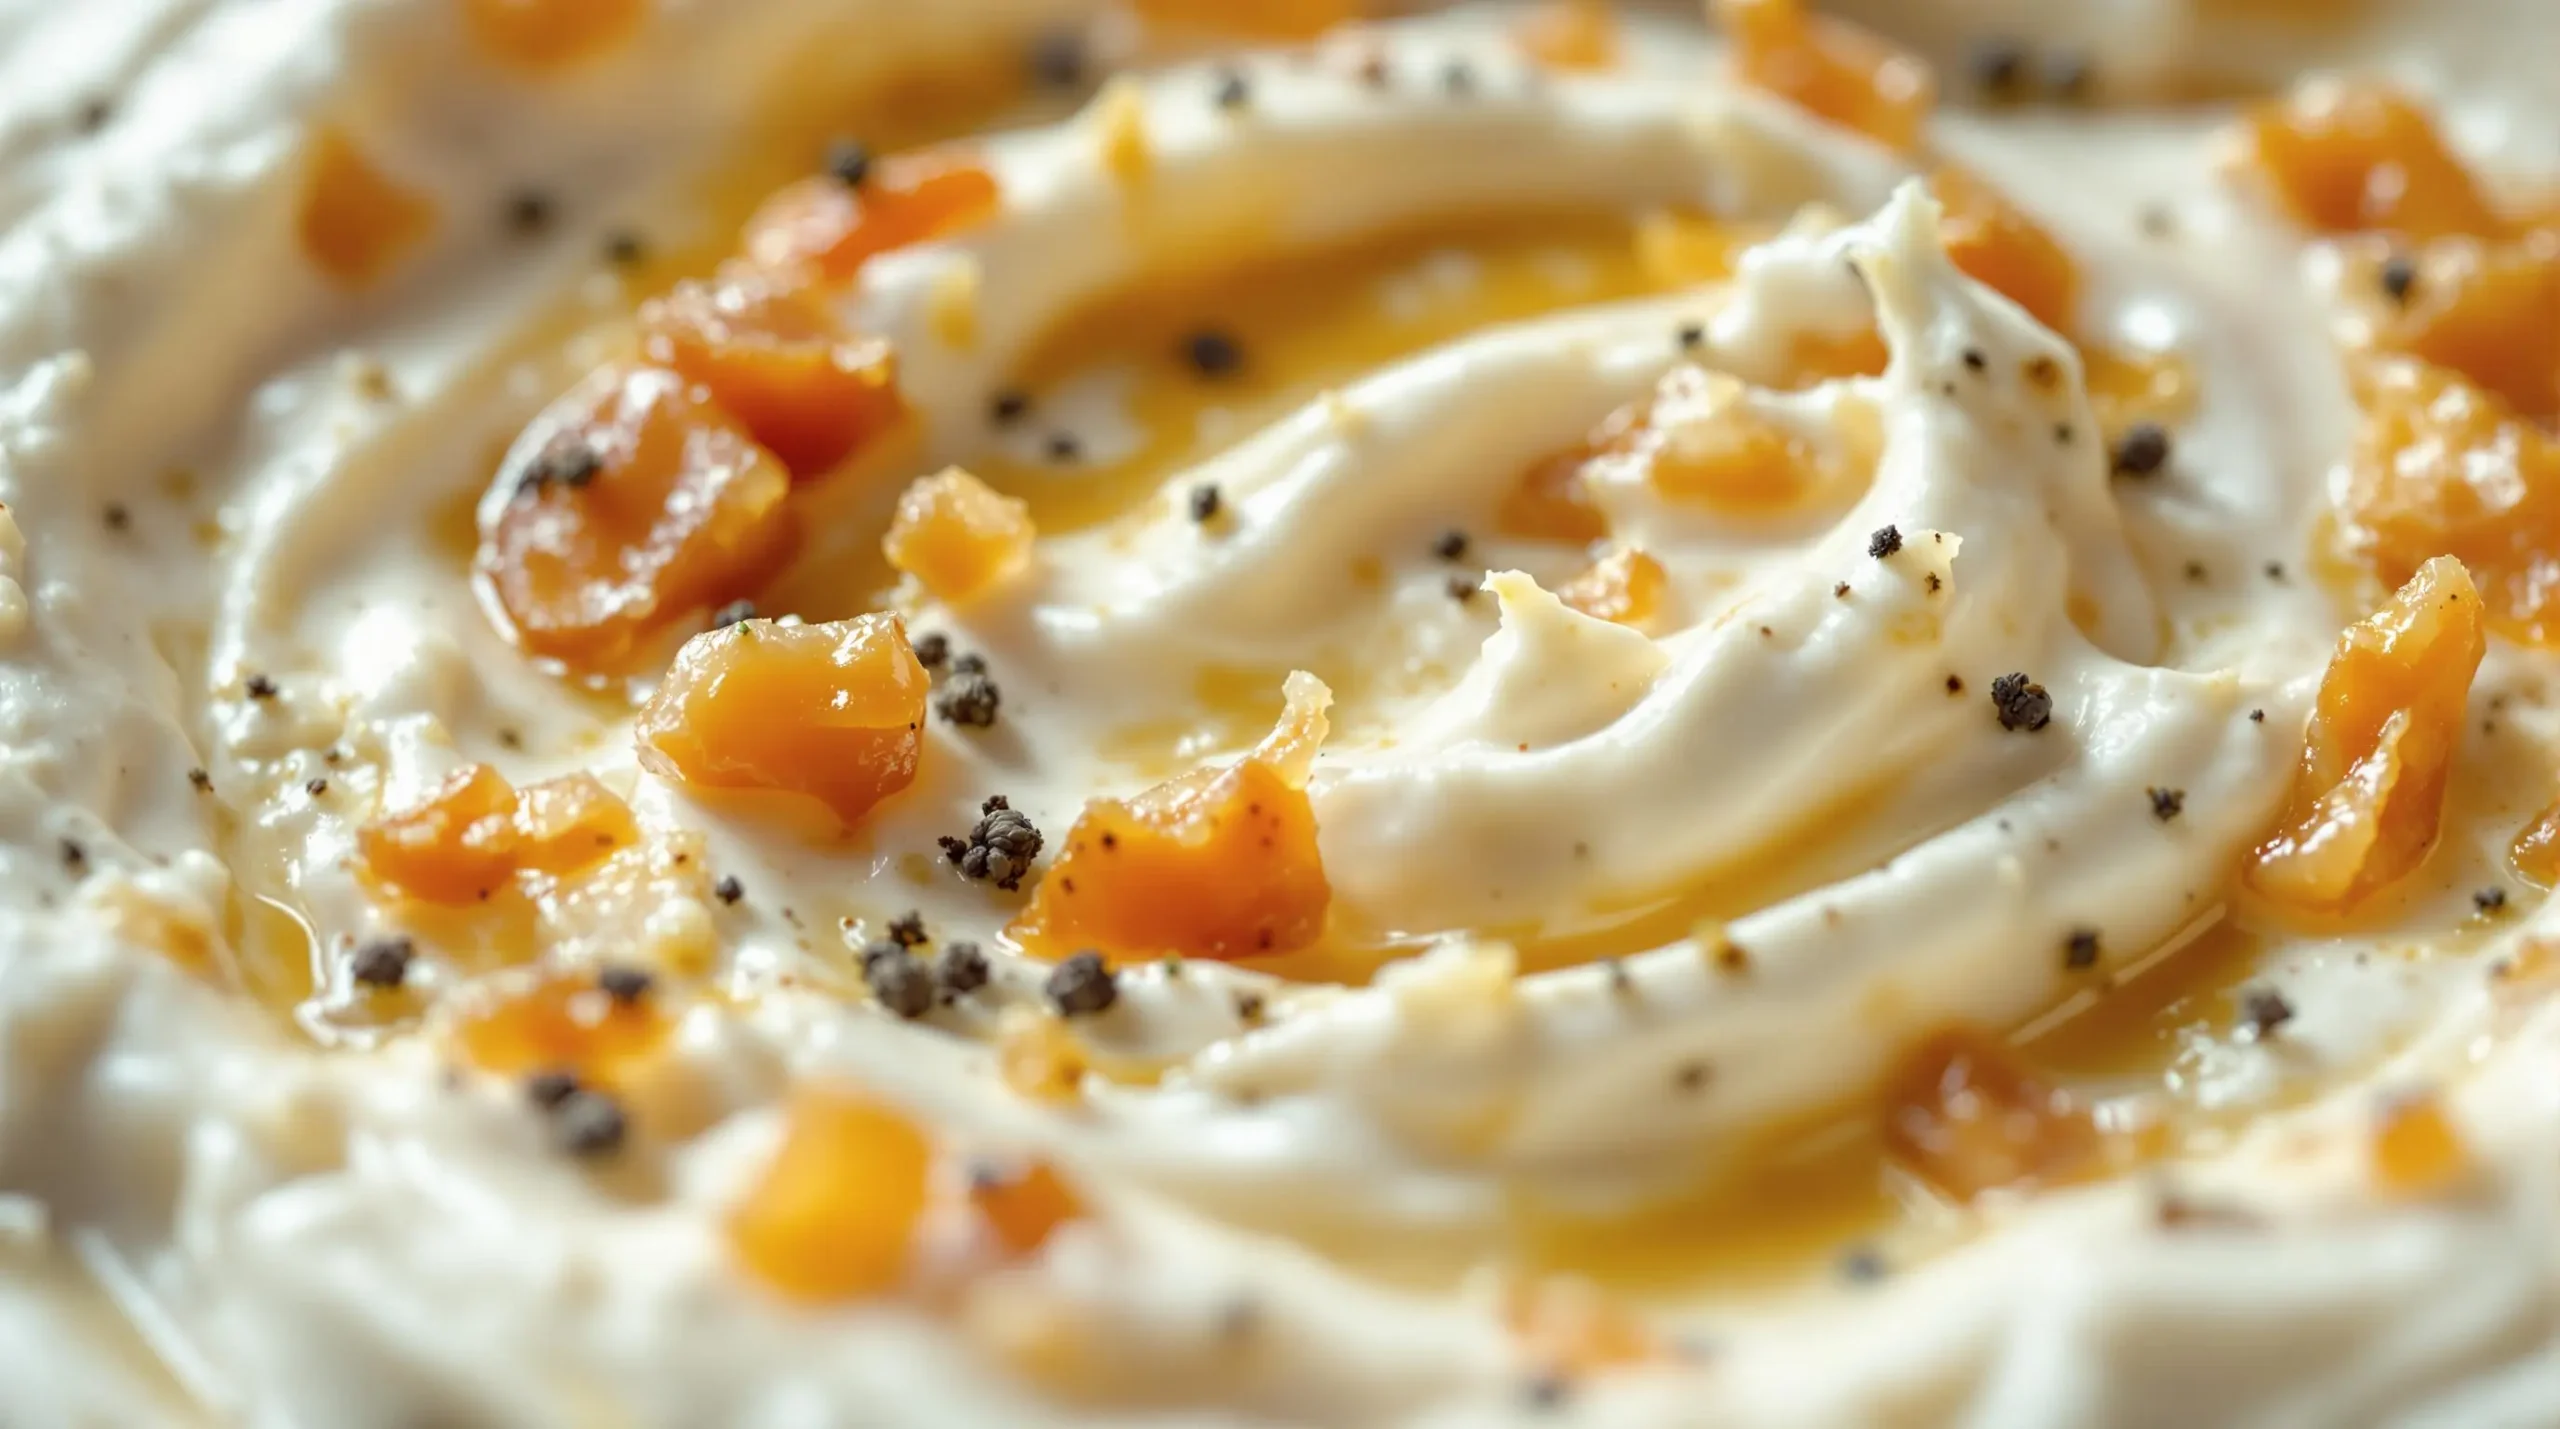
Nothing beats gathering around a creamy, perfectly seasoned sour cream and onion dip recipe during game day or casual get-togethers. Growing up, my mom always refused to buy the pre-made stuff, insisting that homemade was the only way to go – and she was absolutely right! Let me show you how to create this crowd-pleasing classic that’ll have everyone asking for your secret.
First of all, forget everything you know about store-bought dips. This homemade version brings together the rich tanginess of fresh sour cream with the deep, complex flavors of properly caramelized onions. The best part? You’re in complete control of the seasoning, texture, and consistency of your sour cream and onion dip recipe. Plus, you’ll know exactly what goes into it – no mysterious ingredients or preservatives here!
In this guide, you’ll master the art of slowly caramelizing onions until they’re golden brown and bursting with flavor. I’ll share my tested tips for selecting the perfect onions (hint: it’s not just about grabbing any old variety), achieving the ideal consistency, and making the dip ahead of time without compromising taste.
So, grab your apron and get ready to discover why this classic party favorite deserves a spot in your recipe collection. Whether you’re serving it with crispy potato chips, fresh vegetables, or spreading it on sandwiches, this dip is guaranteed to disappear fast.
Let’s dive into the ingredients you’ll need to get started…
Essential Ingredients and Equipment for Your Sour Cream and Onion Dip Recipe
Let’s break down everything you’ll need to create this crowd-pleasing dip. I’ve tested countless variations, and these ingredients consistently deliver the best results.
Core Ingredients Deep Dive
First up, let’s talk about onions – they’re the star of this show! While many sour cream and onion dip recipe versions use any available onion, I’ve found that yellow onions provide the perfect balance of sweetness when caramelized. White onions work too, but they tend to be sharper and less sweet when cooked down. For the best results, choose medium-sized onions that feel firm and heavy for their size.
The second crucial component is, of course, sour cream. Don’t skimp here – full-fat sour cream creates that luxuriously creamy texture we’re after. I recommend Daisy or similar high-quality brands that don’t contain unnecessary additives. The sour cream should be thick and rich, not watery or grainy.
Supporting ingredients that truly elevate this sour cream and onion dip recipe include:
- Worcestershire sauce (adds depth and umami)
- Garlic powder (fresh garlic can be too harsh)
- Black pepper (freshly ground is best)
- Kosher salt (provides better flavor distribution)
- Chives (for fresh onion notes and color)

Kitchen Tools Needed
To nail this recipe, you’ll want to have these essential tools ready:
- A heavy-bottom pan or skillet (crucial for properly caramelizing onions)
- Medium mixing bowl (glass or stainless steel works great)
- Wooden spoon or silicone spatula
- Measuring spoons
- Air-tight storage container
- Sharp chef’s knife for onion slicing
The heavy-bottom pan is particularly important – it prevents hot spots that could burn your onions instead of caramelizing them evenly.
Ingredient Substitutions
Sometimes you need to switch things up, and this sour cream and onion dip recipe is surprisingly adaptable. Here are some tested alternatives:
For the sour cream base:
- Plain Greek yogurt (strain it first for extra thickness)
- Dairy-free sour cream alternatives made from cashews or coconut
- A mix of mayonnaise and yogurt for a different tang
For seasonings:
- Onion powder (in addition to fresh onions for extra depth)
- White pepper instead of black for a different heat
- Dried chives if fresh aren’t available
- Coconut aminos in place of Worcestershire sauce
Remember, while substitutions can work well, they may slightly alter the final taste and texture. When using alternatives, always start with smaller amounts and adjust to taste – you can always add more, but you can’t take it away!
Now that we’ve covered all the essential ingredients and tools, let’s move on to the exciting part – actually making this delicious dip!
Mastering the Caramelization Process for Your Sour Cream and Onion Dip Recipe
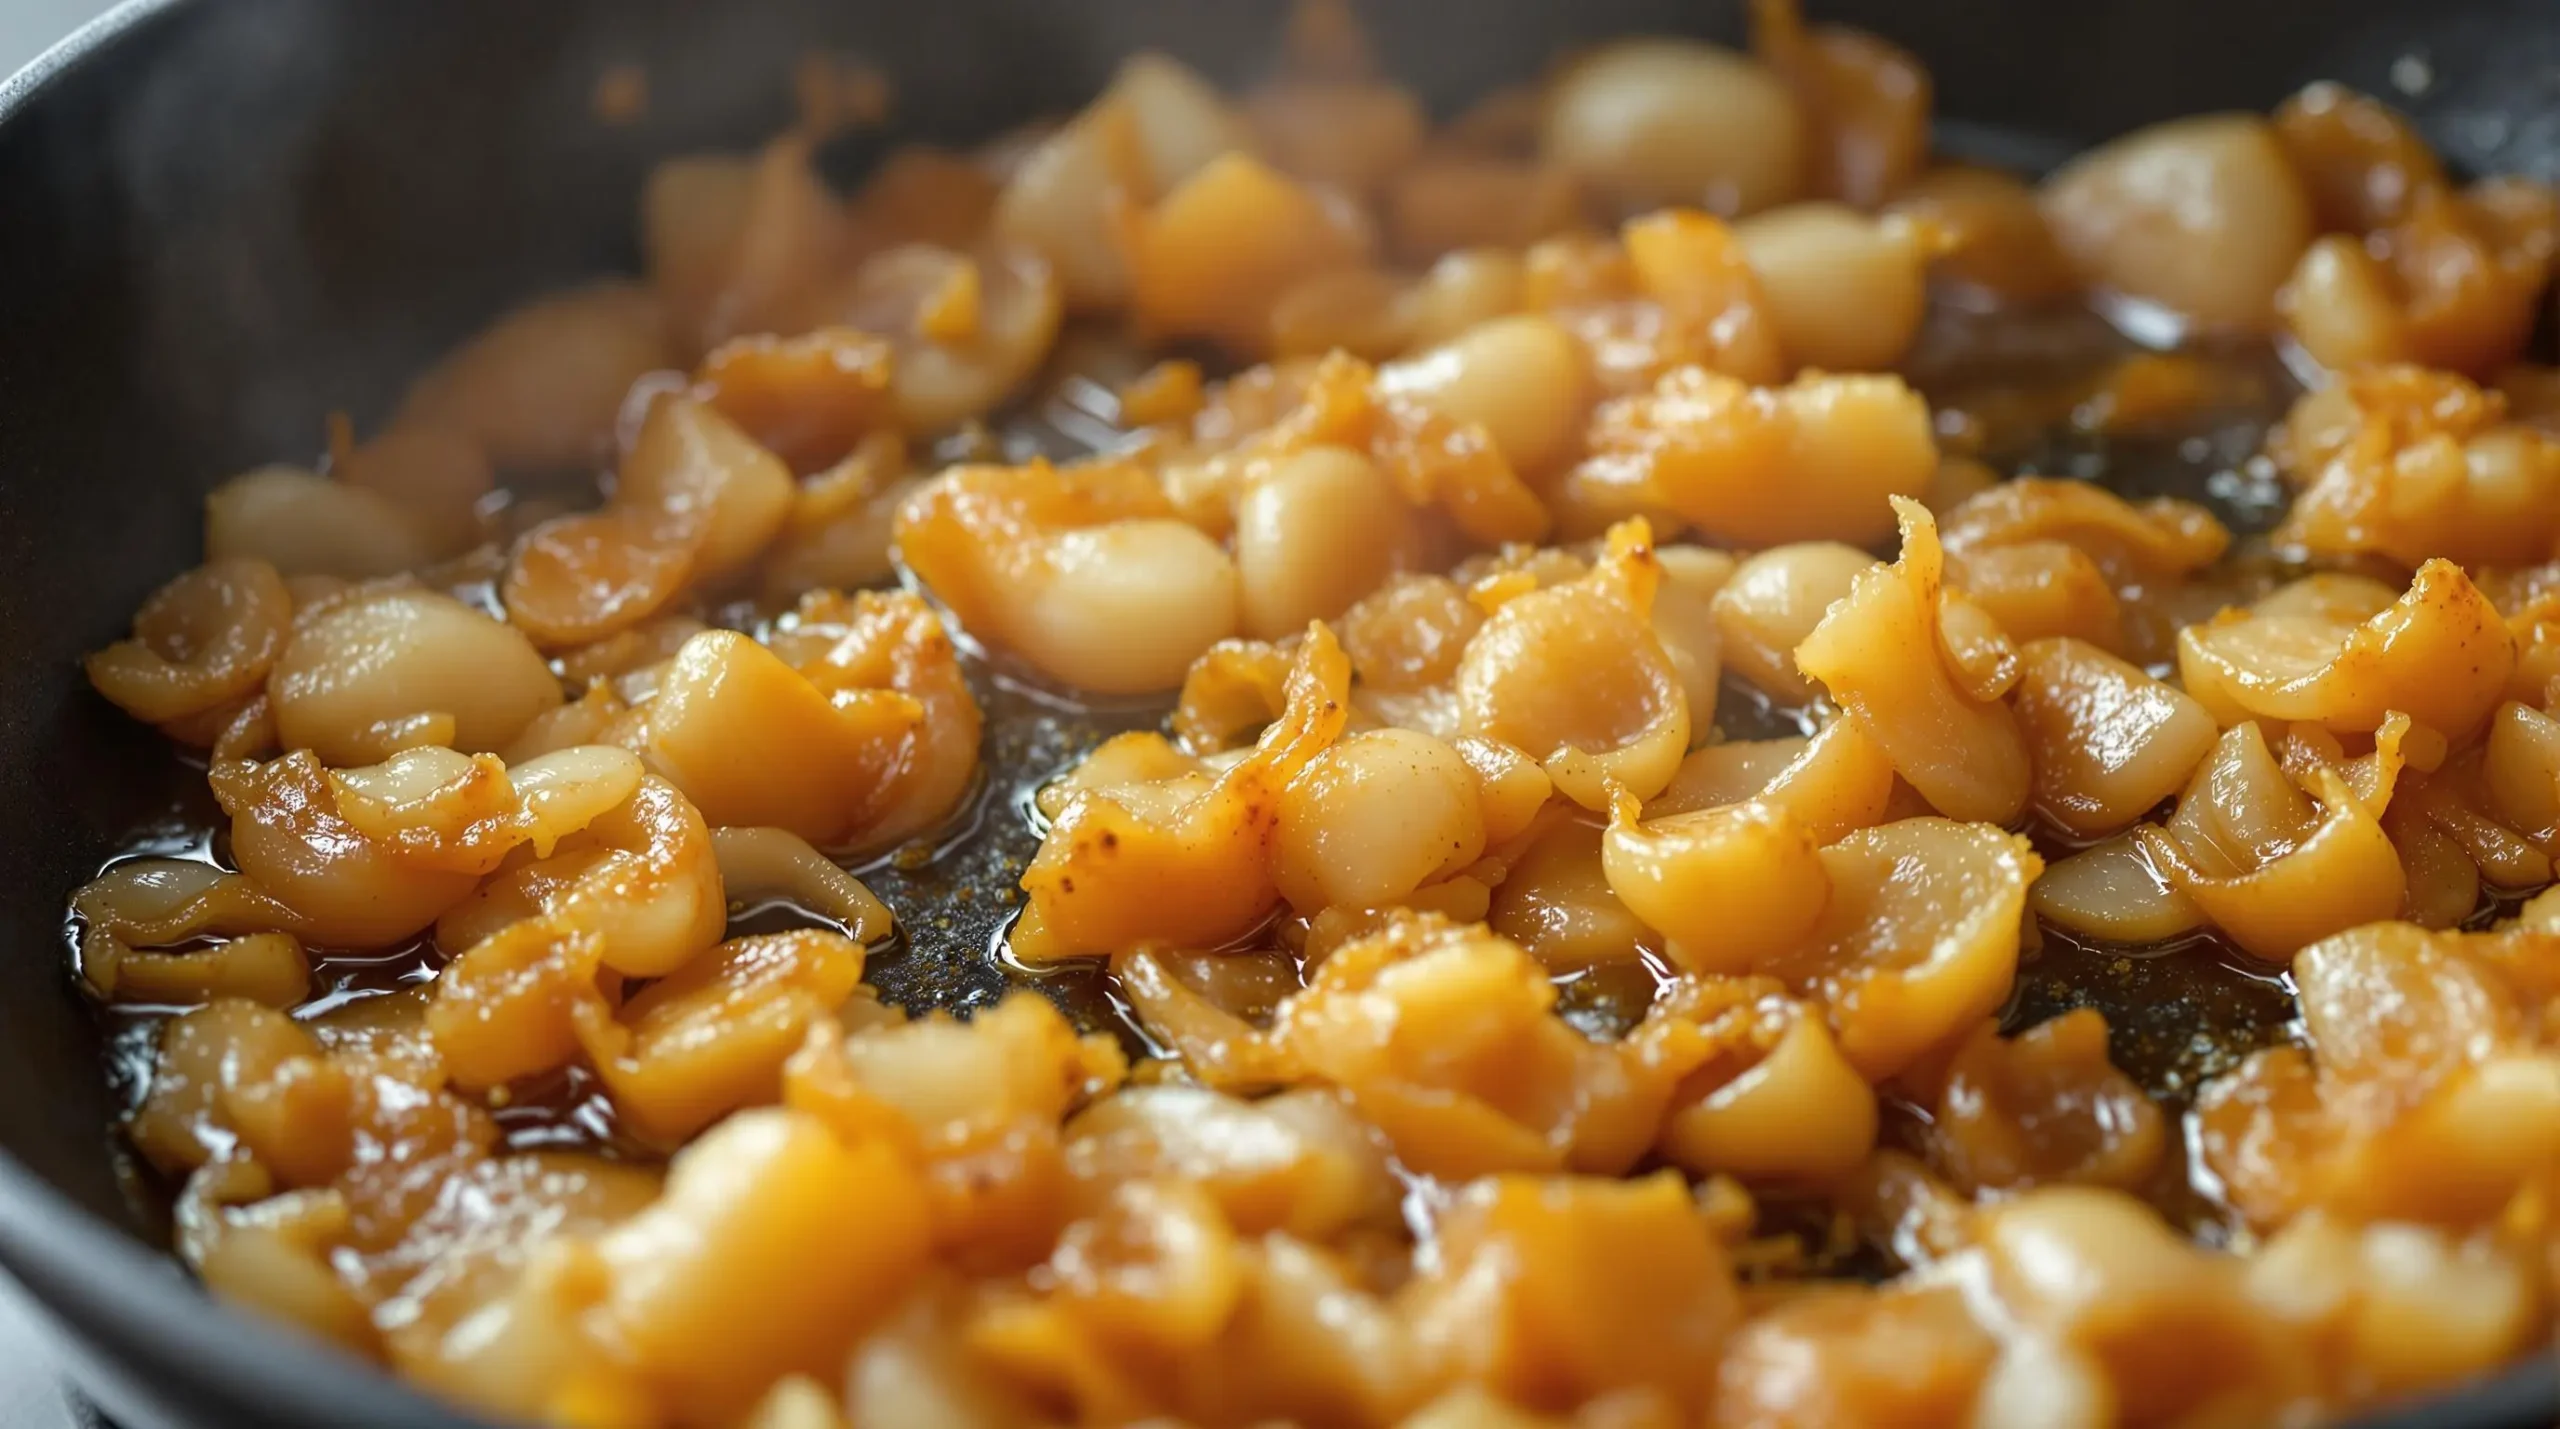
Now that we’ve got our ingredients ready, let’s tackle the most crucial step in creating the perfect sour cream and onion dip recipe – caramelizing those onions! This process might take some time, but trust me, it’s worth every minute.
Step-by-Step Onion Caramelization
First things first, let’s talk about cutting technique. Start by slicing your onions into thin, uniform pieces – about 1/8 inch thick. This consistency ensures even cooking and helps create that perfect texture for your dip. I learned this technique from Chef John’s video guide, and it’s been a game-changer.
Next up is temperature control. Begin with medium-high heat to get things going, then reduce to medium-low once the onions start to soften. The key here is patience – rushing this step will give you burned onions instead of that gorgeous golden-brown color we’re after.
Here’s my tried-and-true timing breakdown:
- 5 minutes: Initial softening
- 15-20 minutes: Developing color
- 10-15 minutes: Final caramelization
- 5 minutes: Cooling before mixing
Troubleshooting Common Issues
When making your sour cream and onion dip recipe, you might encounter a few challenges. Don’t worry – I’ve got solutions! To prevent burning, keep stirring regularly and watch the pan’s edges where burning typically starts. If things are moving too fast, simply lower the heat.
Managing moisture is crucial. If your onions seem dry, add a tablespoon of water to the pan. However, if they’re too wet, continue cooking until the excess moisture evaporates. The perfect color should be a rich amber brown – not too dark and definitely not black.
Pro Tips and Tricks
Want to get ahead? You can caramelize onions up to three days before making your dip. Store them in an airtight container in the fridge, then bring to room temperature before mixing. This make-ahead step is perfect for busy party planning!
For storage, keep your finished dip in an airtight container and follow these guidelines:
- Refrigerate immediately after mixing
- Use within 4-5 days
- Never leave at room temperature for more than 2 hours
- Stir well before serving
If your dip becomes too thick after refrigeration, let it sit at room temperature for 15-20 minutes before serving. A quick stir will bring back that perfect consistency.
Remember, the mark of a truly great sour cream and onion dip lies in those perfectly caramelized onions. While it might seem time-consuming, this process transforms simple ingredients into something extraordinary. Once you master these techniques, you’ll never look at store-bought dip the same way again!
Serving and Pairing Your Sour Cream and Onion Dip Recipe
Now that you’ve mastered making this incredible sour cream and onion dip recipe, let’s explore all the delicious ways to serve and enjoy it. Trust me, once you start experimenting with different pairings, you’ll discover this dip is way more versatile than you might think!
Best Dipping Options for Your Sour Cream and Onion Dip Recipe
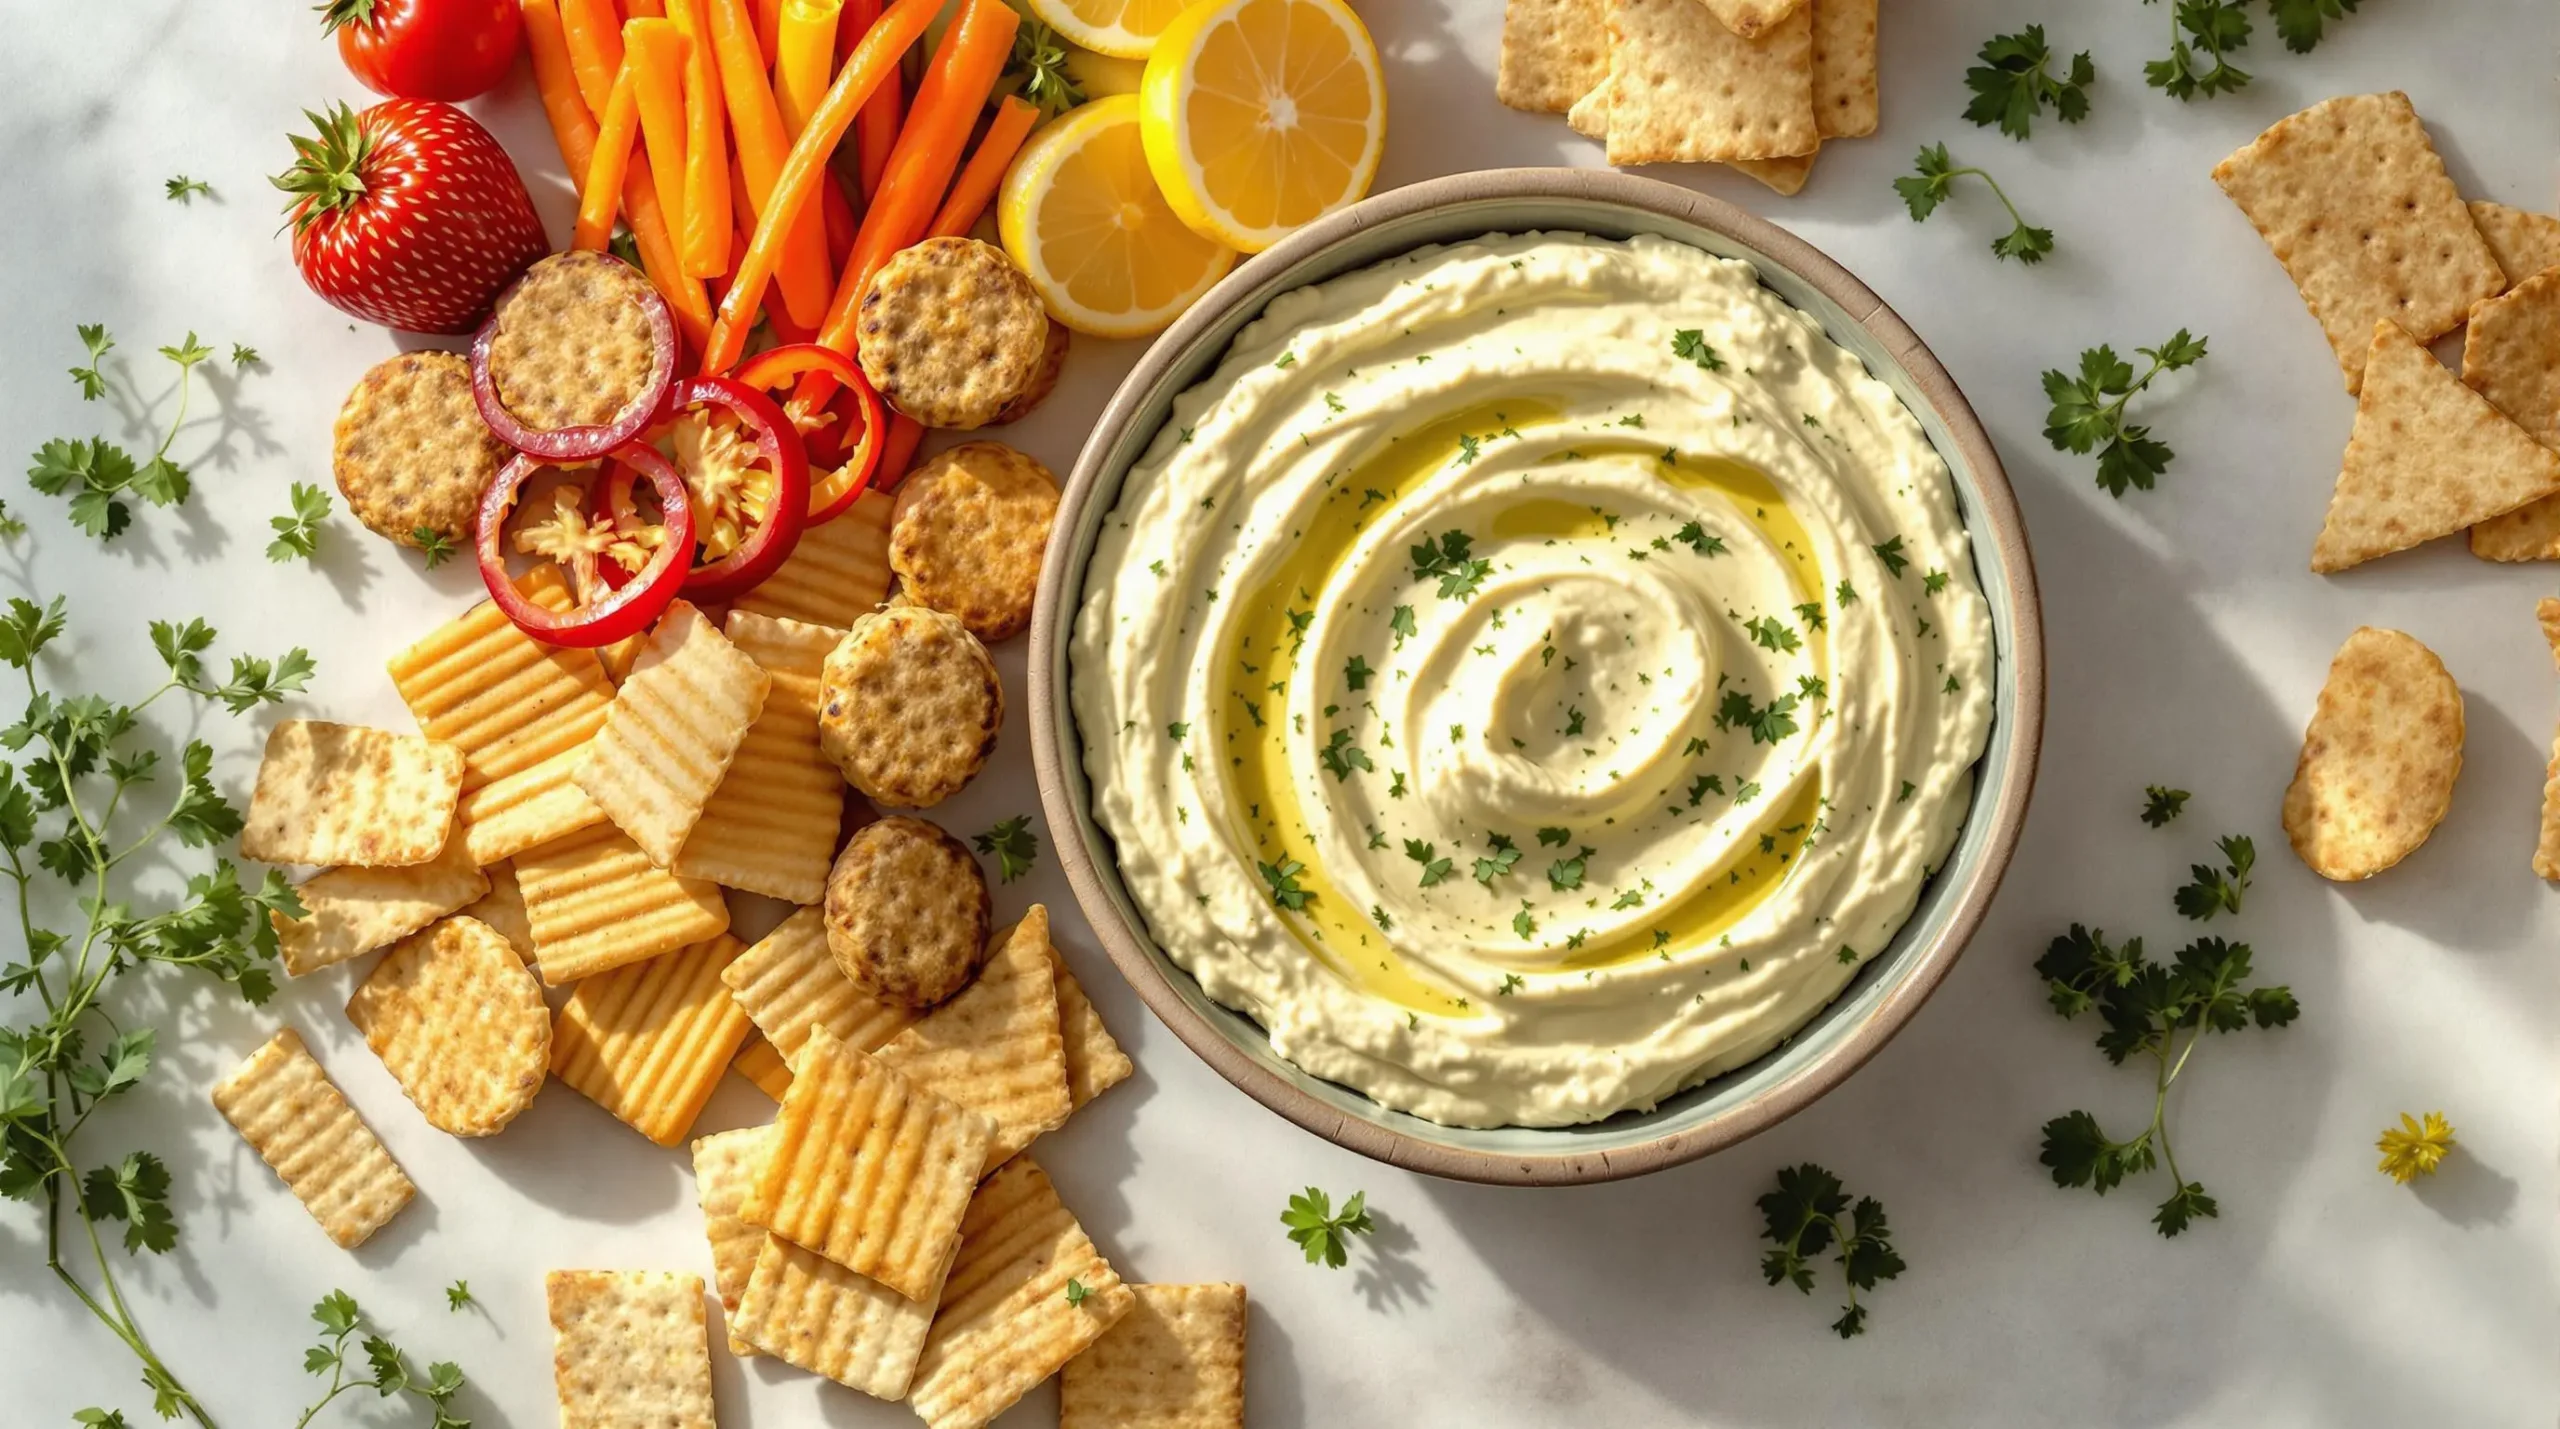
First off, let’s talk about the classic choices. According to Food Network’s snack guide, ridged potato chips reign supreme for dipping, and I couldn’t agree more! The ridges hold more dip, creating the perfect bite every time. Here are my top chip recommendations:
- Thick-cut kettle chips
- Wavy potato chips
- Sweet potato chips for a unique twist
For a fresher approach, try these crisp vegetables:
- Baby carrots
- Cucumber rounds
- Bell pepper strips
- Cherry tomatoes
- Celery sticks
Don’t forget about crackers! My personal favorites include:
- Butter crackers
- Pretzel crisps
- Whole grain crackers
- Rice crackers for a gluten-free option
Creative Uses Beyond Dipping
This versatile sour cream and onion dip recipe can transform everyday dishes into something special. Here’s how I love to use it:
As a spread:
- Slather it on turkey sandwiches
- Add it to grilled cheese
- Use it on veggie wraps
- Spread it on bagels
For potato dishes:
- Top baked potatoes
- Mix into mashed potatoes
- Dollop on potato wedges
- Add to hash browns
Storage and Making the Most of Leftovers
Proper storage is key to maintaining the fresh, creamy texture of your dip. Here’s what you need to know:
Refrigeration guidelines:
- Store in an airtight container
- Keep at 40°F or below
- Use within 5-7 days
- Never refreeze after thawing
To maintain quality:
- Cover surface with plastic wrap
- Stir well before serving
- Check for any off odors
- Keep away from strong-smelling foods
For party presentation, try these tips:
- Serve in a chilled bowl
- Garnish with fresh chives
- Place dip bowl on ice if outside
- Provide several serving spoons

While freezing isn’t recommended (it can affect texture), you can extend freshness by:
- Dividing into smaller portions
- Using containers with tight-fitting lids
- Labeling with date made
- Keeping in the coldest part of your fridge
Remember to give your dip a good stir before serving, as separation is natural. If it seems too thick after refrigeration, let it sit at room temperature for about 15 minutes, then give it a quick mix. This will bring back that perfect, dippable consistency that makes this recipe a crowd favorite!
Frequently Asked Questions About Your Sour Cream and Onion Dip Recipe
Let’s address some common questions about making this delicious sour cream and onion dip recipe to ensure you get perfect results every time!
How long can I store homemade sour cream and onion dip?
When stored properly in an airtight container in the refrigerator, your dip will stay fresh for 4-5 days. However, for the best taste and texture, I recommend consuming it within the first 3 days. Always check for any unusual odors or appearance before serving, and keep it refrigerated at 40°F or below.
Can I make this dip ahead for parties?
Absolutely! In fact, I often prefer making this sour cream and onion dip recipe a day ahead because the flavors develop beautifully overnight. You can caramelize the onions up to 3 days in advance and store them separately. Just combine all ingredients at least 4 hours before serving to allow flavors to blend properly.
Why is my dip becoming watery?
Excess moisture usually comes from two sources: either the sour cream wasn’t thick enough to start with, or the onions weren’t cooled completely before mixing. To fix this, make sure to:
- Drain any excess liquid from the sour cream
- Cool caramelized onions completely
- Use full-fat sour cream for better stability
- Avoid freezing, as this can break down the texture
What’s the best way to serve this dip at room temperature?
For food safety, don’t leave the dip at room temperature for more than 2 hours. When serving outdoors or at lengthy gatherings:
- Place the serving bowl in a larger bowl filled with ice
- Put out small portions and refresh from a refrigerated backup
- Use multiple smaller serving bowls instead of one large one
- Keep track of how long it’s been out
Remember, proper temperature control is key to maintaining both safety and that perfect creamy texture everyone loves. With these tips in hand, you’re ready to serve up the perfect dip for any occasion!
Final Tips for Your Perfect Sour Cream and Onion Dip Recipe
Now that we’ve covered all the essential aspects of making this classic sour cream and onion dip recipe, let’s wrap up with some final thoughts and encouragement to help you create your own perfect version.
First and foremost, remember that patience is key when making this dip. The magic really happens during the onion caramelization process – those golden-brown, sweet onions are what transforms this from a simple mix into something truly special. Don’t rush this step, as it’s the foundation of an amazing dip.
Additionally, while this sour cream and onion dip recipe is fantastic as written, don’t be afraid to make it your own. Maybe you’ll discover that adding a pinch more garlic powder creates your perfect flavor, or perhaps you’ll find that mixing in some fresh herbs takes it to the next level. The beauty of making dip from scratch is that you can adjust everything to match your taste preferences.
I’d love to hear about your experiences making this recipe! Feel free to experiment with different serving suggestions – perhaps you’ll discover a new favorite pairing that others would enjoy too. Whether you’re serving it at a casual family gathering or bringing it to a potluck, this dip is sure to impress.
Remember these key takeaways:
- Always start with room temperature sour cream for easier mixing
- Let those onions cool completely before combining
- Give the flavors time to meld (at least 2 hours in the fridge)
- Taste and adjust seasonings before serving
- Keep it properly chilled during parties

So go ahead, skip the store-bought versions and give this homemade dip a try. Once you taste the difference, you’ll never want to go back to pre-made alternatives. Happy dipping!

